Search

Search all blog posts here.

Search This Blog

Sunday, October 10, 2010

Wiring the bars

Time to wire these bars. Start with the right side because it's simpler. Here's the wiring diagram. the only thing that could be a problem is two black wires, but they just connect at the brake switch, so swapping those won't be a problem.


Draw a plug map. I thought I could get around depinning, but I really can't.


Use a pick to push the tab down and slide out the tab.


A little bit of messing and you have the plug off.


I checked to see if the stock wrap will fit in the hole.


It fits so I want to leave enough to protect the wires in the hole.


Carefully cut the wrap, so you don't have to solder where you hadn't planned.


Ideally I would use the correct colors for the extensions, I didn't have nearly colors in my stash and I did have roll of white in the correct gage so. I that's I used. I cut 8" sections to use.


Pick a point to cut. (Remember to put the next cut about an inch from the last one, so the solder joints don't make a big wad.)

Strip the wires.


Rosin the wires.


Solder the wires in both places. Give the tug check.

Shink wrap.

Do that like five times and the right side is ready to be routed.


What's with the earplug and electrical tape?


Tape the plug string to your wires and put the plug in the hole.


Blow the plug to the other hole.


Pull the plug and push the wires.


Not ultra clean and sexy, but pretty good.


The left side is worse. 11 wires to go through, and actually 13 wires to start with at the housing. Three ground wires(Black with yellow) junction together inside the harness.

It's pretty much the same steps, but if I had a do over I would get rid of the factory wrap. It's too big and bulky when it's full of wires. There are three wires from clutch switch one goes to that ground junction, and other two go to the little plug. I would definately break the ground junction and shrink wrap the big bundle of wire together and the little bundle together, then resolder that junction. The tight shrink wrap would have fit into the hole a lot better.

Here the end results of my work, again not super sexy, but acceptable for this build.


Time to fix this. I think I put these rubbers on wrong. The big one goes on the bottom.


Yes, much better.


Top tree off the bike and routing the wires.


Windshield bracket, hose guide(that may get worked over yet), bottom clamps, and clamp bolts go on.


Top clamp on.


Bars, controls, and top tree back on the bike.

Pretty clean. It's a shame that I have to add a brake line, clutch line, and throttle cables.
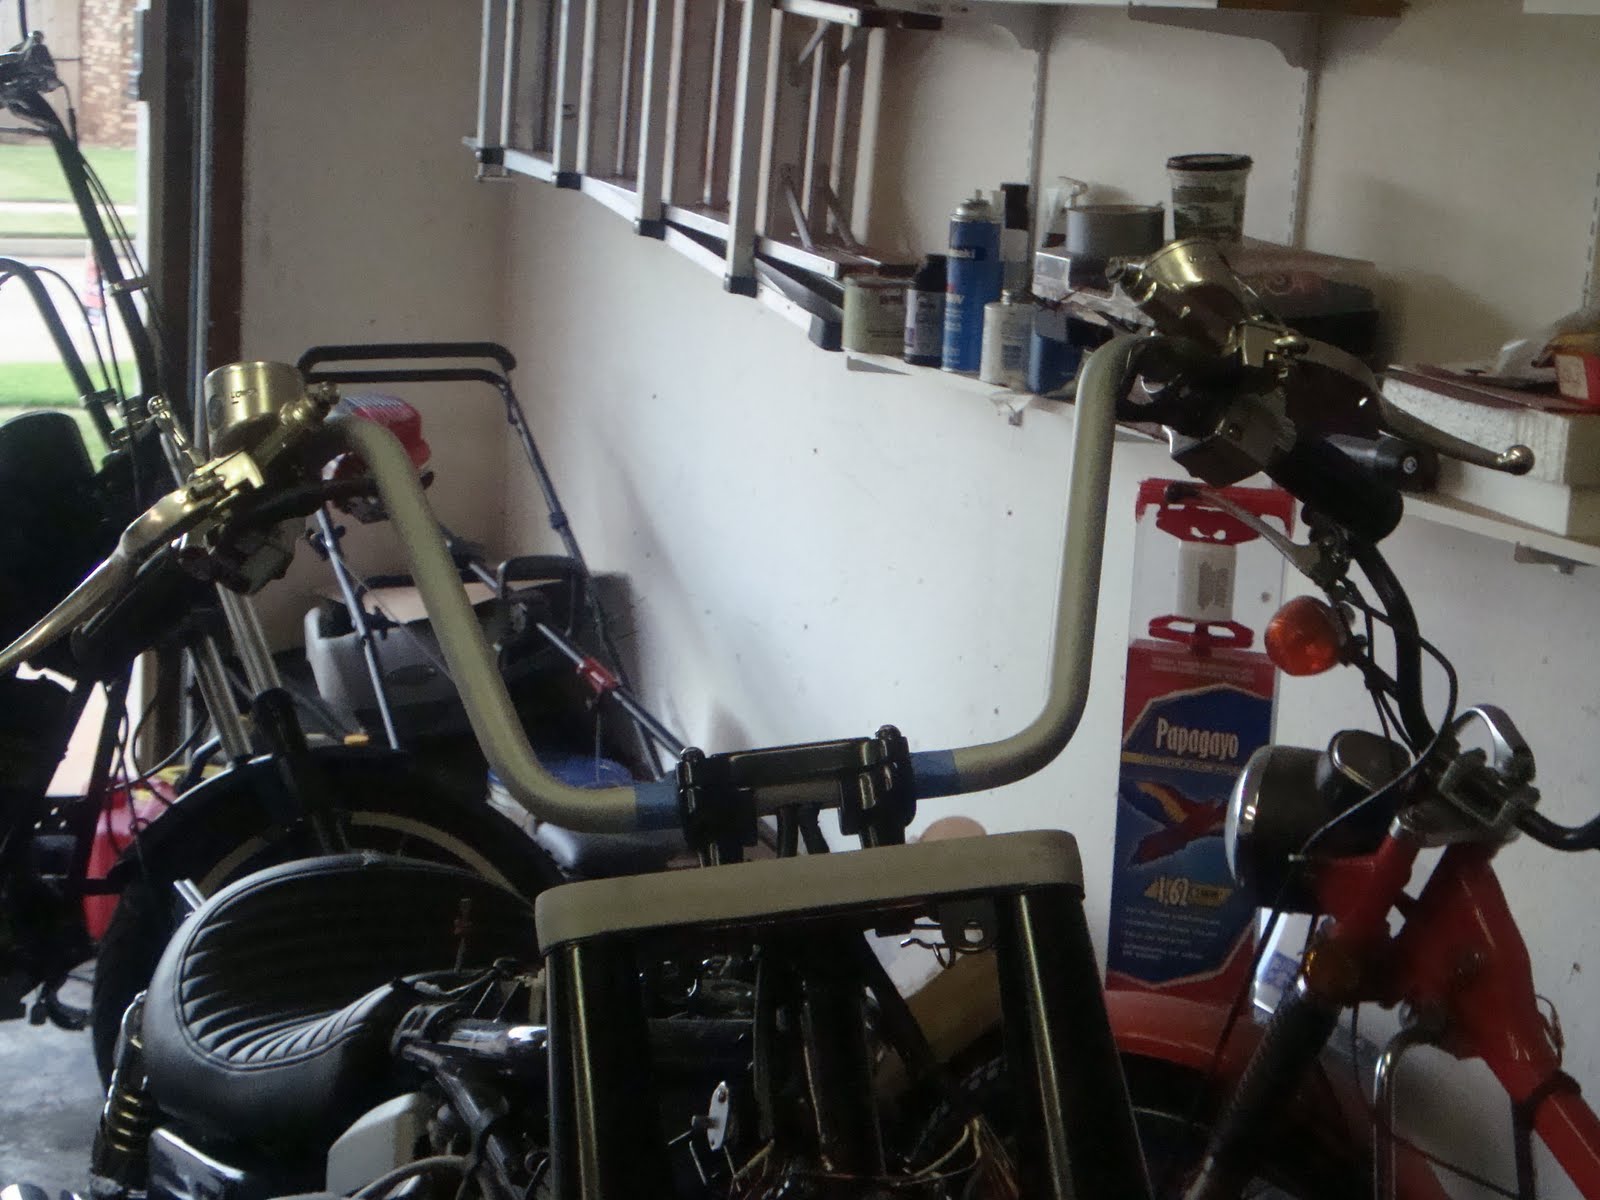

This looks okay.


Fits good with the new seat.


All I need to do now is finish it.

Speedo cable guide

Well, we had some paint issues and never got a chance to repaint the front fender and then I wasn't able to run a tranny speedo so I ran a front wheel speedo. At any rate it's about time to repaint the fender so better cable guide will be needed. You can see that it rubbed the fender a bit.


I found this guide at the bike salvage yard, I think it's a Yamaha part.


Mark it.


Drill it.


Install.

Dissconnect the speedo cable.

Unscrew this end.

Install the fender.


Reconnect the speedo cable.


Cable looks good, but the brake line is tweaked from being tied to the cable so long.


Barely loosen the brake line on both ends.


Perfect.

Tuesday, September 28, 2010

Handlebar prep for internal wiring

I learned how to do internal wiring handlebars from a great Bikernet.com tech article, but I can't seem to find it now.

Bars back off the bike again and taped to protect the powder coat and for marking. I also marked the bar center to help up it on in the middle.


Drain the front brake and master cylinder. I need to have new line built. The stock length is plenty, but will do stainless line covered with rubber to match the clutch line.


Right side controls on.


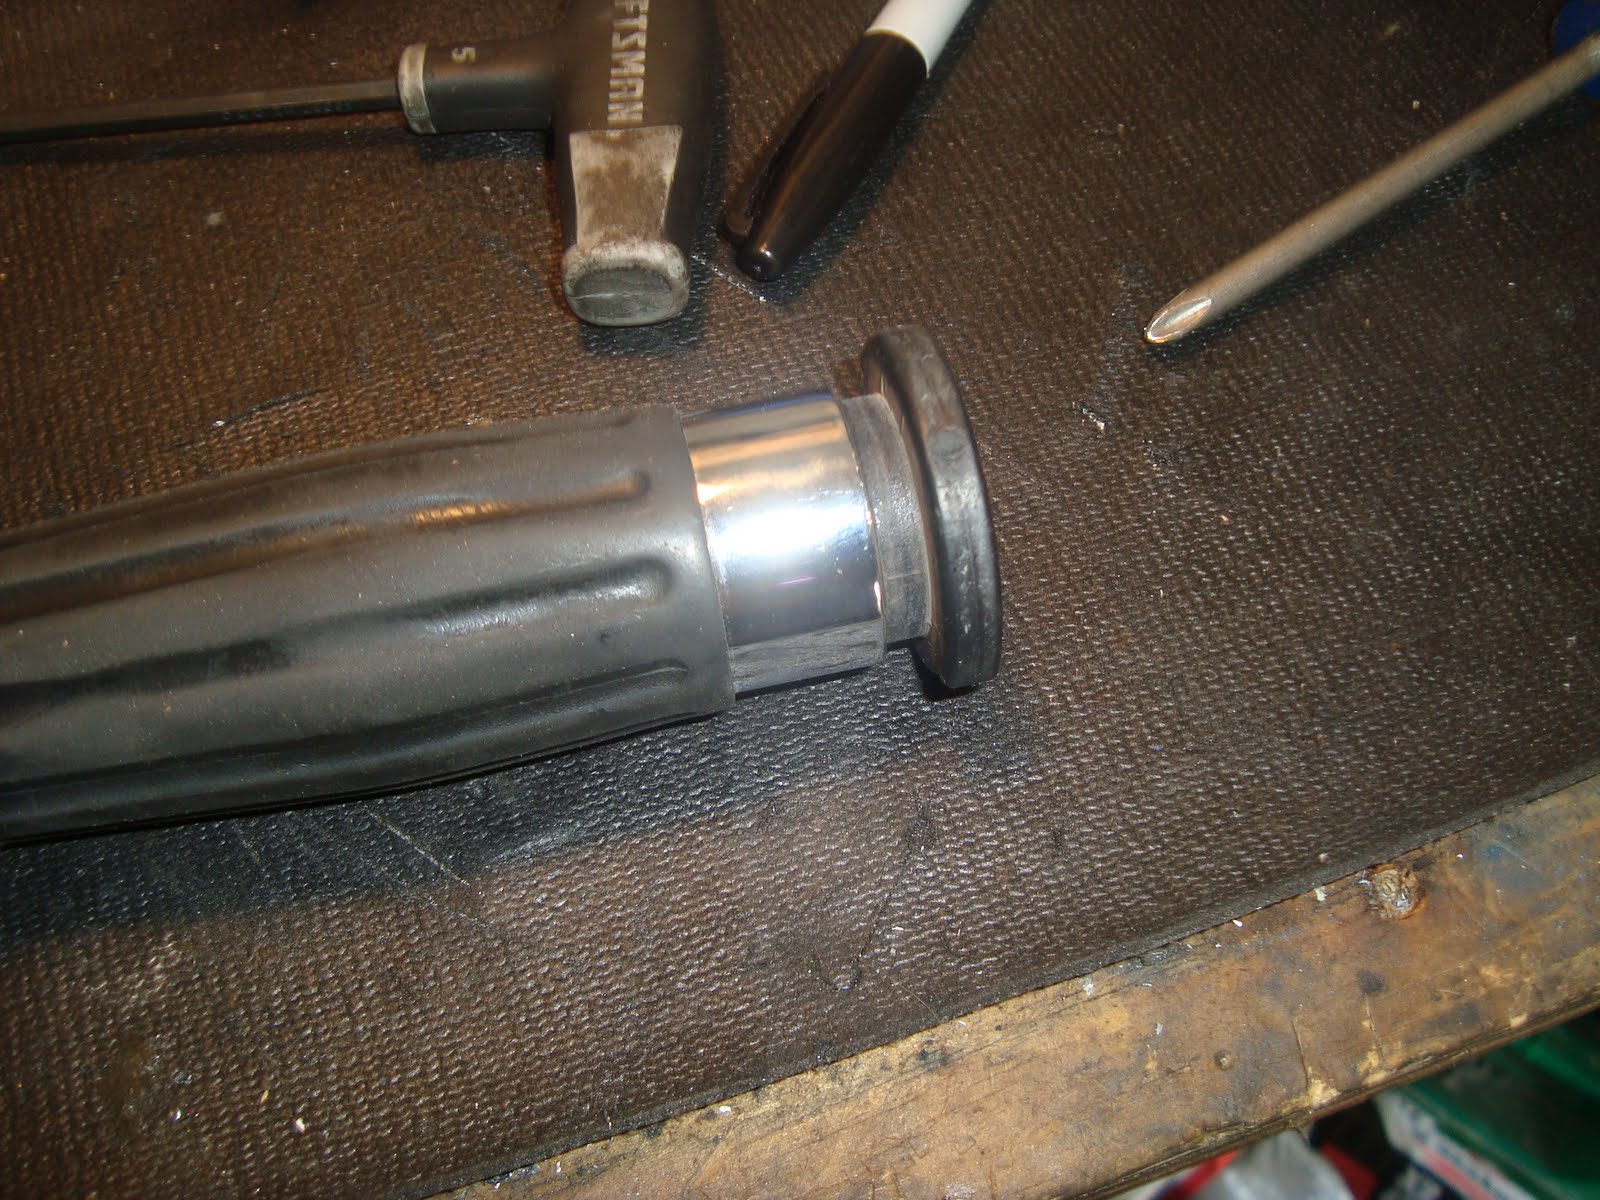
Here's the left grip. It's for a late model harley so it has lip that should bolt into the control housing.

The lip is needs to go. It's stiff plastic so the hacksaw make quick work of it.

Perfect.


Left controls on. Those $5 swapmeet grips are great.


I zip tied the wires to the bars so I could check the length of the wires once they are ran inside the bars.


Bars back on the bike. The wires are barely long enough to work, but the plugs will be behind the headlight bucket and not in it. I don't like that and given a choice I would rather solder extensions than de-pin the plug. I figure 6 inch extensions will fit the bill.


Mark my top holes.


I marked the handlebar clamp and a place for the bottom slot. There are too many wires on this deal, but I'm planning on keeping the safety stuff and turn signals, so they have to stay.


The #3 uni-bit is great because you can go all the way to the 1/2in hole and not hit the other side of 1 inch bar.


Now make the two holes into a slot with a dremel and cut off wheel.


Getting there.


Now to get rid of the sharp edges so the wires won't get cut. (I need a smaller sanding drum.)


I used a round file and deburring tool, too.


If you bleed doing this, keep working on it.


Now the top holes.


I used regular bit for a pilot hole because my center drills were in the garage and I was in the workshop.


Uni-bit again.

Okay.


Work over the edges the same way, but can't use your fingers so I paper towel can help you find the sharp spots.


Looking good. Now do the other side.