This is where I photo document the projects I'm working on, fixing, or fixin' to fix.
Search
Search all blog posts here.
Search This Blog
Friday, February 14, 2014
Thursday, February 13, 2014
Tuesday, February 11, 2014
Trail 90 Hauling Pallet
I'm showing all my bikes this weekend and the weather is so bad and other reason mean that I can't ride them all up there this year. So I built this to let me haul the Trail 90 inside my van easier. I will strap it to the eye bolts and then the eye bolts to the seat anchors. I'll still have to pull the mirrors, but I shouldn't need to roll the bars back.
Monday, February 10, 2014
Almost got my fresh tanks on
Drain the gas from the old tanks.
Remove dash bolt.
Remove top mount bolts.
It takes long extensions to get at them.
Same with the bottom front mounts.
Disconnect the bottom crossover. I tried to not make a gas mess, but I still got gas everywhere.
Back bolt for the right tank comes off.
Disconnect the vent crossover.
This is me running to other side of the bike to catch the left tank that decided to pivot on its back bolt, when I disconnected the vent tube.
Okay, I got the tanks off safely. So I need to strip off the goodies. The petcock has all kinds of crap on it. I think it's looks like tank liner. I think I will start checking this screen about once a year or so.
All the rubbers are thrashed, but I need those spacers.
I have been running rare earth magnets to catch rust, too.
Still got gas coming out.
I thought I had spare grommets, but they were something smaller(right). Well I guess I need to do a parts run.
After my vapor locking last summer Rocketdog sent me an insulator for my fuel line.
Cut it to length.
This should work.
The tanks can't go on, so what about the front fender? I remembered the mismatched hardware and I decided to get matching stuff instead.
Leave it set all naked and cold.
Friday, February 7, 2014
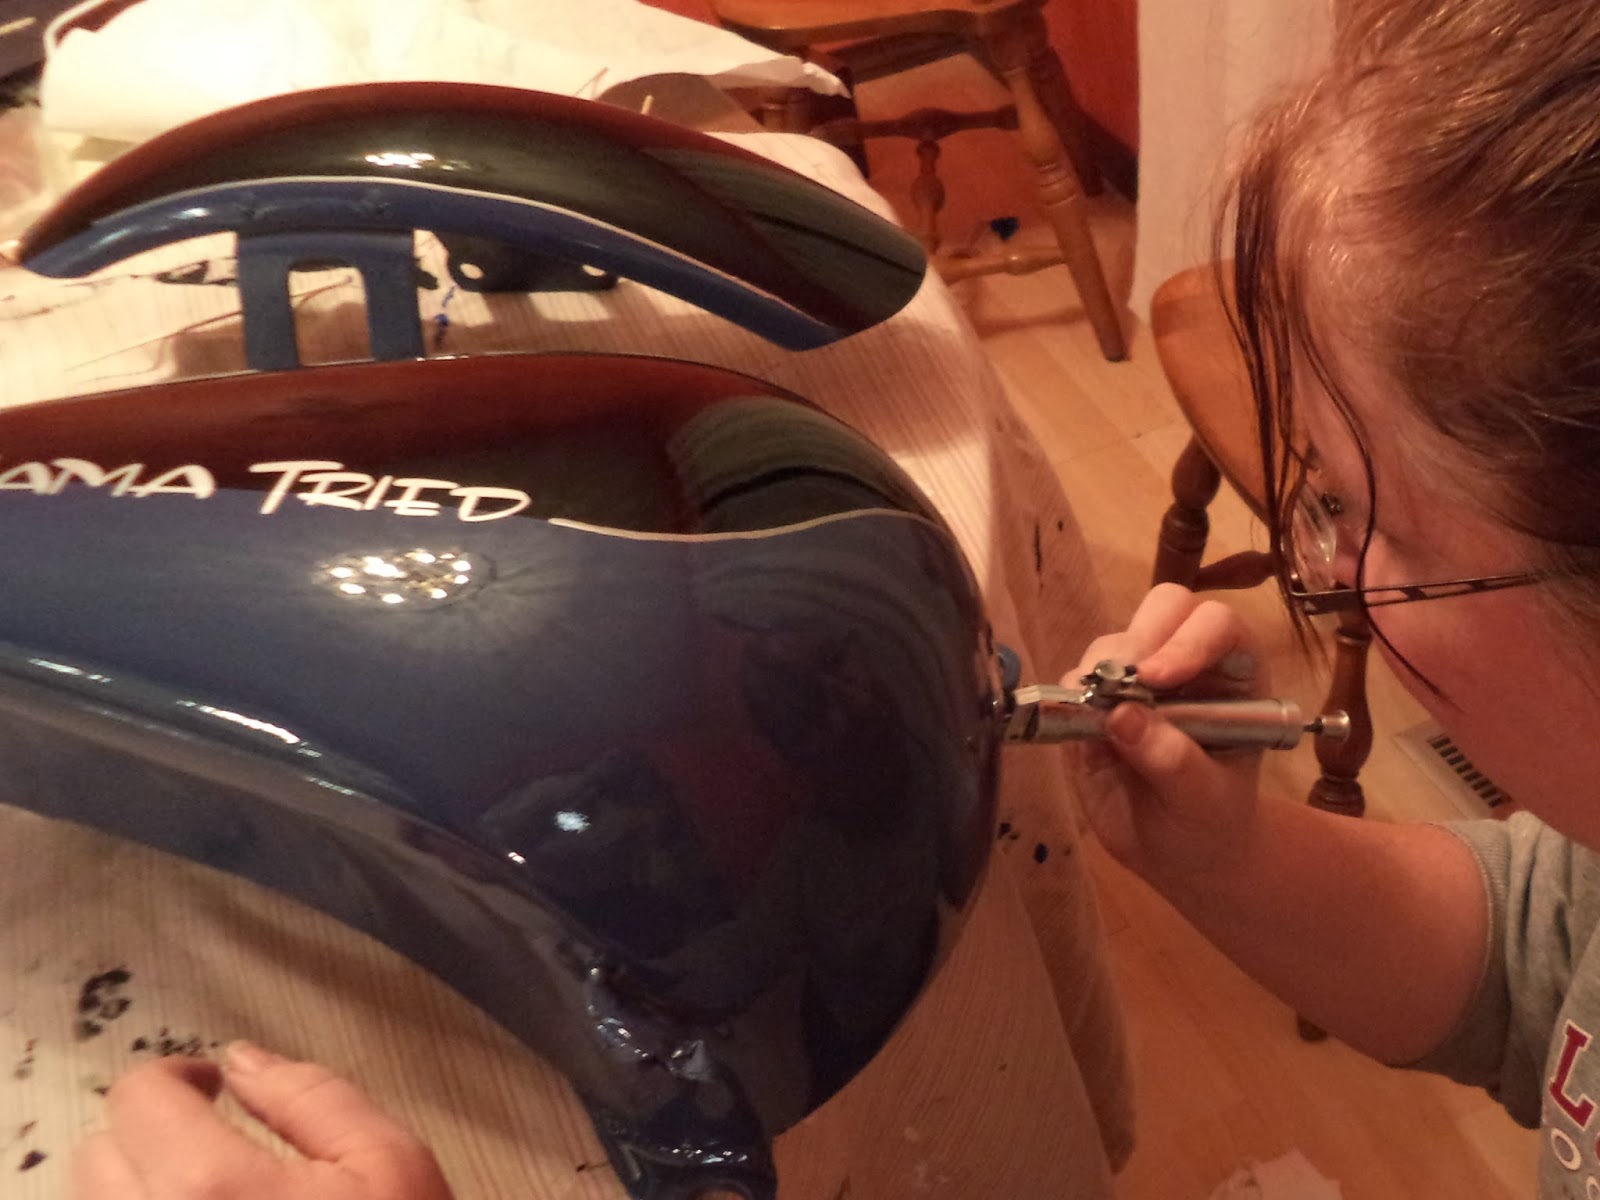
Shovelhead Rattlecan Repaint Part 5 - Stripes
Sheet on the kitchen table and now to get at it.
Beugler pinstripe tool and silver OneShot. Go watch some youtube videos at about it, because I can't really explain it that well.
Things were messier and more stressful than I remember from the last time. I think the trick is just barely getting that wheel wet and let the surface tension hold back the flow. Once my wife got going it was smooth sailing.
A little touch up here and there.
See the practice piece of plastic and the mineral spirits. If you have good clearcoat you can erase a stripe with the mineral spirits and start over if needed.
Good to show. I'll need to pull these off again do some clear over everything.
Thursday, February 6, 2014
CT70 Finishing Up: Headlight, Horn, Fender, Decals
Here's the bare-ish spot I don't like.

All better with some tape

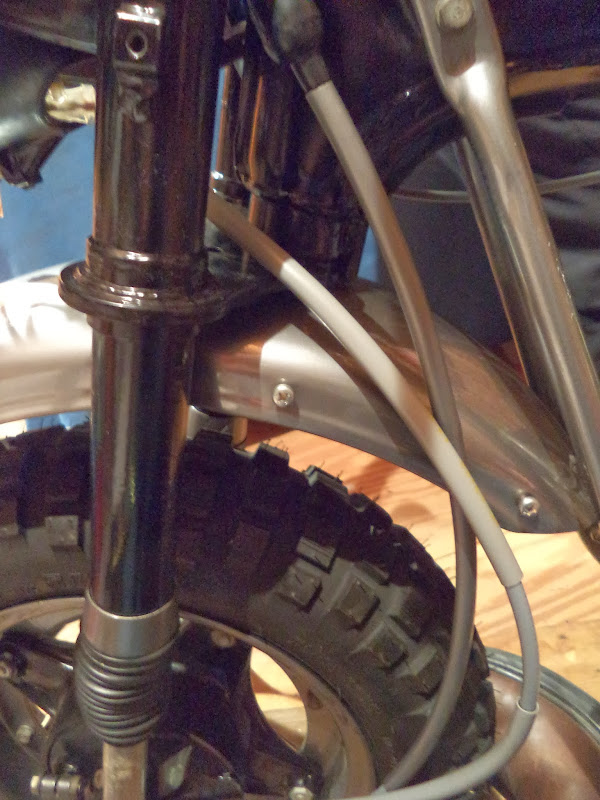
Front fender and horn are next. Now that I can get at them. Short bolt to the bottom of the tree and long bolts through the tree to the horn.

Fender goes on.

Short bolt here.

Cleaned up the horn some. The wire connection is still broken, but I will put it on for now.

Horn shoehorns in.

Two long bolts here.

Up through to the nut plates on the horn.

Cable guide goes here.

Big boy gets it done.

Looking good.

I missed the picture of the pigtail doing the half twist into the reflector. The top of the trim ring catches the bucket and screw holds the bottom.

Looking good.

I just stuck these ties on here for now. I need to look at some internet pictures to see how these are supposed to actually fit and hold stuff together.

I have to clean the greasy fingerprints off the frame, before I put the decals on. .

Big Boy wanted a black bike with "skeleton heads" and flames, easy enough.

Oh man this frame seam will affect where I need to put the decals.

Here you go.

Other side.

Almost symmetrical.

Flames on the front fender, too.

Super tight.

Another couple of decals. Big Boy loves it.

I'm calling it showable at this point.


All better with some tape
Front fender and horn are next. Now that I can get at them. Short bolt to the bottom of the tree and long bolts through the tree to the horn.
Fender goes on.
Short bolt here.
Cleaned up the horn some. The wire connection is still broken, but I will put it on for now.
Horn shoehorns in.
Two long bolts here.
Up through to the nut plates on the horn.
Cable guide goes here.
Big boy gets it done.
Looking good.
I missed the picture of the pigtail doing the half twist into the reflector. The top of the trim ring catches the bucket and screw holds the bottom.
Looking good.
I just stuck these ties on here for now. I need to look at some internet pictures to see how these are supposed to actually fit and hold stuff together.
I have to clean the greasy fingerprints off the frame, before I put the decals on. .
Big Boy wanted a black bike with "skeleton heads" and flames, easy enough.
Oh man this frame seam will affect where I need to put the decals.
Here you go.
Other side.
Almost symmetrical.
Flames on the front fender, too.
Super tight.
Another couple of decals. Big Boy loves it.
I'm calling it showable at this point.
Subscribe to:
Posts (Atom)