Search

Search all blog posts here.

Search This Blog

Showing posts with label Trail 90. Show all posts

Saturday, November 17, 2012

CT90 Seat Cover Replacement

My Trail 90 seat was looking rough and I wanted to get a new cover on the foam starting showing worse and the foam could be damage.  I brought this one from dratv.com. I am a little bummed that the seams don't have the stitch details. This cover appears to have cooler seams, no logo. Sadly probably the best bet for a little more money would be this whole seat. Oh well, this is the cover I got and what I will run.


The new logo is taller, but narrower than the original, too.


Here's a look at the poor old seat's problems.


There are 8 rivets with clips and a bunch of bent over teeth holding the cover on. Pop off the clips and save them. Bend all the teeth straight out.


Oh wow the quilt part of the seat is totally trashed.


The new cover is nice and fluffy.


36 year old foam is quite a site.


This thing is dirty, too. So I wiped it all done with some Simple Green.


Getting the new cover on was a two hand job, so I didn't get good pictures. But from what I can tell, start with the nose first and pull everything down tight. I pulled each bit over the tooth and bent tooth down with a pliers. I used a cover on the plier jaw to keep the pretty side pretty.


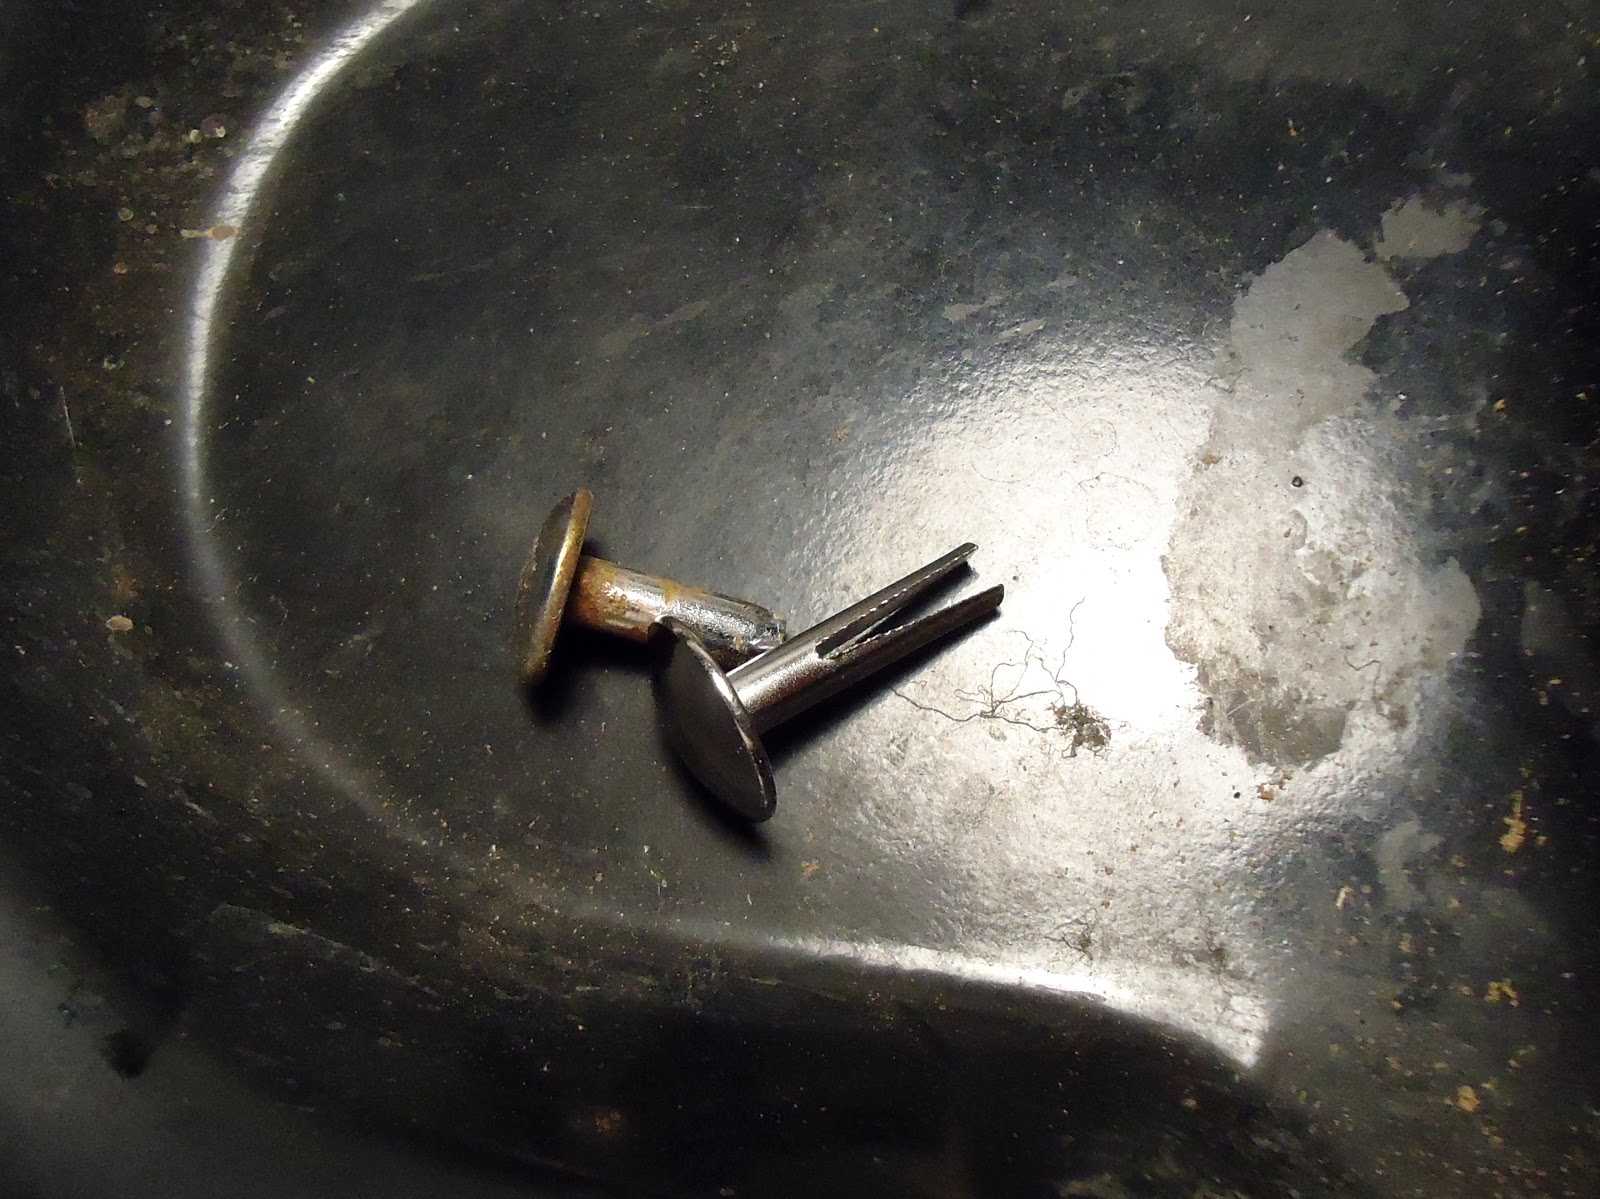
The rivets from dratv are different, too. I thought they would be used without the clips and just flared out, but actually using the clips seems to make things nice and tighter than without the clips.


Find the rivet holes from the inside first.


Then enlarge the hole from the outside.


Install the rivet through the cover, pan, and clip.


Bend over the tabs.


Looks okay. It could be tighter. I'm not sure if that is the installer or old foam being knocked down a bit. The shipping seams from being folded still show, too. Hopefully a few 100 miles and the seat will look better.


Tuesday, January 25, 2011

Honda earns its stripes

Okay, I have this '76 Trail 90 that I learned to ride on my Grandpappy's farm as very young man. I rescued it from my Dad's shop several yes back and did a cosmetic restoration, but I never really finished it. It a good from far bike, but far from correctly restored bike, but it's mine and it's fun. So I finally got a set of decals for it, to put it in the show next month. The instructions are pretty clear.


Original airbox and the replacement side by side. The original's decal is nowhere near straight or centered down the middle ridge of the airbox, but I think it should be.


Clean with alcohol.


Figure out the center of the decal.


Painters' tape to mark to the ridge. It is really tough to see.


Mark the other end.


Mark the bottom line for the decal. 0.75inch off the ridge.

Blue tape just below where I want the sticker.

Alcohol the area again.


Mist with soapy water per the instructions.


Peel the backing.


Stick it and leave a tiny line of orange above the blue.


Carefully peel the other backing.


Work out any bubbles and make sure it's where you want it.


Looks good.


hhmmm... I think this one is as downhill as the original was uphill.


Frame cover time.


The hump on this late model CT110 cover is in different place than the original cover.


The complex curves made this side tricky. I had trouble laying the blue tape and the getting the decal stuck down.


Looks great! With all the angles you couldn't tell if it was right or wrong.

This side was easy, just a straight shot.


I got this sticker, but I ain't putting it on. Preserve nature? Wear helmet? Think safety? Don't freaking tell me what to do!


This is a cool one though. I doubt this bike will ever see 6000ft, but it's nice to know it could.


Tire pressure is important, too.
I'm not sure where the no passenger sticker is suppose to go. Why did they put buddy pegs on the swingarm? The lo range sticker goes on the chainguard, but I would have to move the bike to put that one, so I'll do that later.