Search

Search all blog posts here.

Search This Blog

Friday, December 31, 2010

Spotlight bar wiring

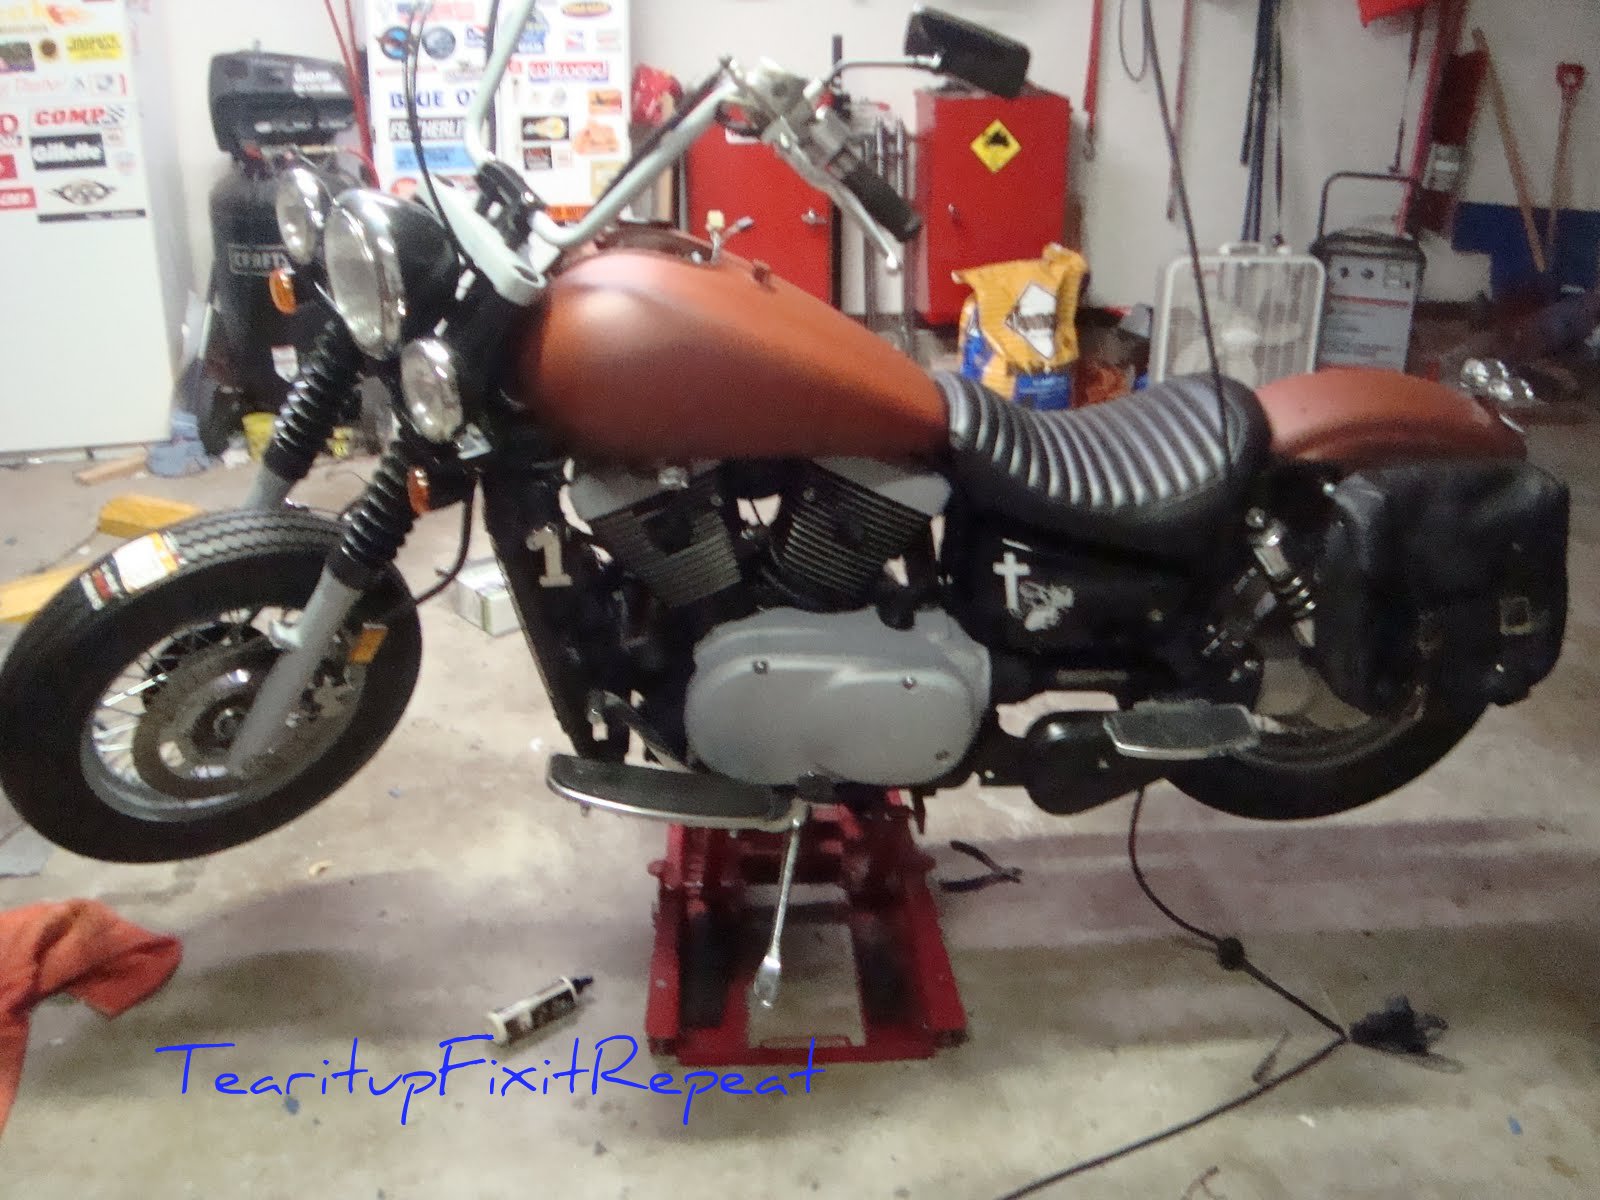
Okay here's how my spotlights were wired and working before the rebuild, but they haven't been working since the rebuild.

There's power with ACC circuit under the tank and power to the switch, it's lighting up.


So I either goofed the connections at the relay or the relay quit on me. I'll have to open the headlight bucket and see what is going on. Here's the relay.
Yep, I wired the connections backwards. Now everything is good to go.

Sidestand Switch and Starting on a Vulcan 1500

I am so freaking tired of everyone saying check for a dirty sidestand switch when a 1500 won't start. That switch in connected to the run circuit not the start circuit on the 1500's.
http://tearitupfixitrepeat.blogspot.com/2010/08/if-your-1500-vulcan-wont-start.html

I goofed a bit and said neutral switch when I meant sidestand switch, but I corrected it in my video.

Wednesday, December 22, 2010

Awesomeness

Four years and a few summers at the top engineering school in the nation and I get to do things like this for a living.

Yes that is tape and posterboard so no one will stick his/her finger past the side guards and get hurt by the exposed spinning arbor.

Saturday, December 11, 2010

Red Rock Shakedown

Time to add air to the tires and get the electric glove plug out.


Dang! I haven't even put this thing on the street yet and I scratch the fender with the seat digging the plug out.


Twenty miles later in Tuttle. I crossed the Chishlom Trail.


Tuttle's VFW is well armed, too.


Wind farms around Tuttle and Minco. I don't know why they weren't all spinning fast today.


Gas and coffee(or at least warm brown water) at Hinton.

Red Rock Canyon, watering hole on the California Trail. I wish I had a helmet cam video of the descent for folks that haven't been there before.


Sun sinking over the canyon wall.


The east wall.


Here's a close-up of that tree. I thought the roots were cool.
Polish and pose.


I burnt down the interstate coming home. Oklahoma wind and roads are terrible.
Almost Home. Here's how windy it was. Look at the size of that flag and it's straight out.

Wednesday, December 8, 2010

Saturday, November 20, 2010

Parts for sale

Email dibs to: tearitupfixitrepeat@cox.net I will be unavailable during Thanksgiving, but hit me up before Monday or don't expect an answer before next Monday.

Kurykan Iso-grips. Used. I hand them on my 1500 Kawasaki and they should other models. Look great, work great, and feel great $30 plus actual shipping


Dual fire tach with one inch bar clamp. Used. Worked great on my Kawasaki 1500, lightbulb is burnt out, but replacements are readily available. $40 plus shipping. I will sell two piece top riser clamp set with it for $10 more.


4 by 1 Risers. Thread for 1/2-13 Useable not perfect. The will fit on 1500 Kawasaki Classic with adaptors or a drilled top tree. They have dimple from being installed with a bolt that was too long, but they still work. $20 plus shipping. I can sell two piece top clamp with them ONLY if the tach buyer doesn't want them for $10 more.


Monday, November 15, 2010

New old tank

The new old tank is prepped and painted, so I have to get the hardware off the old tank. Of course the old tank if full of gas so that has to get rid of that first.


The cover for the cap is already off, because it was powdercoated black.


Two screws hold it on.


And the keylock.


Two bolts hold the petcock on.


Put the cap off the fuel gauge sending unit.


Four bolts under that...


Fishing the sending unit out of the hole.


Okay now to put the hardware on the new tank.

This is odd, the shoulder bolts on the left held the sending unit and the regular bolts came with the new sending unit gasket.


This is the difference the new gasket has spacers in the holes and the old didn't.


Gasket on.


Fish it in.


Put the tank mount grommets in.


New gasket for the petcock.


Looks like we left some spare bare metal.


Cap on.


Three tiny screws hold the cover on.


Tiny screws. Try not to drop those in to the tank.


Success, but the tiny screws were tricky.


I put this picture in to show that you can remove/replace the gas cap assembly with the cover still in place.


Ready to go on to the bike.


Almost, I don't like the bare metal done here. So I used a touch-up brush to cover.


Not pretty, but it won't be seen and hopefully won't rust too fast.

Fresh battery.


I hate these little square nuts. I was actually successful using a 90 degree hook to hold it in place and start the bolt. Another thing, don't be tempted to use a No. 3 Phillips screwdriver to tighten the bolt, use a 10mm socket and rachet to get it good and tight.


Back to the tank. Connect the overflow/vent lines on back of the tank and one fuel gage sending unit. Connect the sending unit plug to the harness. Gas line to petcock and the two mount bolts.


Put the seat on with the nose clip and the two bolts.


That does look cool. Even if it was my idea.

oh yeah.


There should be a rubber grommet here, but I took it out to run a tank bib. Now I don't want a bib, but I can't find the grommet in my spare pile.

Here's the jury rig of the day. Wrap the dash tab with electrical tape.

Perfect!

Ready to ride. Still need to fix the spot light relay problem, some pinstripping, and may be some more de-chroming but it's good to ride now.