So here's the deal on an 08 Dodge Grand Caravan with the 3.6L, and others I'm sure, have this problem that is kind of hard to track down. When get off the highway and stop you'll smell burnt antifreeze. There's never an obvious leak or puddle and regular pressure testing doesn't seem to find the leak.You have to stop immediately when the smell happens and open the hood to find the problem. This plastic Y-pipe leaks.
When it leaks the antifreeze hits the exhaust manifold and instantly evaporates. So you get the smell, but no other evidence.
Here's better look at the Y-pipe in question.
This pipe has broken on me twice now. This is the stupid part. To get a replacement you have to go to the Dodge dealer and spent $100 and you this much extra stuff. When the Y-pipe and the hoses are all you really need.The dealer would probably charge you the full 1.8 hours to swap the whole assembly, too. That's about $300 total. A smart mechanic would still only swap the needed parts in about a half hour and sell the scrap aluminum and the business office still gets the 1.8 hrs of labor.
Last time I just used the stuff I needed from the big mess, but this time I decided to search the internet and found a easier/cheaper way. I found a great solution. There wasn't any picture filled write-ups so I put this together. Start with a Murray 84757 - 5/8 inch Plastic Y-pipe. I would love to find an aluminum or stainless version that would last forever, but for $7.99 a plastic one is cheap enough that carrying a spare in the van tool box is not cost prohibitive.
You'll need some 5/8inch heater hose and hose clamps.
Now let's get to it. One of these funny new style clamps.
That end's off the engine.
Now these permantent type clamps need to go. There are tougher. I could have cut off the hoses, but I didn't want to come up short of the pre-shaped hoses. So cut the bands with a razor blade.
Man they are tough. Don't loose any broken pieces in the radiator hoses.
Now get the second one off.
For breaking so easy this thing is dang hard to break off.
Y, hose piece, and clamps to match up with the original.
In place.
The other hoses go onto the Y with clamps. Don't over tighten the clamps and break the Y.
Good to go for another 50,000 miles hopefully.
This is where I photo document the projects I'm working on, fixing, or fixin' to fix.
Search
Search all blog posts here.
Search This Blog
Saturday, August 25, 2012
Wednesday, August 22, 2012
CT70 Valve Lapping and Head Build-up, plus some
It's been a very long time since I have worked on the Trail 70 for my big boy. The Shovelhead shelled out real bad right after I got the Trail 70 torn down, so it sat under a blanket on my bench for over a year. I wouldn't have torn it down if I had known it would sit so long. I would have waited, but I'm glad I took a lot of pictures of the teardown. Any how...
I'm going to lap the valves and rebuild the head first. It's a good place to start.
The exhaust valve port is nasty so I want to clean that a bit.
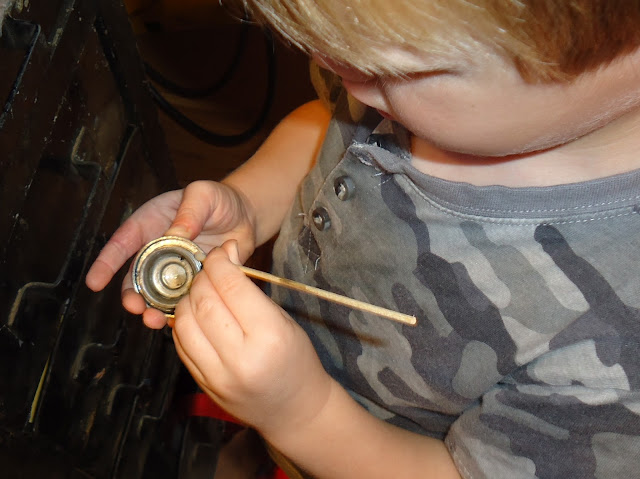
Baby boy helps clean tappet covers.
Lapping compound on the exhaust valve.
Slide it in.
Big boy gets a lesson on valve lapping.
On to the intake valve.
I think that's good. So I need to wash all the lapping compound out of everything.
I think that looks good.
I'm going to Simple Green soak the bare head to try to get the oil and dirt off of the fins.
The valves go into the oil bag to stay rust free for a day or two.
The head is looking better. I should really mask and bead blast the thing, but it's clean enough. Here I am again taking a clean part and covering the steel parts with oil.
Here's everything you need for the exhaust valve. The collar and seal are only on the exhaust valve and not the intake.
Valve goes in.
New seal going into the collar.
Collar onto the valve stem and guide.
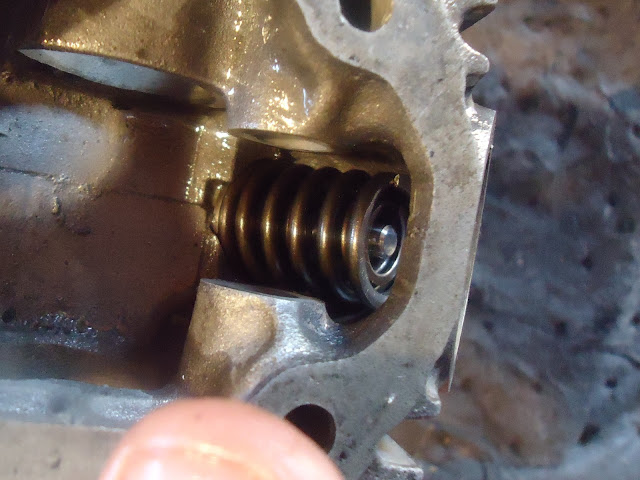
Springs on.
Top collar on.
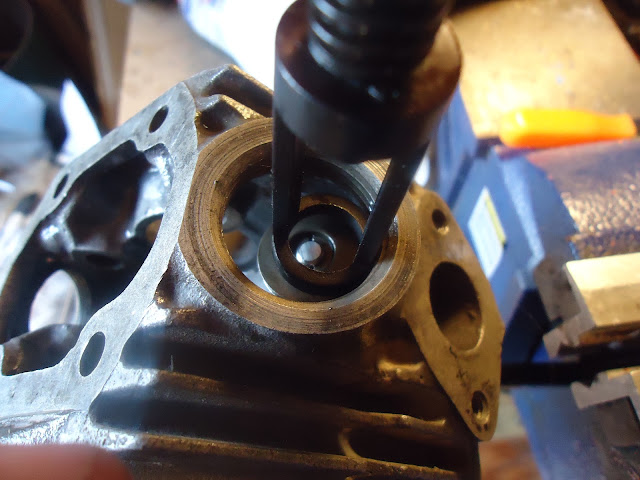
Now to the valve spring compressor.
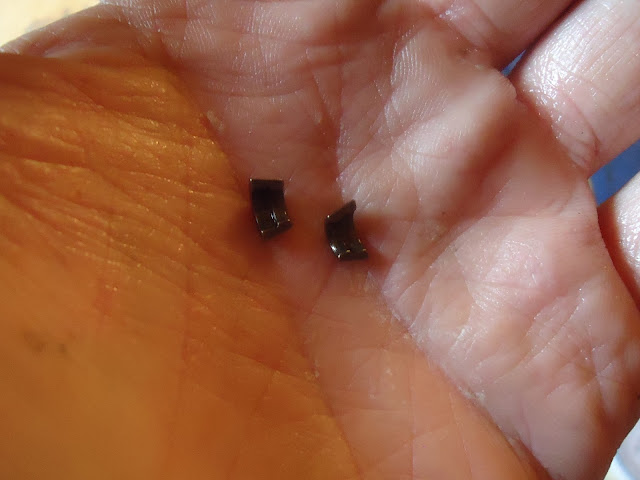
These keepers are extra tiny.
Good to go.
New intake valve and old hardware.
Valve in.
Springs.
Collar.
Keepers in.
Both valves in.
Time for the rockers and tappets. The rocker shafts are threaded on one end to help you take them out. It doesn't really help going in though. Brand new OEM rockers, too.
Looking good.
Here's the tiny tappet and lock nut.
I put these in kind of loosely, because I know I will have to adjust them in time with the motor later.
New o-rings in the tappet covers.
Again I just put those in loosely because I will back into them.
Add this oil routing cover with a new gasket.
Looks good.
The long bolt is just hanging out. The cam and cover will go on later.
I was just about to put my tools up and put the blanket back on everything, when I found these on my bench. They aren't bagged, but look important.
I thumbed through the parts book and these looked right.
Luckily the other two were where they were supposed to be. So it's good that I found them.
One more thing, this cover was painted originally but looking rough now. So it will head over for powdercoating to new cooler finish. This clutch thingy needs to come off though.
Looks like a seal goes here, too. Hopefully that one is in the gasket kit that I bought.
Subscribe to:
Posts (Atom)