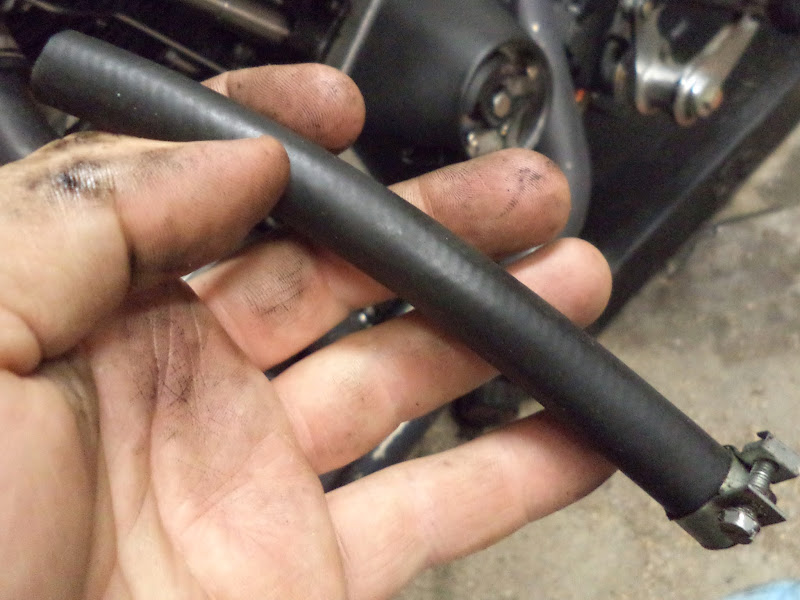
Another suggestion I got to improve my breathing was to get rid of the chain oiler style breather and go with a simple straight fitting.
Pull the hose clamp and hose.
Remove breather fitting.
Get a Straight 1/4" NPT x 3/8" hose barb fitting from the hardware store. I put some pipe tape on it not to seal it, but to keep the brass and aluminum thread from galling together.
Install fitting.
Install longer hose, and hopefully that will help some more.
This is where I photo document the projects I'm working on, fixing, or fixin' to fix.
Search
Search all blog posts here.
Search This Blog
Thursday, October 30, 2014
More on ignition weights and such
I went to buy new weights, but all I could get quickly was a full set of points with all the hardware, too. That's okay; I'll have some extra stuff for about the same money. Racerjim made a good point about checking to be sure the sides of the cone would clear a new set of weights and yet it appears that one side is a bit tight.
So I filed it down a bit and cleaned out the shavings.
I have messaging back and forth with HaWgRyder, too. I was trying to figure out his tip about drilling a hole in the points plate to allow the weights to be lubricated without pulling the points plates. Hopefully, I am following what he said correctly. His suggestion was a 3/8 inch hole about the 7 o'clock position. And don't try to drill with the plate installed in the cone.
Get this wire out of the way.
Center punch.
Center drill to start a hole.
Step drill just like OCC does.
Seems good.
A quick look and you can see the posts.
And check the springs, too.
But with everything in place, oops that's not a great place for a hole.
Make a new hole there as well.
That works.
I'm going to try these roller bearing style weights this time.
A little bit of grease.
All reassembled.
Weights into the cone.
New stand offs from the kit. Timing marks nice and lined up.
Hmmm... lots of extra hardware from the kit.
Yep, the old stand offs had washer and lock washers.
Let's redo that.
All back together. I swapped the tiny allen heads for the phillips from the kit to make it easier to mess with on the side of the road.
Monday, October 13, 2014
Stroker's gotta breathe
So, I'm blowing engine crank seals as fast as I can put new ones in. I know my breather timing is correct. But after talking to a bunch of people, I'm suspecting crankcase pressure is still the problem. I have heard of removing the screen from the breather gear, but I was hoping not to have to. Here's was the instructions from the S&S Sidewinder kit says though.
Time to drive fast and take chances I suppose. Let's get going.
Pushrods come out first.
Do that three more times.
Points cover off next.
Lots of "glitter" in there. That's not good.
Double check the marks for timing.
Remove the points plate.
Glitter.
Cone cover bolts.
Oops. This bolt needs to come off before the cone cover.
This is where the glitter came from. I guess I need a new set of weights, too.
ugh, wear spots.
Finally down to the goods.
I'm dumping this part. It wasn't what I needed and it's not helping it breathe either.
Don't lose this shim, it is for the breather gear.
Note the timing marks because I know they aren't stock.
I pulled the cam, but probably didn't need to.
Pulled the breather gear.
Screen needs to go.
I used a scratch awl to pop one end loose.
Grabbed the loose end with needle nose pliers and kept twisting.
Out it came.
Worked the cam back in. That's a way tougher job than it should be.
Fresh gasket.
Bolt cheat sheet.
Criss-cross install and torque.
Dang forgot the shim.
Open it back up and install the shim.
Re-install the cone cover and pushrods. I can't finish because I need new ignition weights,
Time to drive fast and take chances I suppose. Let's get going.
Pushrods come out first.
Do that three more times.
Points cover off next.
Lots of "glitter" in there. That's not good.
Double check the marks for timing.
Remove the points plate.
Glitter.
Cone cover bolts.
Oops. This bolt needs to come off before the cone cover.
This is where the glitter came from. I guess I need a new set of weights, too.
ugh, wear spots.
Finally down to the goods.
I'm dumping this part. It wasn't what I needed and it's not helping it breathe either.
Don't lose this shim, it is for the breather gear.
Note the timing marks because I know they aren't stock.
I pulled the cam, but probably didn't need to.
Pulled the breather gear.
Screen needs to go.
I used a scratch awl to pop one end loose.
Grabbed the loose end with needle nose pliers and kept twisting.
Out it came.
Worked the cam back in. That's a way tougher job than it should be.
Fresh gasket.
Bolt cheat sheet.
Criss-cross install and torque.
Dang forgot the shim.
Open it back up and install the shim.
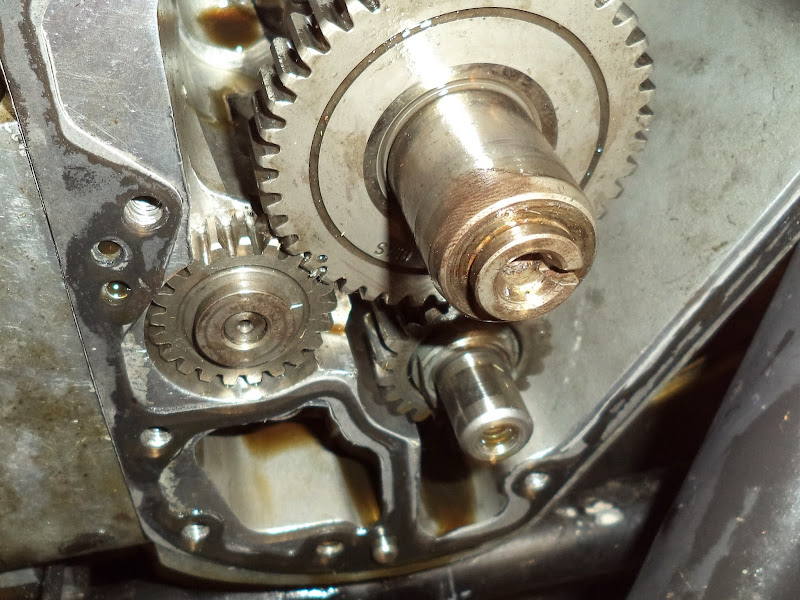
Re-install the cone cover and pushrods. I can't finish because I need new ignition weights,
Subscribe to:
Posts (Atom)