I usually give all the pictures and details of everything that goes wrong when I'm building something, but I'm not going to this time.
The short story is when we went to torque the kicker shaft nut, which happens to be the part as countershaft nut and pulled the nut's threads.
Déjà vu. The kickershaft threads were toast, too. It was actually lucky because somehow we had missed these nasty worn out busted up teeth on the kicker crank gear. Replacing this now will save my knee later.

KevJer donated a good crank gear, I bought a new kickershaft, 16 tooth starter gear, mainshaft kicker tab washer, new kickershaft nut, and key washer. I've put this post together as how-to and not truely a documentary, so some of these pictures still show the old crank gear with the round stop and some show the new gear with the squarish stop and one missing non-critial rivet.
Here's a little bit of the backing up to go over. It's also good to show how to replace the starter gear without a full transmission teardown.
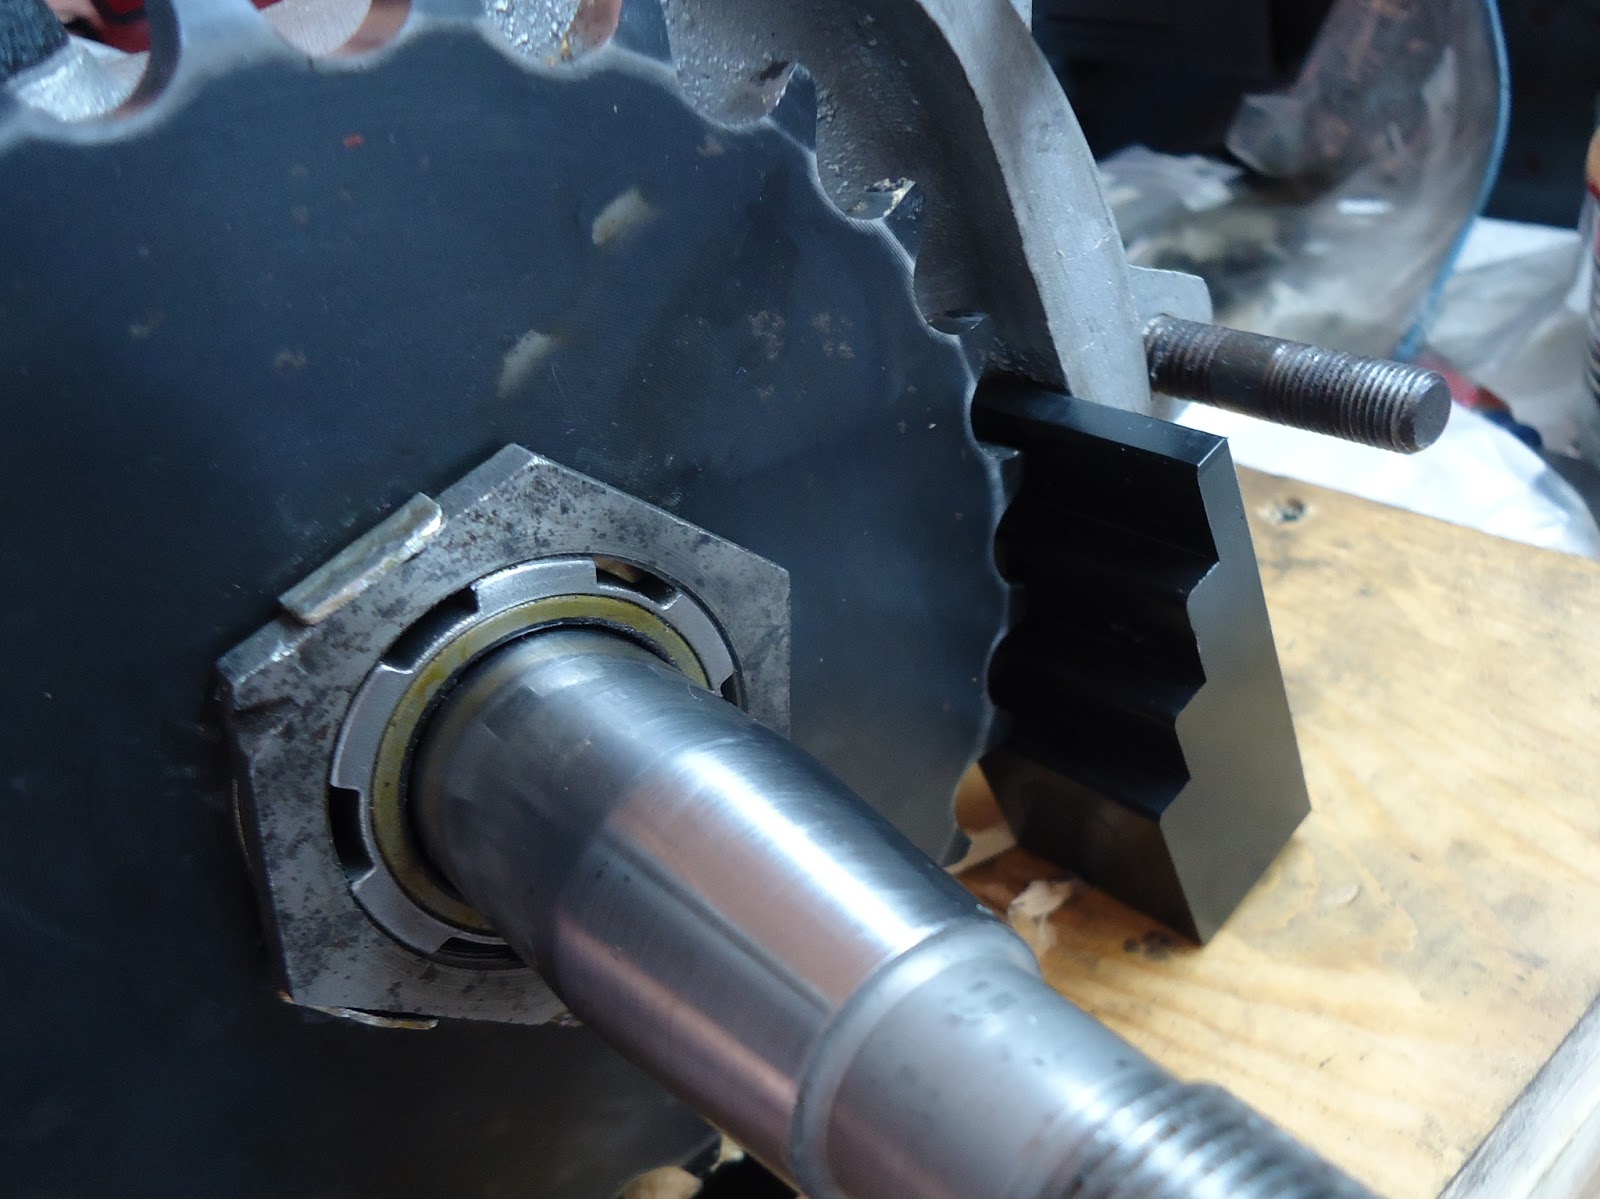
This nut needs to come off. So unbend the tab washer.

An impact got this one of just fine without the need to lock the transmission up.

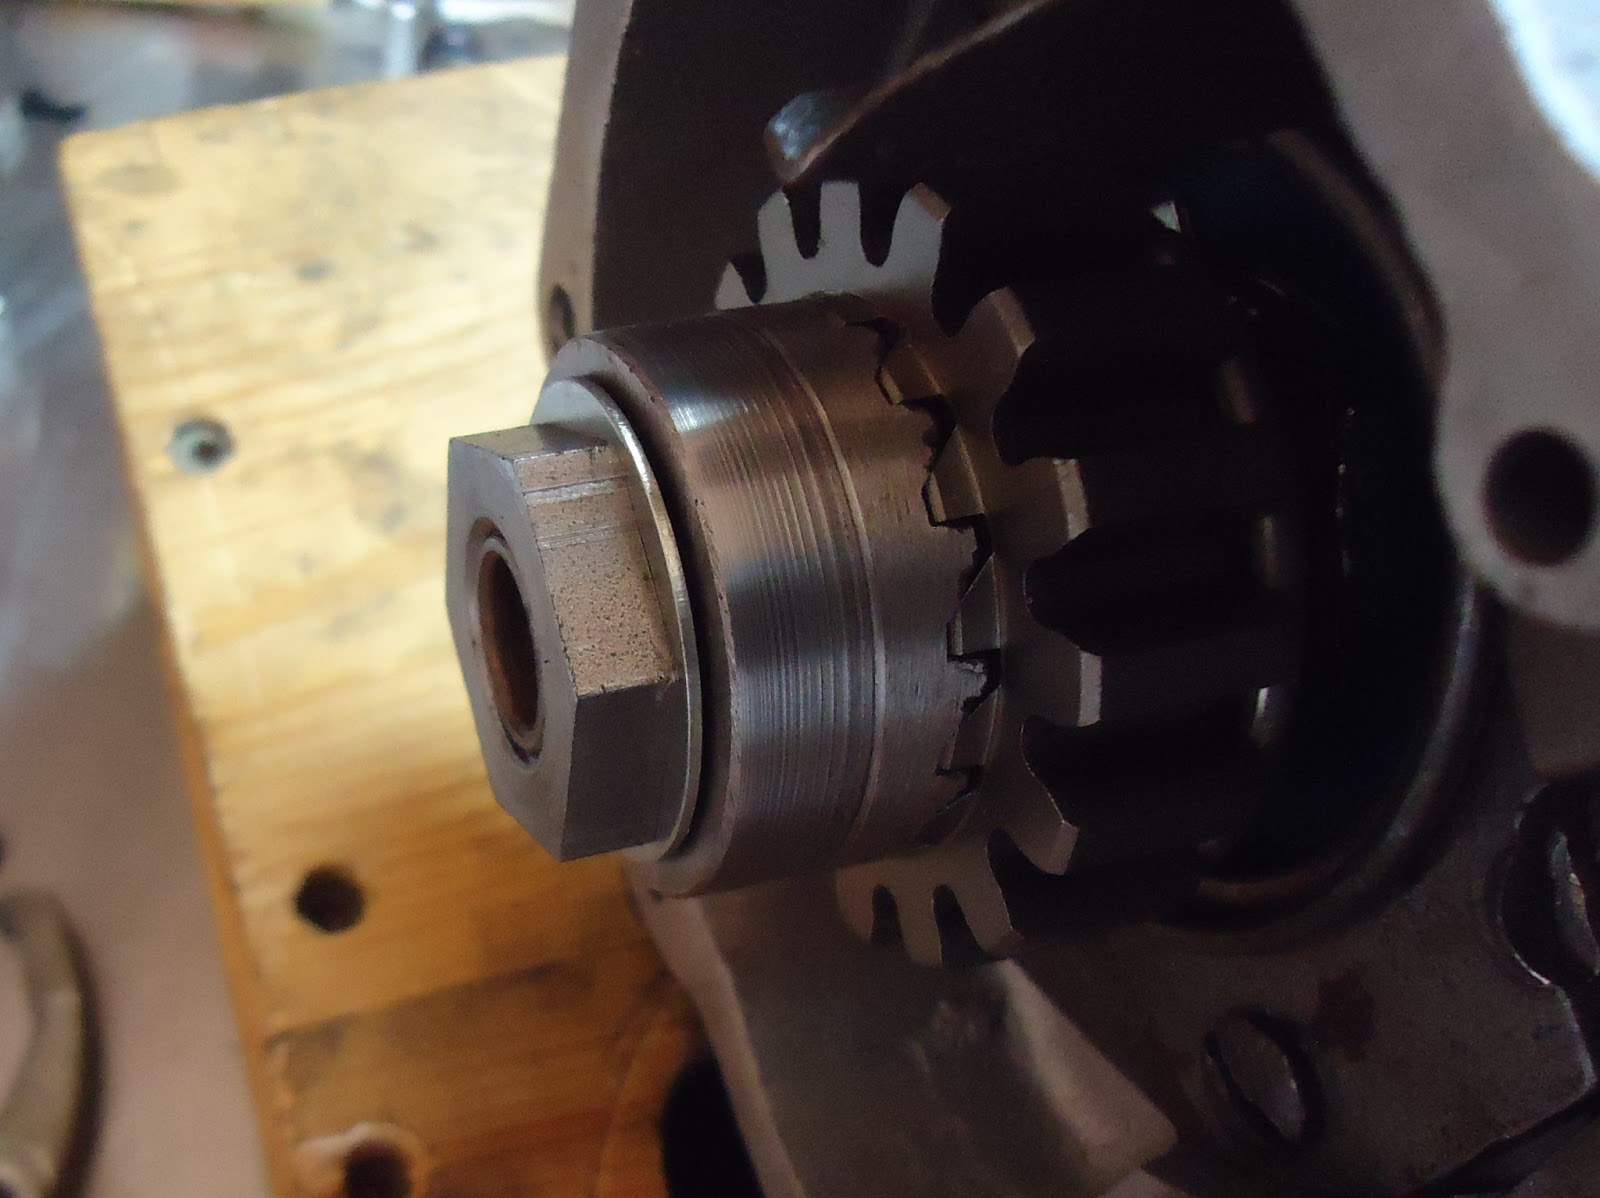
The starter clutch, key, and starter gear need to come off off the taper.
Remember this?
Now go crawl around on the floor until you find the key that flew off with the gears.
I was real curious as to how a 16 tooth and 14 tooth starter gear could both mate up to same crank gear. They both work fine, but the 16 tooth is suppose to easier to kick. We shall see.


Starter gear goes here.

Key goes here. Remember there's an up and down to it for it to fit.

Starter Clutch gear, tab washer, and nut go on. How we going to lock up the transmission to torque the nut when the lid is already installed?

If you put the transmission in first and plastic primary chain wedge nicely right here.

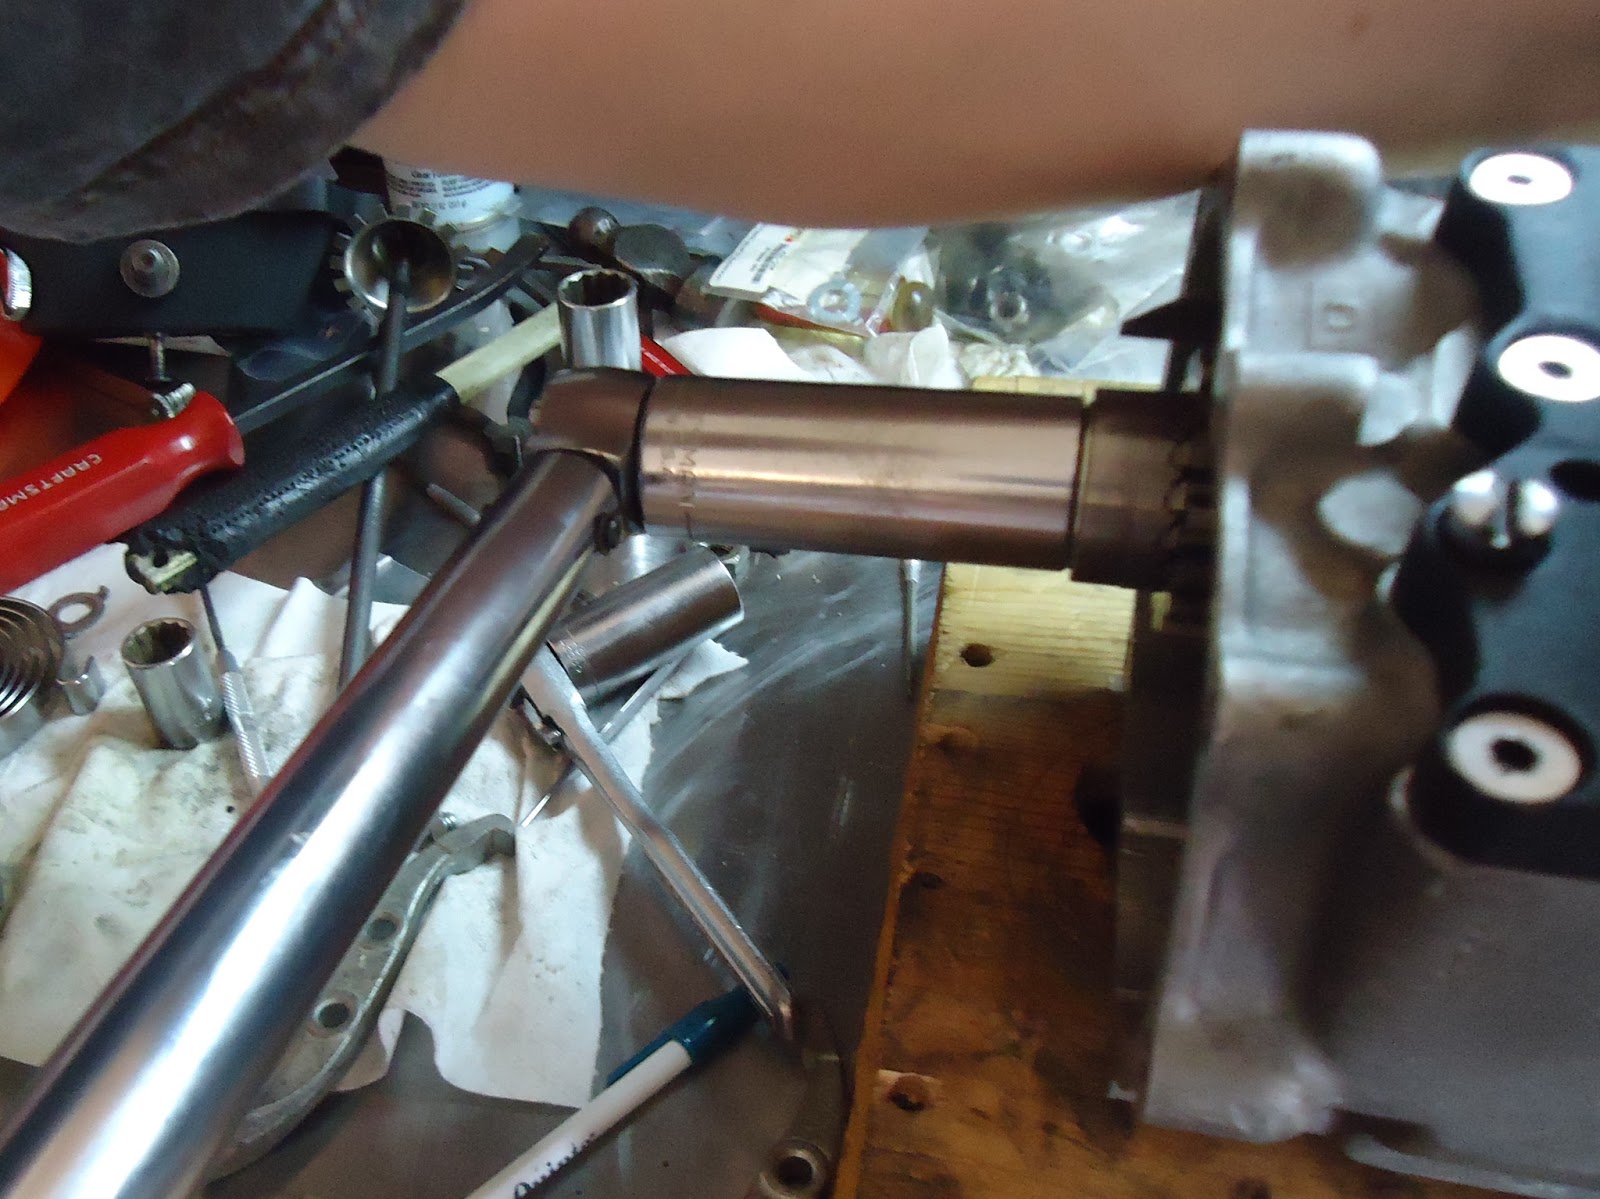
Torquing the nut is not a problem.

Bend the tabwasher.


Re-install the pushrod assembly.

Kicker cover and pieces all laid out.

This has most of the parts shown, but I wasn't able to get any diagrams with the clutch release related hardware. Given the mod's to this cover with the bushings and seals already in place I omitted those from this diagrams as well.

Fill plug(1) threads into the cover(2).

The clutch release parts laid out. (L to R) Clutch release finger stud, clutch fingers, thrust washers, and e-clip. This set-up goes with the heavy duty aftermarket cover. So I don't know it if it stacks exactly the same as a stocker, but it should be close.

Stud goes through the cover, the finger, thrust washer, another boss in the cover, and thrust washer.

E-clip goes here to hold it all together.

Kicker spring stop(4) goes here.

Kicker shaft thrust washer(5) goes here.

Oil up the kicker shaft(7) and install it.

Work the spring(6) on.

Roll the spring and shaft until the spring end finds the stop.

Install the crank gear. With the spring hook touching it's stop on the outside, the crank gear stop should be foward and up from the straight down(when installed on bike) position in the cover.

Tabwasher(9).

Nut(10).

Hold the flats of the kicker shaft outside the cover and torque the nut.

Bend the tab washer.


Why not bend two.

We're not quite ready to install the cover, but this is a good time to show how the stops and springs would together so your kicker will return to straight up and down after you kick it.
The crank gear stop is marked with the arrow on the left and place it should rest is marked with the arrow on the right.

To make this work, get a wrench on the flats of the shaft.

Rotate the shaft so the stop of the gear finds it's resting spot in the case. You should be working against the spring and this point. This is the tension that will put your kicker arm back up straight every time. I'll do a video of this when I do my final install.

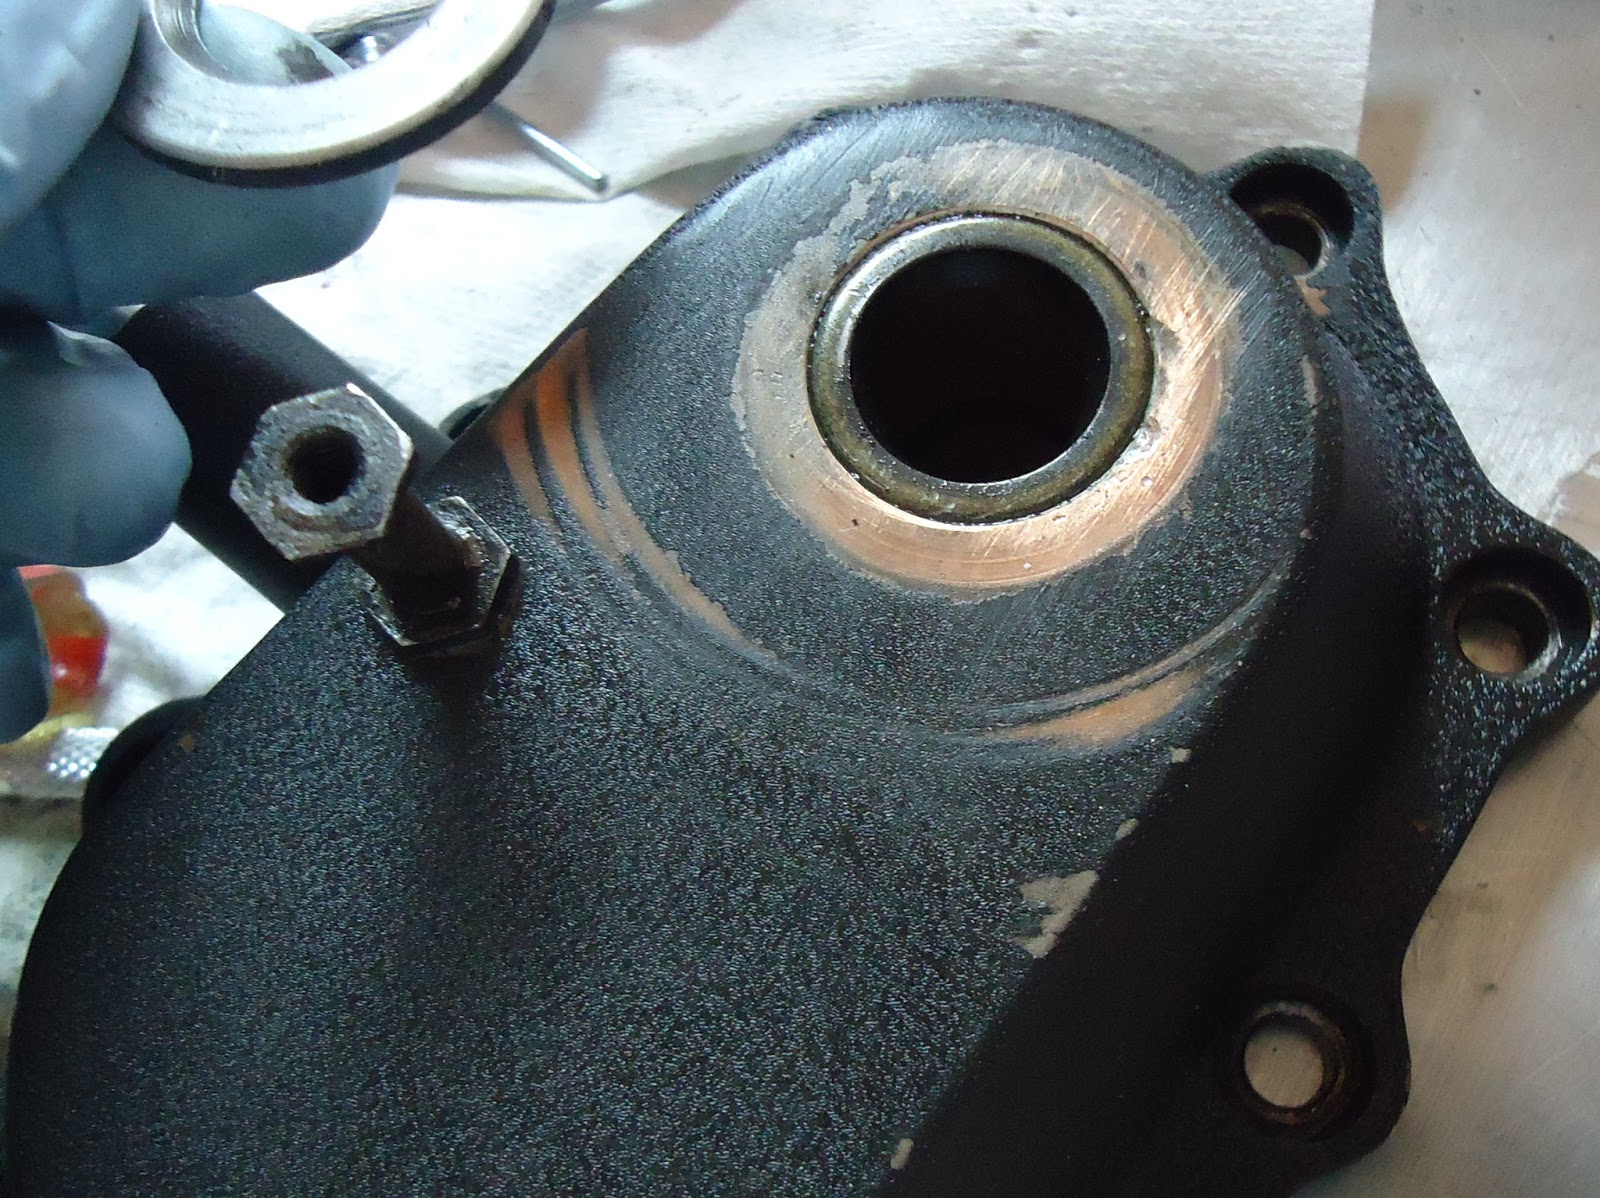
Meanwhile this is when I discover that this hole seriously needs a heli-coil repair. That would have been easier to fix on a bare case before I build the transmission. Getting closer, but it's always something.