Freshly powdercoated parts!

First stop, the bath tub. I think the powdercoater washed everything, but you have to make sure that there is not blast media or loose powder in your sliders.

Fork legs laid out. (and who works in shower shoes?)

The bolt goes through the slider, the spacer inside the slider and threads in the end of that rod.

Snug this hand tight. (We can't torque yet without a special tool.)

There is a sleeve that has to be driven until it bottoms out. 
Then a big washer sits on the sleeve.(not pictured)
A new fork seal.

Put a plastic bag over the end of the tube and lube with fork oil to avoid nicking the new seal on the edge of the tube. Be sure that you put the seal in facing the correct direction. Looks like the old ones had little twin squares marks up.

Drive the seal in. I have to give a shout out to Okie Smoke for lending me the 41mm driver.
Seat the seal until the ring groove shows.

Put the snap ring in.

Treat the wiper seal like the oil seal.

Get it seated.

Spring goes in.

Washer and spacer next...

Plug on the end.

This little ring holds it all together.

Shove the plug down past the ring groove and have your wife put the ring in the groove.

What no fork oil????
Remember we didn't torque the bottom bolt?
The spring tension holds everything together so you can torque the bolt without everything spinning.
Add a drop of blue loctite and torque the bolt to 14.5 ft*lb. I should have bought two new copper washer for those, but I'll take my chances.
Now push the end plug down and have your wife pull out the ring and take out the plug, spacer, washer, and spring out.
Here's what you need to fill the forks with oil. Fork oil and a leveler. Mine's shop build and uses a Mity-Vac.

The Clymer manual said 460ml and a height between 5.31 and 5.47 inch.

Again put everything else back in the fork and have your wife put the ring in while you shove everything together.
Now to really built the front end. This cover goes there.
New covers.

Through the bottom tree.

Hmmmmm... these covers may not stay, depending on how the rest looks with it.

These Drifter rubbers are stubborn.

Put the top tree on and torque the bolt.

Push the tubes even with the trees.

Torque all the pinch bolts.

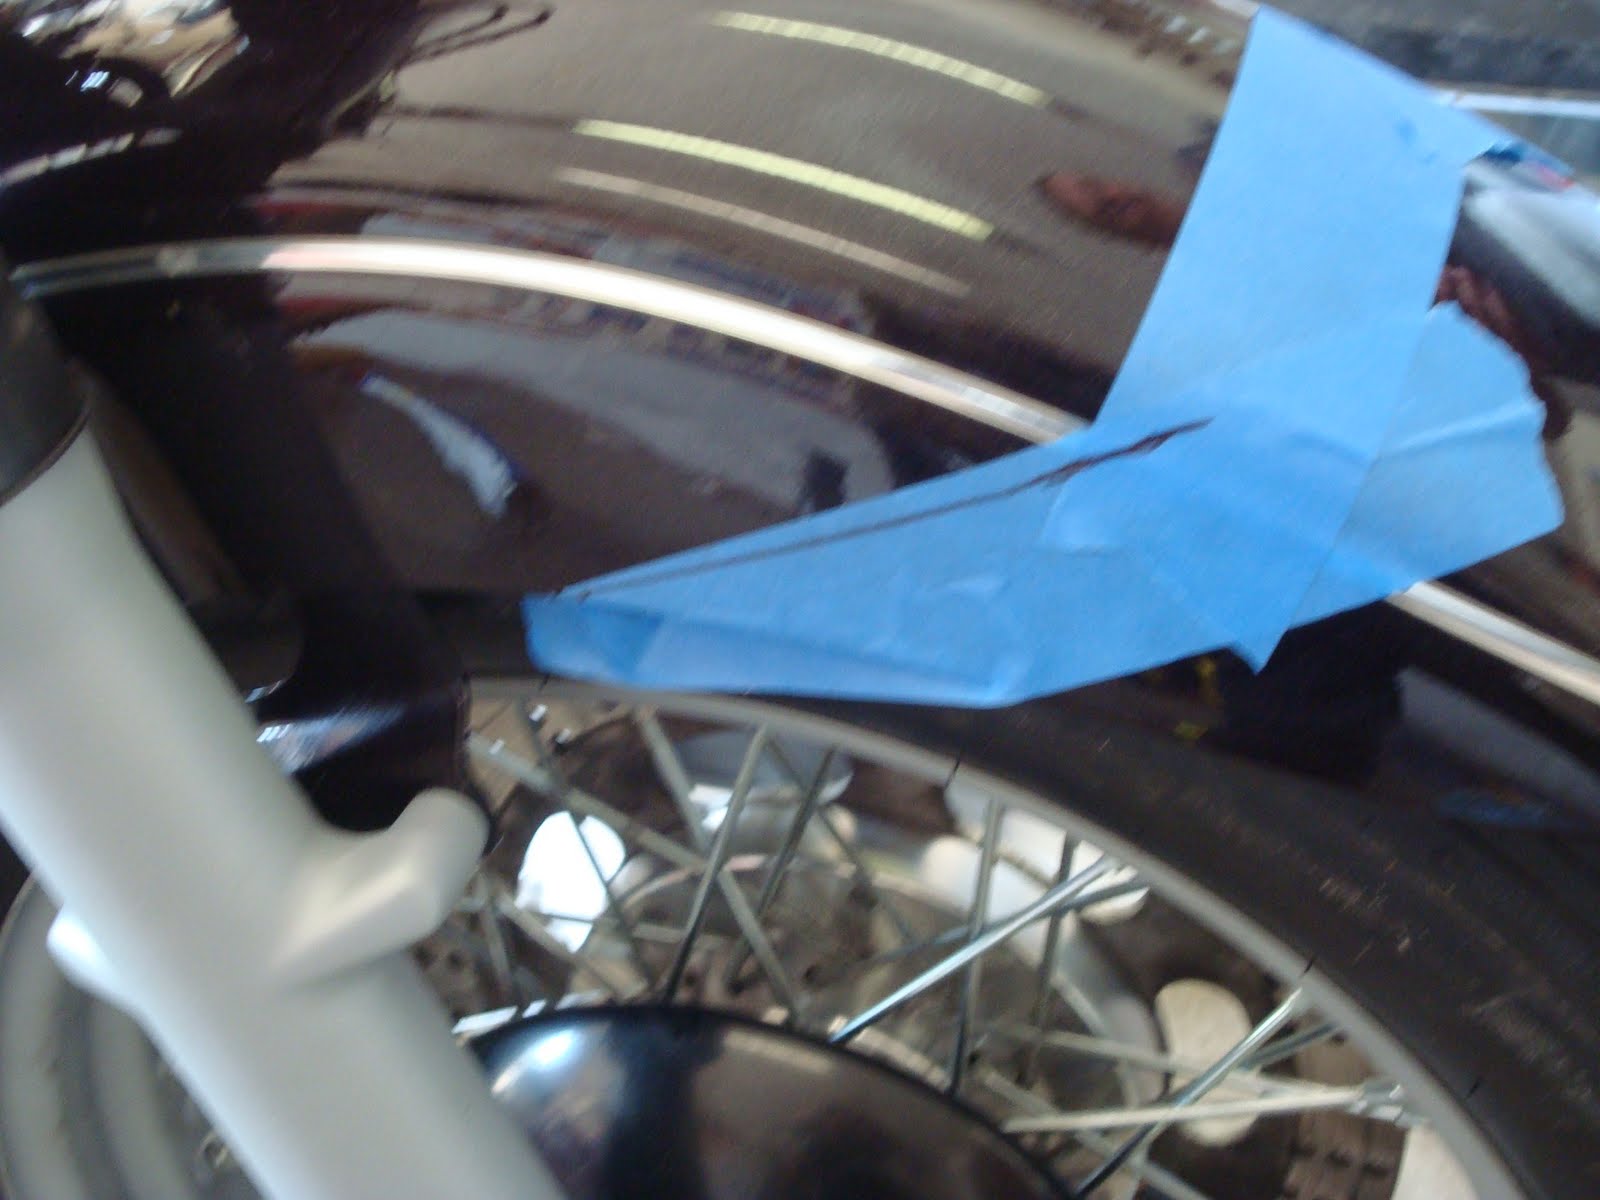
Four bolts puts the fender on.(We're be cutting that one down, too.)

Put the wheel on, not completely just for mock up.

Handlebar clamps.

Top clamp and bars.

New stainless clamp bolts.

Perfect window frame to see the word through.