Search

Search all blog posts here.

Search This Blog

Showing posts with label big twin. Show all posts

Wednesday, July 20, 2011

More on Shovelhead Lifter Blocks

Okay, I said I needed to get new hardware to make the new set of blocks work with my case. I really didn't know much more than that at the time.

I'm sure everyone who has been building bikes, longer than I have been alive already, knows about Big Twin lifter block bolts. So for everone else here's the story. From the 1936 Knucklehead until the 75 Shovelhead the lifter blocks had countersinks to properly position the block to the case. The case has 1/4 x 24 threaded holes. That's not a typo 1/4 x 24, not 1/4 x 20 UNC or 1/4 x 28 UNF. So those are special bolts.

This changed in 1976 when the lifter blocks had a small counterbore and would accept a standard socket head or 12 point flare head bolt in a regular 1/4 x 20 UNC thread. To properly install these blocks you need a special tapered tool with 1/4 x 20 threaded end.

So I have a case tapped for the countersunk special 1/4 x 24 bolts and 1979 lifter blocks with a counterbore only. Luckily ever more special bolts are made just for this occasion. Standard socket heads with a 1/4 x 24 thread. (I got these from a local shop that I don't like to spend money with or give shout-outs to, but they had them in stock and it was only $10)


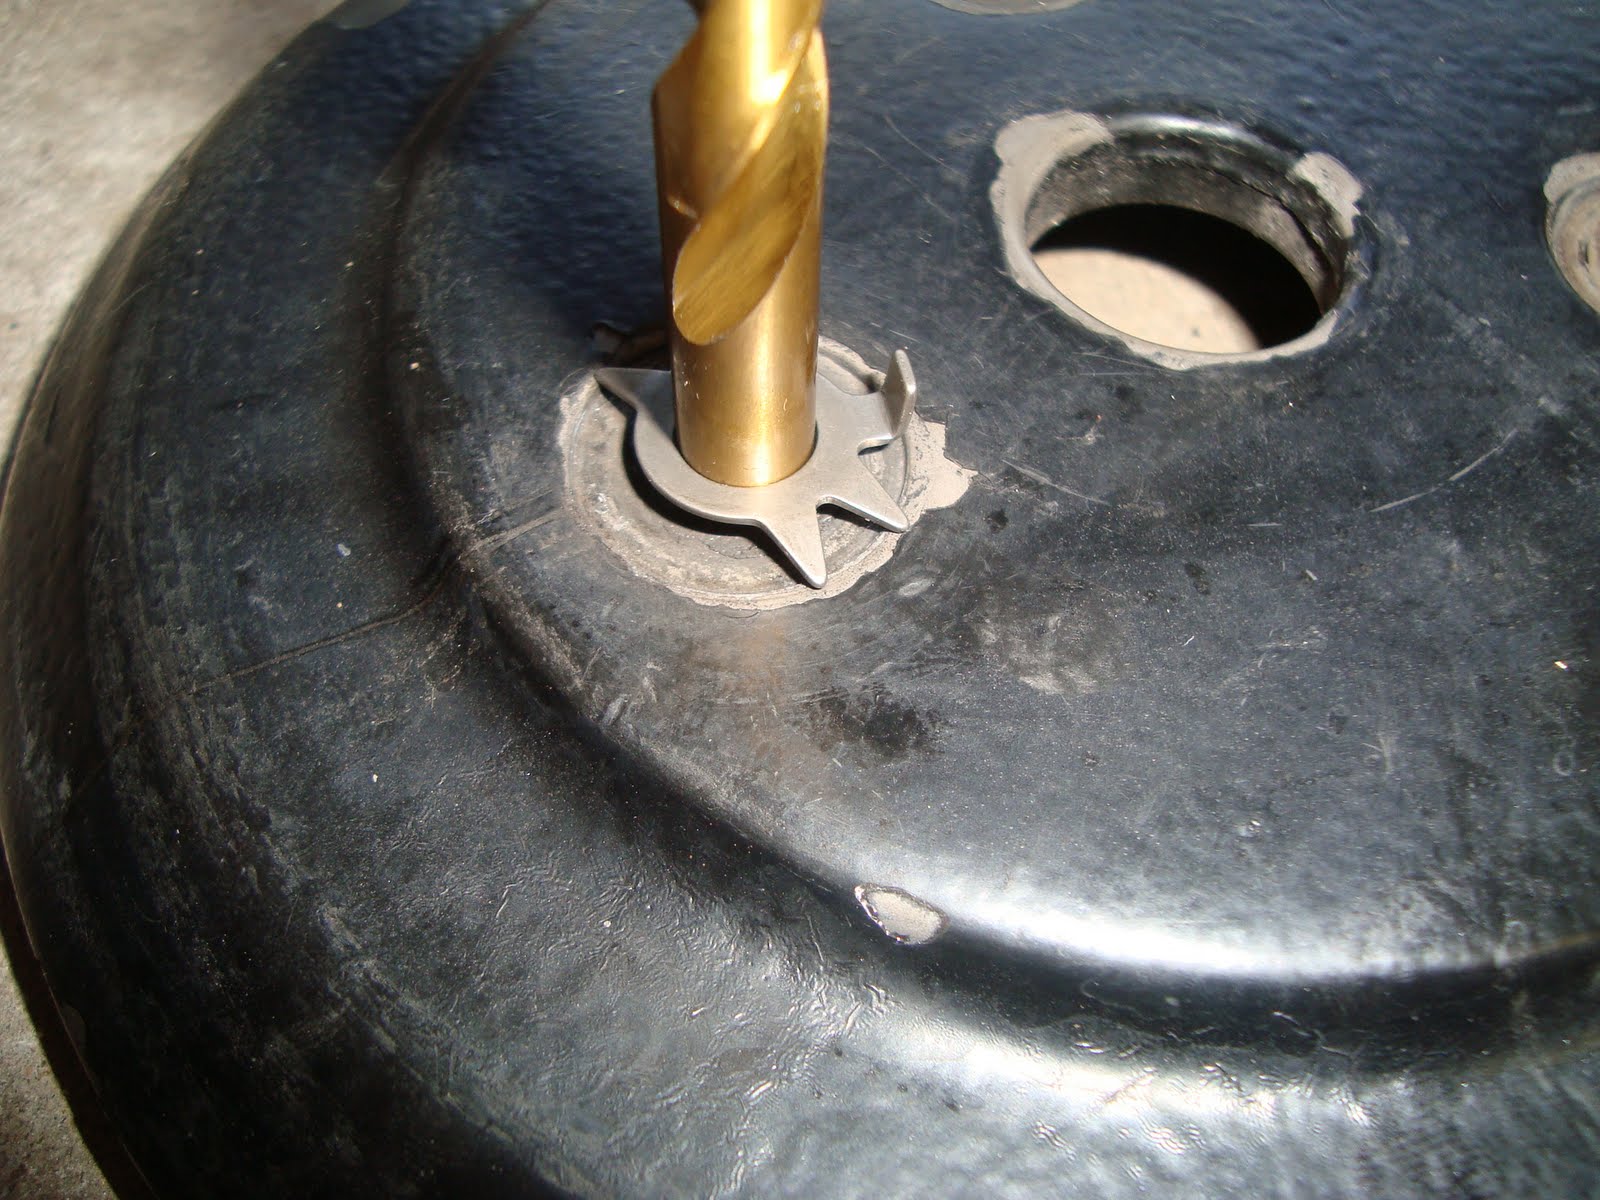
They actually make an alignment tool in 1/4 x 24 for these type of occasion, but no one had one in stock. So I used the old countersunk bolts to align the holes and blocks. I already put the gasket in here. More real Harley gaskets still available at the dealer.

Looks good.


New bolts go in and get snugged.


The other two new ones go in.


Torque per spec.


I almost forgot to clean the tappet screen. Remove cap.


Remove spring.


Remove screen.


This thing is plugged, too. This could have contributed to my tappets being galled and sticking. I should have bought a new screen, but I wasn't thinking about it.


Reverse flow(outside->in) with some air pressure got it good as new.


Assemble in reverse order and now my lifters are good to go.

Tuesday, May 31, 2011

Clutch Studs and Tab Lock Washers

First of all never wash a motorcycle. I had been putting off this project, but I washed the shovelhead and the clutch plates wound up all stuck together. I had to take everything apart to get the clutch working again.

Here's a stolen photo of a stock spring plate on a three stud clutch basket. Note the tabs at the nuts that keep the nuts from loosening.


Usually that is all covered with the primary covers, but I'm running a mostly open belt primary and this bigger spring plate to cover the springs. It looks good and keeps most debris out of the springs. However the nuts do back off and things get loose. I have tried just about every type of lock nut with not real success. I considered safety wire, but it seemed like something else to catch a pant leg on with the clutch spinning.


Here's what I got, 5/16 inch aerospace lock tab washers. MS9582-11, MS9581-11, or MS9276-11 will work. I believe Harley part numbers 7402 or 33318-85 would work okay, too.


This is how I take off the clutch plates without shooting the springs everywhere. Take the lock nut off first.


Loosen the adjustment screw, almost all the way out.


Get a big fender washer and threaded the lock nut on again.


Now take off the stud nuts and the plates come off and the springs don't fly off.


The first and last plates weren't stuck, but the rest of the plates came out like this. Stuck together tight. Don't put away the bike wet, I guess.


Bang the mess on the ground and everything comes apart easy enough.


Now to prep the plate. Looks like I need a hole right near the edge of the flat spot on the cover.


Perfect. (Even if the picture isn't.)


All three drilled. I should have put all the holes to the outside.


Now to clean the plates with brake cleaner and hit the frictions with some rough sandpaper.


Stack the springs. The holes may end up to close to the springs, but we'll see how it goes.


Restack the clutch plates.


Put the plates on like I took them off, and add the stud nuts.


Adjust and lock the adjustment screw and lock nut.


Everything looks good. I won't bend the lock tabs until I'm sure the tension on the springs is where I want it.


Saturday, May 21, 2011

Bigtwin Oil Pump and swear words

Well the sumping issues I thought I fixed came back.
So I need pull the pump off and work over the check ball seat. This didn't go very smoothly, but I have to post it so someone else can learn.


Rear pipe has to come off.


Pinch off the gravity feed line.


Unpinch and dump the oil, because it needed to be changed.


Two hex bolts hold the inner housing and four socket heads hold the outer and inner housing to the crankcase.


Some bolts are in tight quarters.


Outer housing comes off.


This tiny circlip holds the drive gear to the shaft. It's tough to get off, and will give me more problems later on.


Clip's off and the housing will slide off now. There's a woodruff key with gear so don't loose it.

With a little a tap housing comes off.


Another drive gear and another woodruff key.


I pulled the cap, spring, and ball. Here's the seat and I don't really see any problems.


I should have gotten more pictures of all the red silicon in the oil passages. Don't use silicon in a motor. This might be what was hanging open the valve.


I had Rusty at Okie City Customs work over my valve seat. He had a special tool for cutting and I believe he lapped with a Evo pushrod, too.


So here we go back together. Cap, ball, and spring go in first.


You can't really screw up putting in the gears. The the wide ones go the crankcase side and the drive gears have the slot for the woodruff key.


Key goes on the shaft.


Gear on the shaft and key. It's a bit tricky to get the gear on there and not knock the key out of place.


Ooops! Put the gasket on first. The bolts are just holding the gasket while I put the key and gear back on the shaft.


Inner housing with idler gear goes into place.


Bottom bolts put in temporary to align everything for the outer gears to go on.


Key and gear go on and it's tighter and tricker than the last one.


Together! Fresh oil and everything.


This is where the swear words started. After the struggle to get it off, how could I forget to put it back in? I have a brand new on the bench, too.


Back apart and struggling to get the ring into the groove, because the shaft wants to slip in a bit.


More swear words! I let the outer housing attached to the hoses when put the ring in. The housing scratched up the ceramic coating on my front pipe.


Even more swear words! Look at that sump. Actually this leftover from before the pump rebuild and hoping my big sump problems are over.