I'm going to lap the valves and rebuild the head first. It's a good place to start.

The exhaust valve port is nasty so I want to clean that a bit.

Baby boy helps clean tappet covers.

Lapping compound on the exhaust valve.

Slide it in.

Big boy gets a lesson on valve lapping.

On to the intake valve.

I think that's good. So I need to wash all the lapping compound out of everything.

I think that looks good.

I'm going to Simple Green soak the bare head to try to get the oil and dirt off of the fins.

The valves go into the oil bag to stay rust free for a day or two.

The head is looking better. I should really mask and bead blast the thing, but it's clean enough. Here I am again taking a clean part and covering the steel parts with oil.

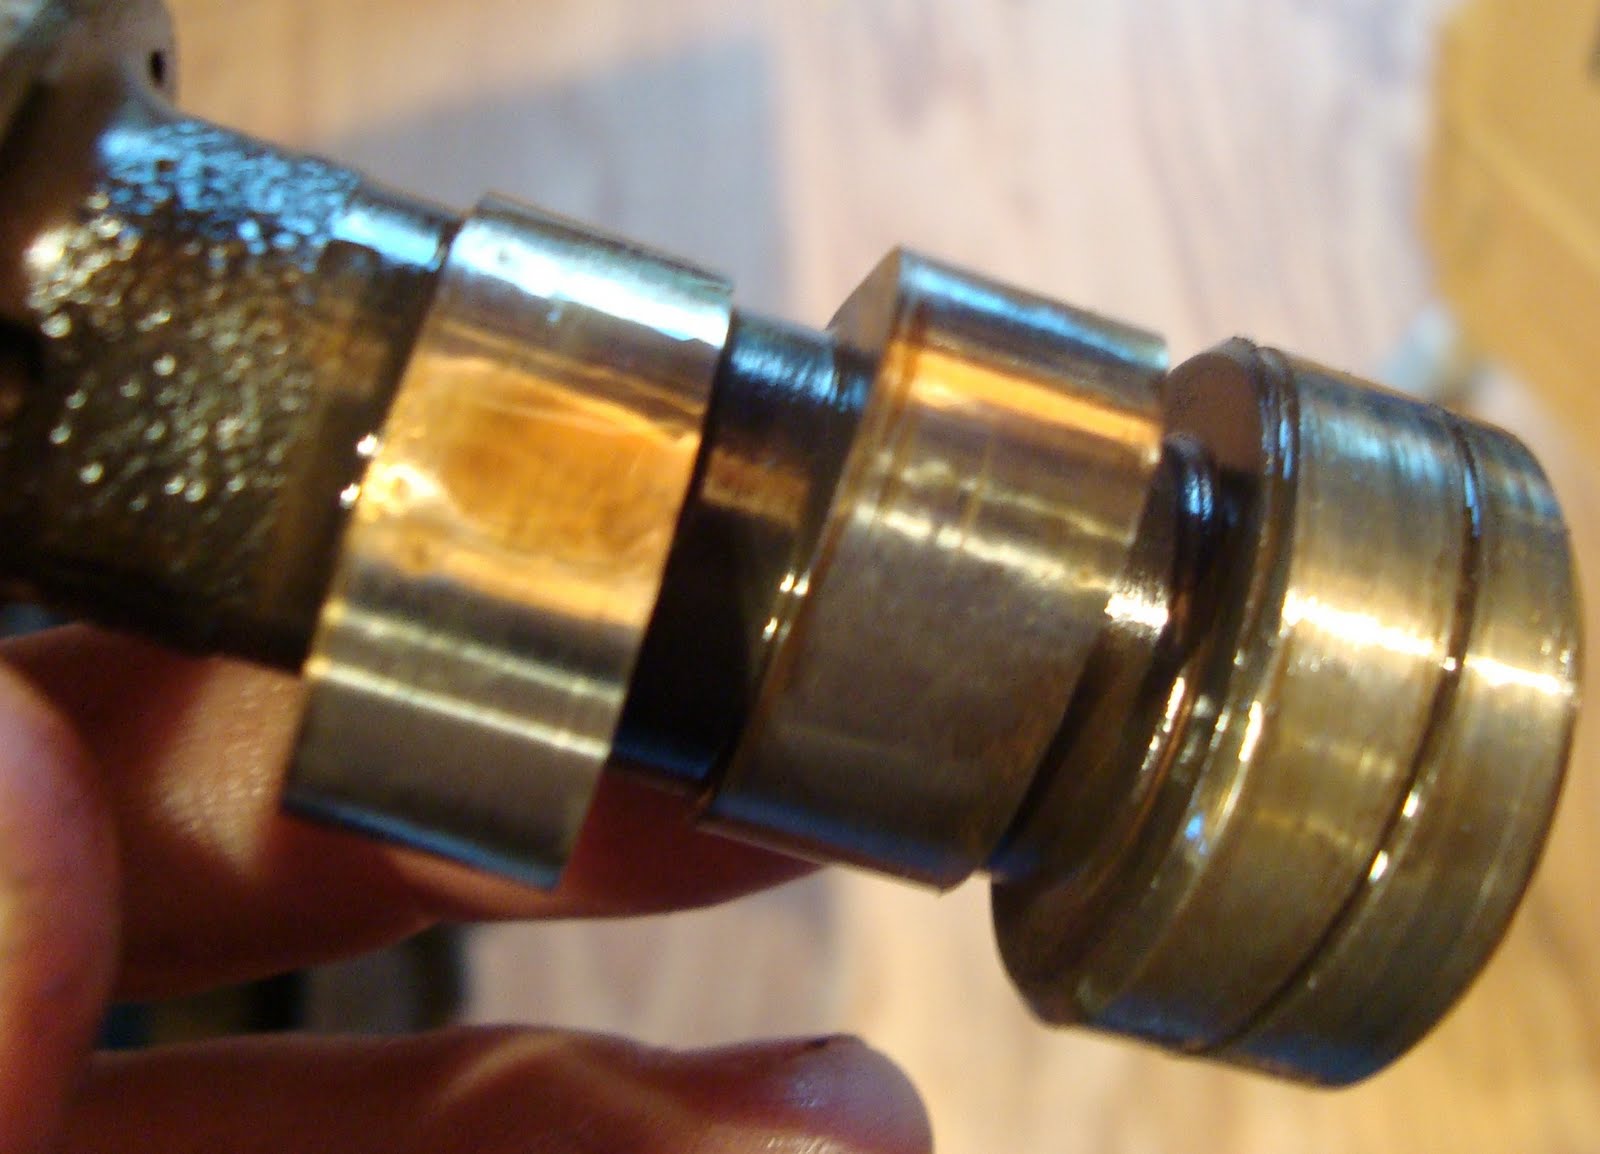
Here's everything you need for the exhaust valve. The collar and seal are only on the exhaust valve and not the intake.

Valve goes in.

New seal going into the collar.


Collar onto the valve stem and guide.

Springs on.

Top collar on.

Now to the valve spring compressor.


These keepers are extra tiny.

Good to go.

New intake valve and old hardware.

Valve in.

Springs.

Collar.

Keepers in.

Both valves in.

Time for the rockers and tappets. The rocker shafts are threaded on one end to help you take them out. It doesn't really help going in though. Brand new OEM rockers, too.

Looking good.

Here's the tiny tappet and lock nut.

I put these in kind of loosely, because I know I will have to adjust them in time with the motor later.

New o-rings in the tappet covers.

Again I just put those in loosely because I will back into them.

Add this oil routing cover with a new gasket.

Looks good.

The long bolt is just hanging out. The cam and cover will go on later.

I was just about to put my tools up and put the blanket back on everything, when I found these on my bench. They aren't bagged, but look important.

I thumbed through the parts book and these looked right.

Luckily the other two were where they were supposed to be. So it's good that I found them.

One more thing, this cover was painted originally but looking rough now. So it will head over for powdercoating to new cooler finish. This clutch thingy needs to come off though.

Looks like a seal goes here, too. Hopefully that one is in the gasket kit that I bought.