Search

Search all blog posts here.

Search This Blog

Tuesday, July 26, 2011

Getting things back together

The tank should be dry now. So let's address the battery rub. Something like this should help.


I think cleaning up the nasty rough edge would help as well.


After a couple of mock-ups with the battery and padding. I realize it was too tight now and I would never be able to get the battery out with the tank in the bike. I used to piece of nylon tie down strap to built a sling that I could grab with pliers and pull out to replace the battery later.


Now to get the oil filter back on and connected.

OUT to the tank IN from the pressure side of the pump.


Now to fix the battery tender connection. I don't have a bolt on connection laying around just the alligator clip style. I need a shorter than regular lead anyway so I cut the two connectors and built what I needed.


I checked the Ohms to make sure I didn't screw it up.


Battery connected. On the positive side; main fused wire, regulator wire, and battery tender. Negative side; ground strap and battery tender.


Battery in.


Tool box back in place.


Buddy pegs on.


Now I can get back to the engine.

Monday, July 25, 2011

Flushing the lube system

I went to put my push rods in when I realized that I hadn't put my rockerbox oil lines on. I decided it would be a good idea to clean the oil tank, change the oil, and install the oil lines before I did a bunch of kicking with the old oil.

Here's my way to drank the oil tank. Prop the bike onto its right with a piece of black iron pipe.


Disconnect the gravity feed.


Drain oil.


I had a brillant idea to flush the tank with brake cleaner.


OOOOOOOPPPPSSS! Where the straw go? Oh no, into the tank.


I figured that I could pull the tank easily and give it a real thorough flush easily enough. I didn't realize it when I started into it, but everything I had mounted to after the oil tank had come off or get loosened to get the tank off; the buddy pegs, toolbox, oil filter mount, fuse box, battery, chainguard, and saddlebag.

I already knew this was a problem. The battery tender connection got rubbed in the chain or tire. So I can fix that when the battery is out.


This a problem. My homemade battery box is rubbing the battery. I'm glad I found this now.


The remember the oil filter nuts I never wanted to touch again? Yeah those had to come out.


Finally got the tank out.


Found the straw.


Flushed the tank with dishsoap and lots of water.


Put into the 100+ degree sun to dry out, then I quit for the day.


Bonus flushing! The rest of the oil in the pump came out over night. I broke down and bought the Chinese Craftsman open end ratcheting wrenches to help out going together. I would have bought these along time ago at twice the price if they had been USA Craftsman.

Thursday, July 21, 2011

Shovelhead Topend

I bought this cool sticker and the pistons were included.


Oil up the bearing.


Spring the spiral holder open a bit. I hope these hold.


There tough to get in.


I ain't going to lie. Pat put these in for me, because I was already too tired to practice the technique.


One keeper goes into the piston on the bench and the other one goes into piston after the wristpen is installed.


This wristpen is dang tight.


Time for rings.


Spacer first.


Both rails. Stagger the gaps.


Bottom ring. Dot up. The gap is at the end of my index finger.


Top ring. No upside or downside. Gap at the end of my index finger.


Oil the cylinder inside.


Hose clamp ring compressor. I need to buy a real one someday.


Slide it all together and pull out the hose clamp. Easier said than done.


Base nuts and washers on.


Pat decided to bevel the edge of the front cylinder to make it easier going on. The machinist didn't leave us one.


This bearing was even tighter than the rear.


Pat said I wasn't supposed to admit to this, but we "re-honed" the bearing a bit.


Still tight, but it went together this time.


Same rings and placement as the rear.


Base nuts on.


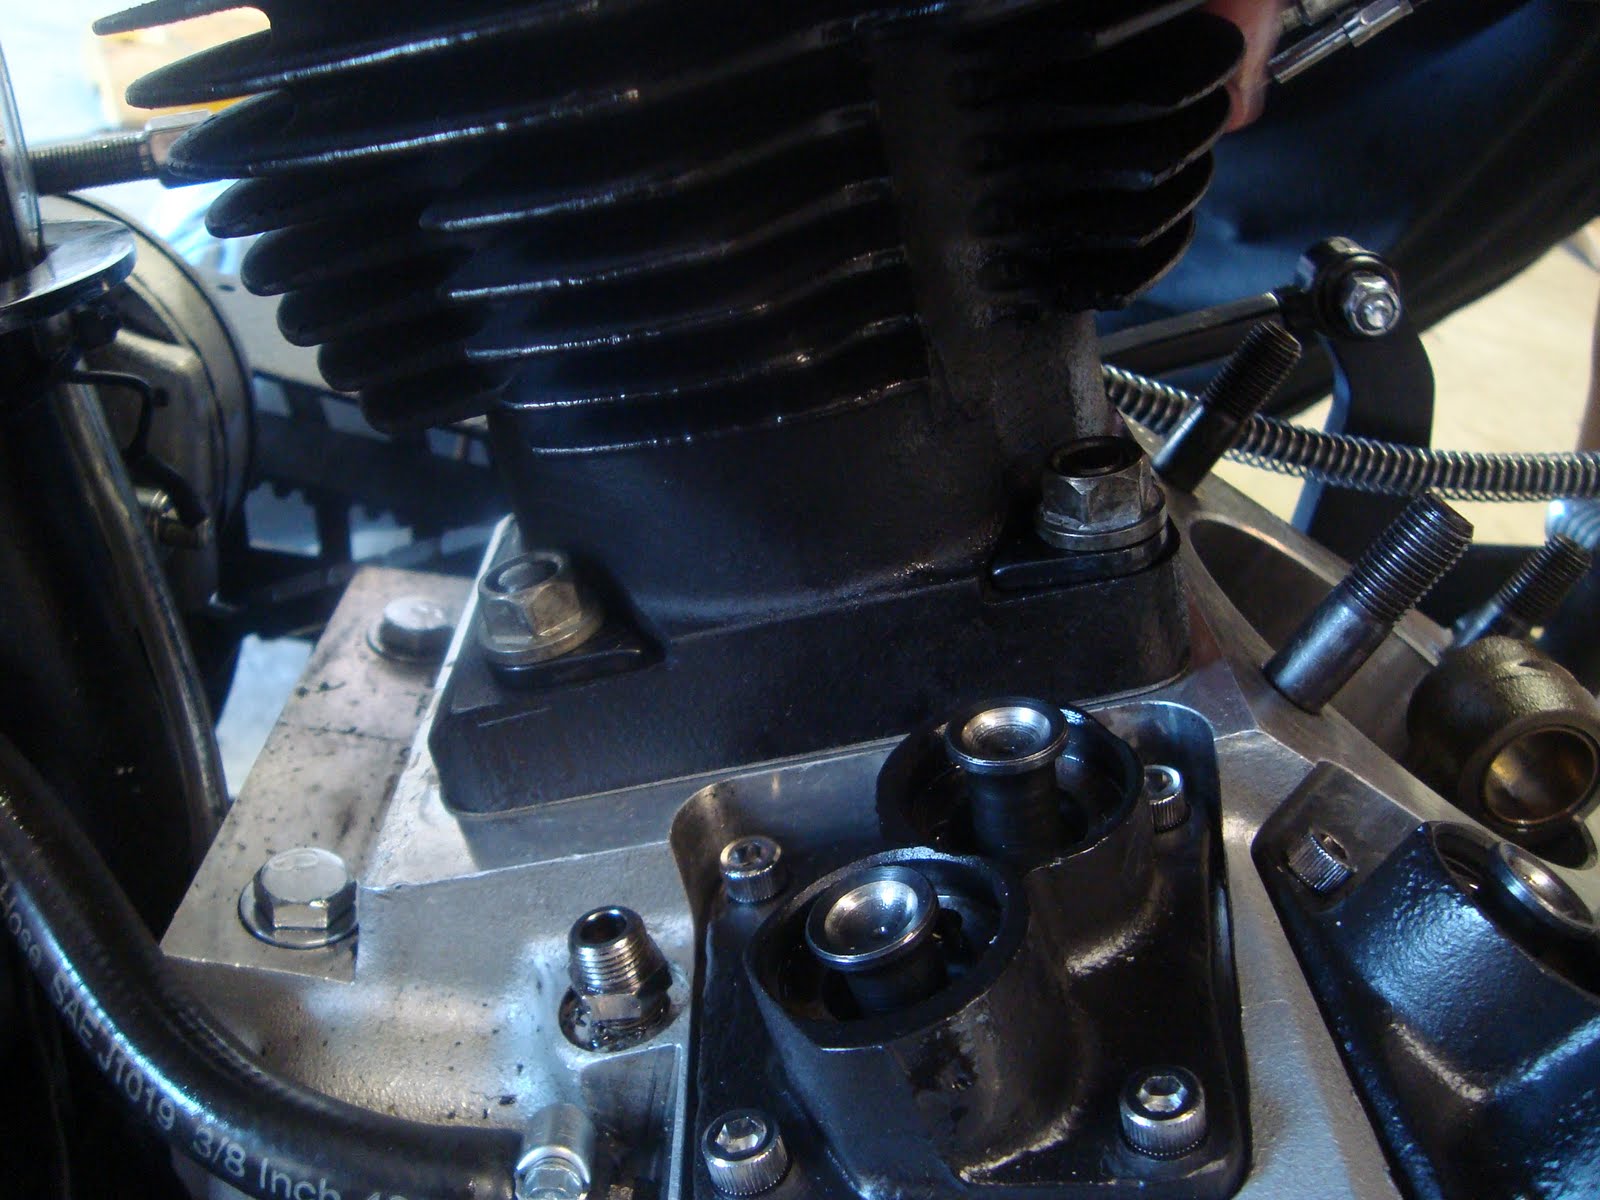
The torque adapter fits and works! Crisscross pattern, touching first, half torque second, then final torque.


Headgasket on.


Head on.


Head bolts.


I specifically bought 12 point head bolts last time so I could fit a 7/16 ratcheting wrench in there. Don't tighten these yet.


I chipped the paint getting the rear head on. I'm glad I don't have 8 grand invested in a paint job.


Align the intake and head intake ports.


Now tighten the head bolts. Crisscross pattern, touching first, half torque second, then final torque. 65 ft-lbs is enough to more the whole bike.


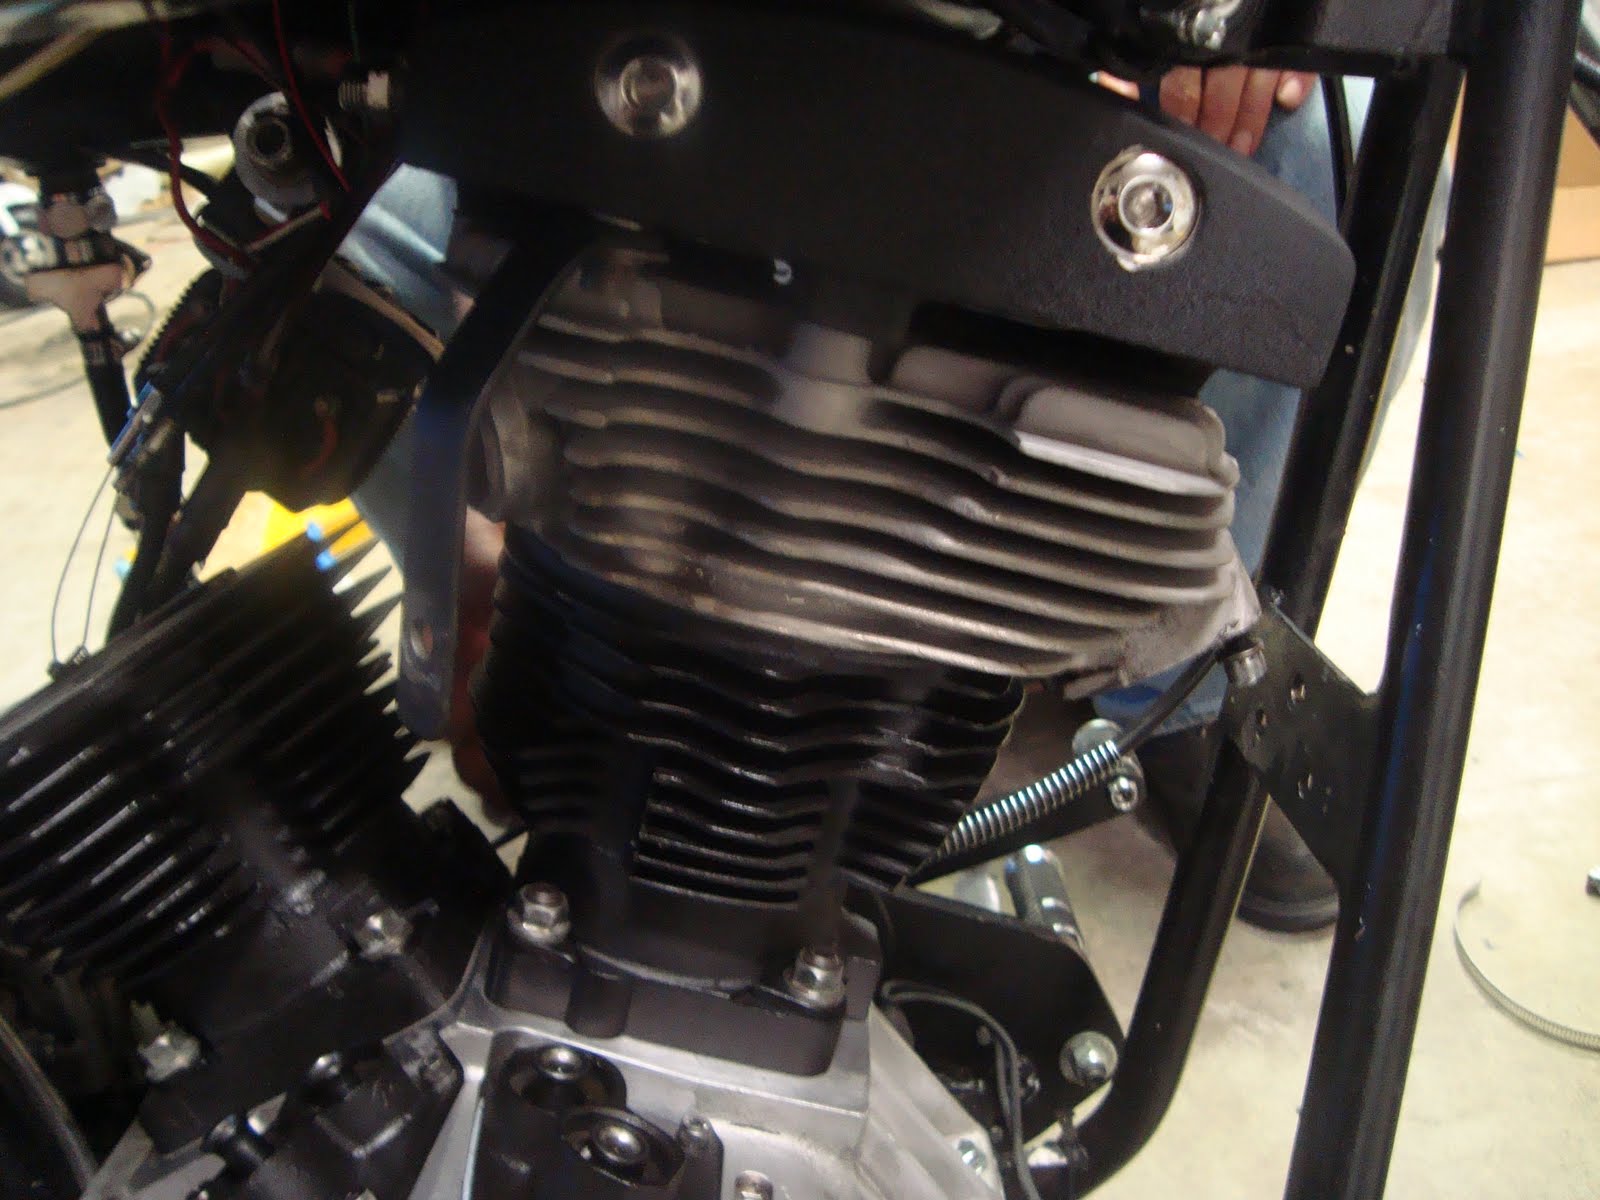
Looks like a bike again.