Search

Search all blog posts here.

Search This Blog

Monday, August 22, 2011

Shovelhead Head Teardown

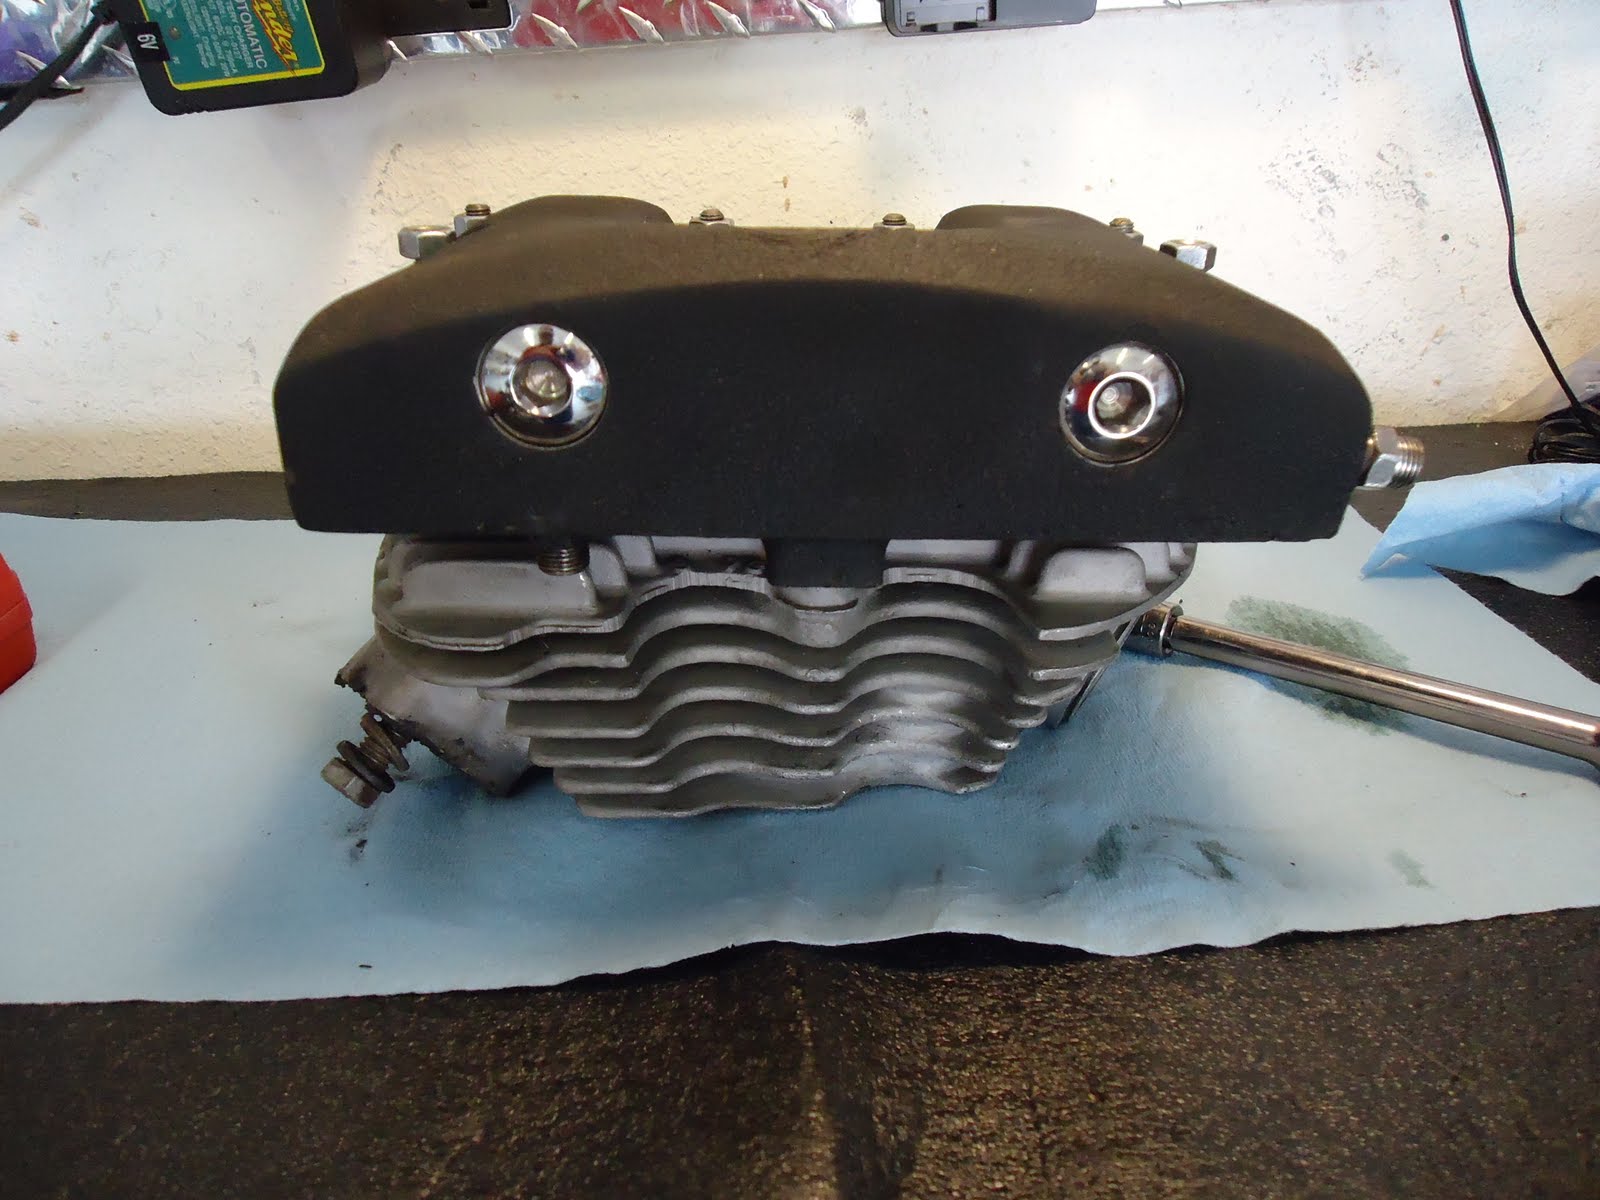
Rear head on the bench.


Take off all these nuts.


Don't forget this one.


Pull apart.


Leaking a bit here.


This surface ain't great. These rockerboxes were chromed at one point and this more reason chrome sucks.


I have been thinking that these were '66 short reach heads because of this mark and one mangles long reach plug early one with this bike.


This mark shows a '73 date so I'm confused.


I'm getting heads reworked and hopefully the fixer will now what sparkplug I should need for the new inserts and/or weld repair.


Here's my trusty eBay valve spring compressor.


Squeeze it until the keepers come loose, and dig them out with a pick or magnet. Then ease back off the spring.


Rear exhaust valve.


Bag and tag.


On to the intake side. Same procedure.


Rear intake valve.


Bare rear head.


On to the front.


Same '66 and '73 casting number.


Front intake.


Front exhaust.


Wednesday, August 17, 2011

Bobber to Bagger

They told me that bobbers were out of style and the cool kids have baggers.


The throttle cables won't let me roll bag the bars so I'll run this set -up. If I had the smaller Leatherlykes they would look slimmer and better, but for weekend trip this will work.

LED's don't burn out?

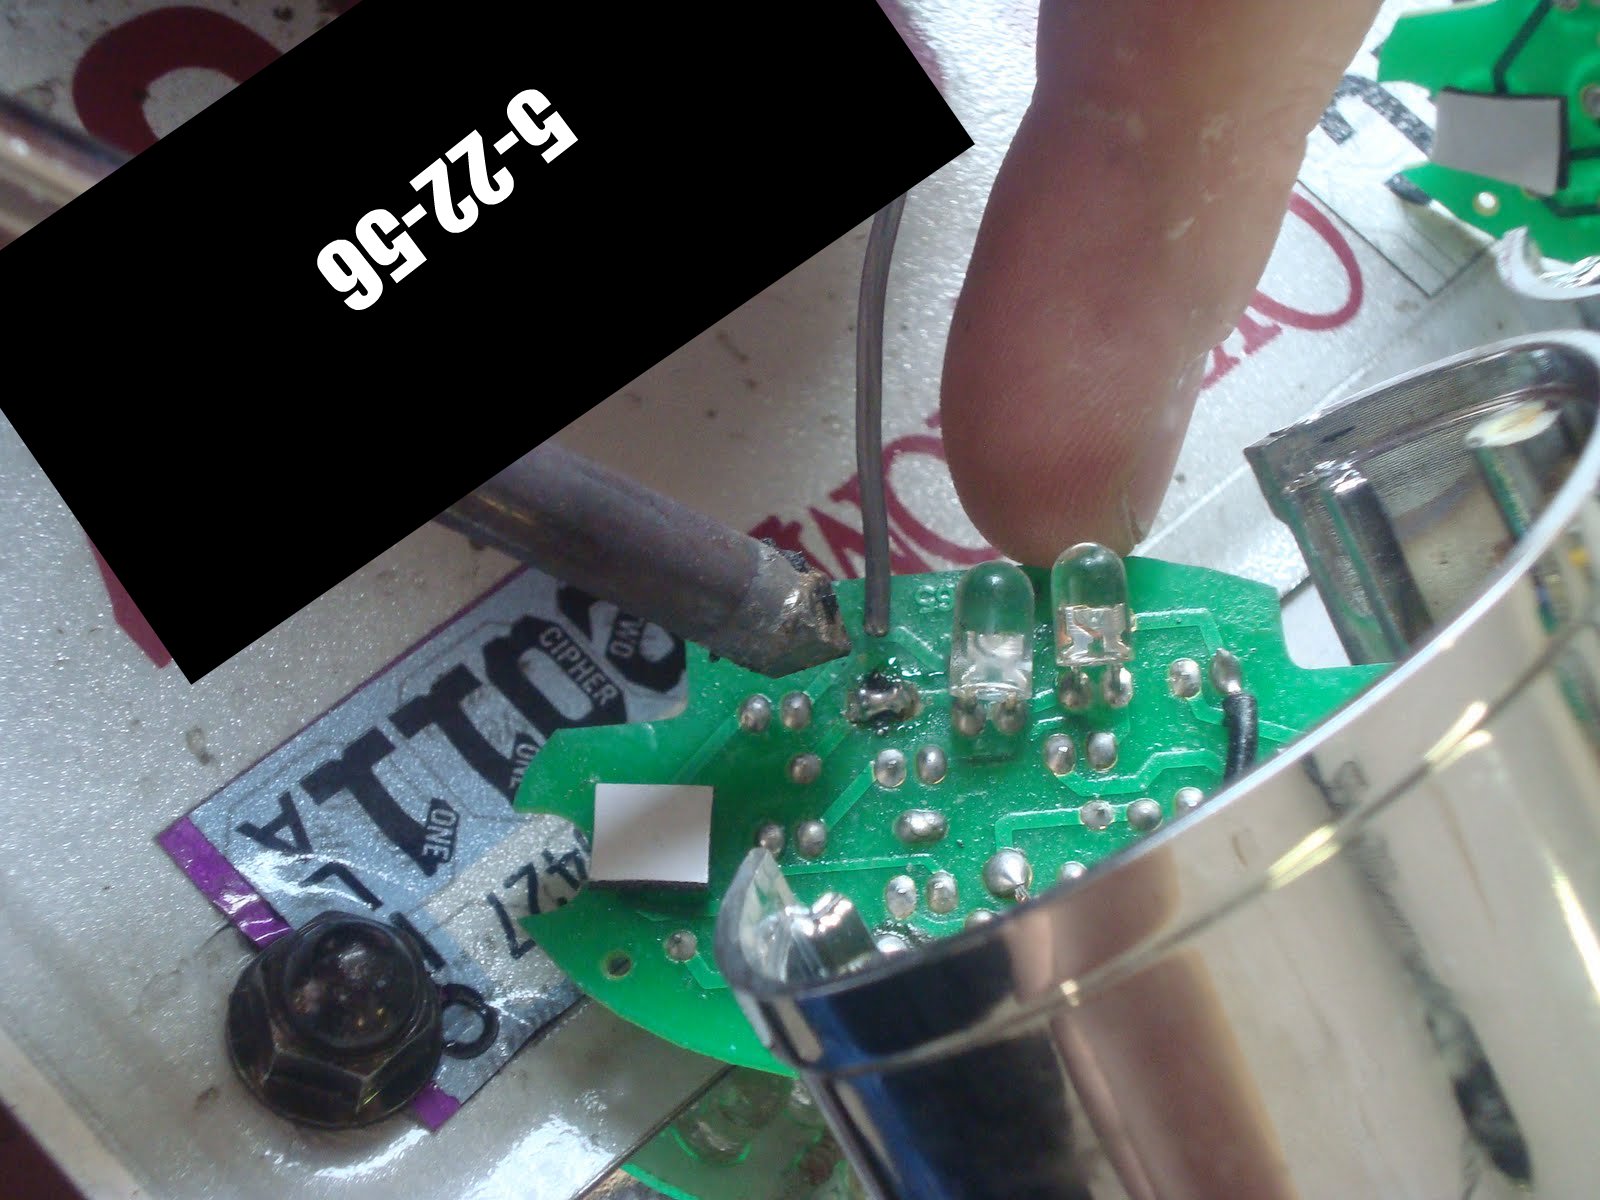
So LED's don't burn out, but it seems they can go bad. I have some proof. I'm not sure what exactly went wrong, but there are six white LED's in this taillight set-up. They were actually a little too bright. So when one set of three quit, I assumed it was a bad solder job and didn't worry about it. Then the other set started flashing, I again assumed a bad solder from somewhere in Asia was the problem. I decided to try and fix the problem this time.

This is what I found. If I jumped across one specific LED that LED quit and so did the flashing.


I decided to play with the totally dead side, too. Again jumping across one LED made the others work. It was actually the LED on the exact opposite side of this cluster compared to the flashing cluster.


Cut out the questionable LED and put a dot of solder to complete the circuit on both clusters.


Working good and still plenty of light on the tag. I'll keep an eye for sure though.

Saturday, August 13, 2011

Piston Clearance and/or Bottom end

So I borrowed a scope to look into the motor to see if I could find anything before I took it apart again. Though the sparkplug hole, we found scrapes inside the rear cylinder pretty quickly and assumed the wristpen blew out again and a new bottom end would be in order.


Top end comes off again...

The front headgasket ain't quite right either. If I use this head and cylinder again I will lap them together to get a better seal.


The scrapes on the front and rear of the cylinders not on the left and right were the wristpen would cause damage. Is this from improper piston clearance or the bad bottom end? Both cylinders are just as bad.


The rear right wristpen did get coughed out again though. The bottom will get redone. It really sucks because the Delkron cases with receipts for a fresh bottom end was basically the best part of the pile of parts I bought.


More pics of the damage.


Sunday, August 7, 2011

Flip-a-lever

I set out to add a Flip-a-lever back to my bike. I had been running it with Kuryakyn Iso grips forever, but when I put the old style grips on the nylon piece wasn't long enough to work. I emailed the folks at EZ-ON and they sent me two longer pieces to try.

I wanted to get some stock cables and bend them instead of these Nomad cables, but that's not going so well.

So I need to at least route these cable around the front brake hose.


Three screws hold the throttle housing together.


Cables re-routed.


New nylon ready to go.


Adjusted and lock nut set.


Cam action lever works great on this style grip.

1500 Classic pull throttle cable woes

I broke the pull cable on the 1500 Classic when I mocked up the apes. I have been running a set Carb'ed Nomad cables because the first one I ordered from Motion Pro through House of Kawasaki was way wrong. The bag was already opened and I thought it had been swapped.

The Nomad cables work, but they are too long and I don't like the way they are routed.

I ordered another Motion Pro Part number 03-0177 with some other stuff from Rocky Mountian ATV. Again this part was the same wrong cable, but I seen it listed in several application charts. It turns out the Tucker Rocky catalog was wrong and Motion Pro doesn't even make a black stock length cable with a black finish.

So I ordered a used set from eBay. The middle adjuster on the pull cable was broken, but I did get a refund from the seller.

Friday, August 5, 2011

Fixing powdercoated bars

The vulcan bars are slipping a bit. I have had similar problems with powdercoated bars before. I should have used knurled bars or at least bars that weren't squared off because the last guy tried to 7/8 clamps on a 1 inch bars, but no matter.


First cover the tank.


Mark the bar so I know where I want them.


Take off the top clamp.


The powder has ground off a bit and is basically lubricated the clamp and bar joint.


Rough up everything with some sandpaper.


Clean everything with alcohol.


Somewhere between red loctite and JB weld is green loctite.


I just put a bit of this on all the high spots, i.e. the shiny spots.


Clamp and torque. If that doesn't work I'll have to get a new knurled set of bars.