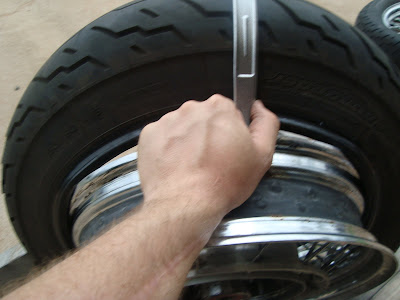
Why this running funny? Oh crap!
I needed to get this thing fixed to go the Smokeout Party last Sunday night.
I know I cracked this one because I over torqued it one time not watching what I doing. So I needed to make a metal support for both sides and I should be able to use it on the new one, too.
Mark 'em and cut 'em.
Dress 'em a bit.
This is where I photo document the projects I'm working on, fixing, or fixin' to fix.
Search
Search all blog posts here.
Search This Blog
Sunday, June 27, 2010
Bigger Battery and Broken Oil bag
Several weeks ago the shovelhead left me walking with a dead battery. http://tearitupfixitrepeat.blogspot.com/2010/06/electrical-problems.html
I thought it was the headlight circuit, but then I couldn't get it to repeat, so I suspected the battery was just too small and my buddy J. had a spare late model sportster battery to donate to the cause. The problem was I had build the battery box around the little battery. (file photo)
So I pull out the oil bag and look at this. The bracket is broke in two. I think this may be my electrical problem because the battery grounds through this bracket.
So go to see J., he's my neighbor and new best friend because he knows Harleys and has plasma cutter and welder. Here he is in action. He cleans it up and gets to welding.
Thursday, June 24, 2010
Braking down wire wheels
This is the front wheel before I started. I mostly took this picture for future reference.
Measure the offset and take some notes. Front Wheel, rim letters on the hub side, under spokes go left, over spokes go right, offset is 0.400 hub higher than the rim. Disk side, under spokes go left, over spokes go right, offset is 0.500 disk mount higher than the rim.
I thought that marking the unders would help me rebuild the wheel, because the over and unders( I know it's supposed to be inner and out, but over and under is easier for me.) are different lengths. Turns out the marks don't matter because I'm not taking the spokes out of the hubs.
Sunday, June 13, 2010
Dismounting Tires
I wanted to powdercoat the rims of my wheels to match the "aluminum blast" that I put on the motor, so went and got my spare wheels from the shed. My buddy Panhead Pat is going to help me break down the spoke and teach me to re-lace. To my surprise they still had tires on them. I forgot about that. The sad thing is that the tires on my spare rims were a little nicer than ones on my bike now.
So this is how I take my tires off. Take the valve core off.
Take the lock nut off the valve stem.
Time to break the bead. Now this the part I'm proud of. I designed and build this bead breaker myself. I based it off the two internet ideas I saw. One used a huge lever and wedge attached to a wall stud and the other used a big hydraulic press from Harbor Freight. Both of those options were too big to mess with and use one a year or so on tires. So here it is.
Homemade 2x4 frame and wedge.
Now to the hydraulic part. A little bottle jack from Harbor Freight less than $20. (I carry this in my car to fix flats too.)
The first bead is easier than the second. I usually have to press against the rim on the opposite side to get it off, but it doesn't hurt anything.
Now the frame holds the wheel to get the tire. This helps when the wheels still have a brake rotor on them,
Wednesday, June 9, 2010
Lowrider
Here's the stock height of the rear fender. I'm planning on cutting the rear about where the blue tape is. You can almost see daylight through the top of the tire and the lip of the fender. You can also see the red mud on the tire from a dirt road adventure awhile back.
Here's the solution for that. 11.5 inch shocks, that's an inch under stock. I got these from Walmarty when traded off this wife's bike.
So you pick up the bike until the rear tire barely comes of off the ground.
Subscribe to:
Posts (Atom)