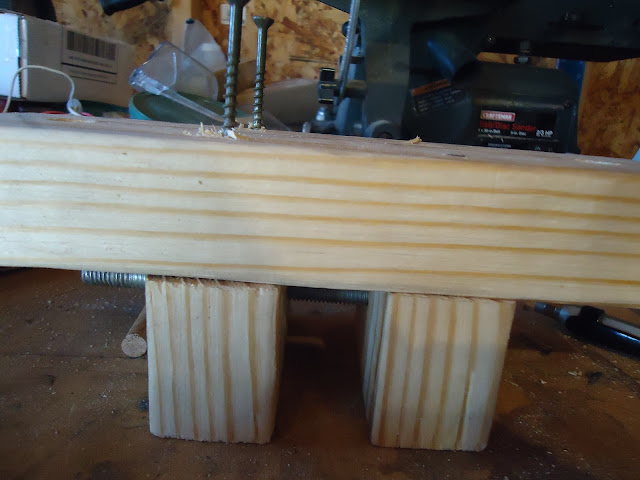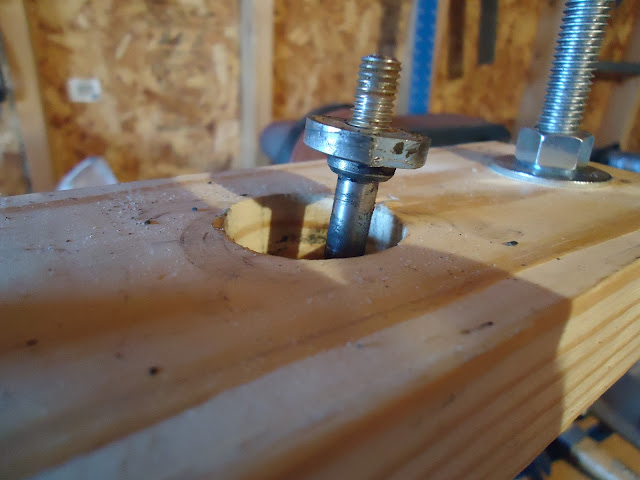
These shocks are stiff but I can push them down, but I still need so extra to do the work. So I really need Tool No. 07959-3290000, but I don't want to buy one so I will build one.

I'm a woodworker and not a welder so here's my approach. All you need to build one; a 2X4, 3ft of 1/2-13 all-thread, 1/2-13 t-nuts, 1/2 inch washers and nuts, and some deck screws. You may not need to go as large as 1/2-13 or necessarily have to use t-nuts. I happened to have 1/2-13 t-nuts from another project, so I went and got all-thread to match.

First two 10 inch pieces of board. This is the base and cap.

Then two 2 inch pieces. These are the side plates.

A little bit of planning. 2 3/4 inch from the end of the base should work for the side plate pieces.

Center of the base and cap pieces marked a 1 1/2 inches from the edge for the all thread.

All marked up.

Clamp the cap and base together so the 1/2 inch holes are aligned.

I drill through the cap, but not quite through the base.


The 1/2-13 t-nuts needs an oversized hole.

The pilot hole gets us were we need to be.

On to completing the side plates. Mark the center.

Use a properly sized a transfer punch to mark the side plate.


Clamp the side plates together and drill the holes in the side plates.

This was clearly my first uh-oh. The carriage bolt for a pin won't be the last piece to go into fixture, but it can still work.

Deck screws for the side plates.

Use the carriage bolt to align the side plates.

I was hoping the base would support the shock, but it's all on the pin.


Hammer in the t-nuts.

Now to measure the shock top for the holes in the cap. The width of the eye was 1.250 to 1.270ish.

1.287ish for the beercan.

Of course I didn't have exactly the holesaws or bits to do those number exactly or even real real close so I play with another board to see what would work. Big hole first with the a forstner bit, then the smaller through hole. The big hole may not have been necessary, but it helps support the beer can and means less spring travel will be needed.

This works 1 7/8 inch big hole counterbore and 1 3/8 through hole.

Drill the holes into the work piece.

More fit checks.

Set up the first all thread piece.

Under 18 inches per side. Perfect I will only need on 3 ft piece.

Cut in two.

All-thread, pin, shock, washers, and nuts in place.

Nuts and washers on the cap piece. Turn them as evenly as possible.

Yeah! It works!


All apart. Only three more to go.

Help from Scooter:
ReplyDeleteTo remove item #9, I get 2 nuts and jam them together on the shaft. With the nuts tight against each other, you can put a wrench on one of them and keep the shaft from spinning while you use another wrench to break #9 free if it won't turn by hand. I like this technique because it avoids the risk of scoring the shaft with the pliers on the shafts that can be straightened. I don't think the shaft in the picture has any life left in though. Good luck getting the rest of them apart. Also, that little nut (#9) will pass through the shock cover and can be removed after you get the shock out of the jig.