Search

Search all blog posts here.

Search This Blog

Monday, November 15, 2010

New old tank

The new old tank is prepped and painted, so I have to get the hardware off the old tank. Of course the old tank if full of gas so that has to get rid of that first.


The cover for the cap is already off, because it was powdercoated black.


Two screws hold it on.


And the keylock.


Two bolts hold the petcock on.


Put the cap off the fuel gauge sending unit.


Four bolts under that...


Fishing the sending unit out of the hole.


Okay now to put the hardware on the new tank.

This is odd, the shoulder bolts on the left held the sending unit and the regular bolts came with the new sending unit gasket.


This is the difference the new gasket has spacers in the holes and the old didn't.


Gasket on.


Fish it in.


Put the tank mount grommets in.


New gasket for the petcock.


Looks like we left some spare bare metal.


Cap on.


Three tiny screws hold the cover on.


Tiny screws. Try not to drop those in to the tank.


Success, but the tiny screws were tricky.


I put this picture in to show that you can remove/replace the gas cap assembly with the cover still in place.


Ready to go on to the bike.


Almost, I don't like the bare metal done here. So I used a touch-up brush to cover.


Not pretty, but it won't be seen and hopefully won't rust too fast.

Fresh battery.


I hate these little square nuts. I was actually successful using a 90 degree hook to hold it in place and start the bolt. Another thing, don't be tempted to use a No. 3 Phillips screwdriver to tighten the bolt, use a 10mm socket and rachet to get it good and tight.


Back to the tank. Connect the overflow/vent lines on back of the tank and one fuel gage sending unit. Connect the sending unit plug to the harness. Gas line to petcock and the two mount bolts.


Put the seat on with the nose clip and the two bolts.


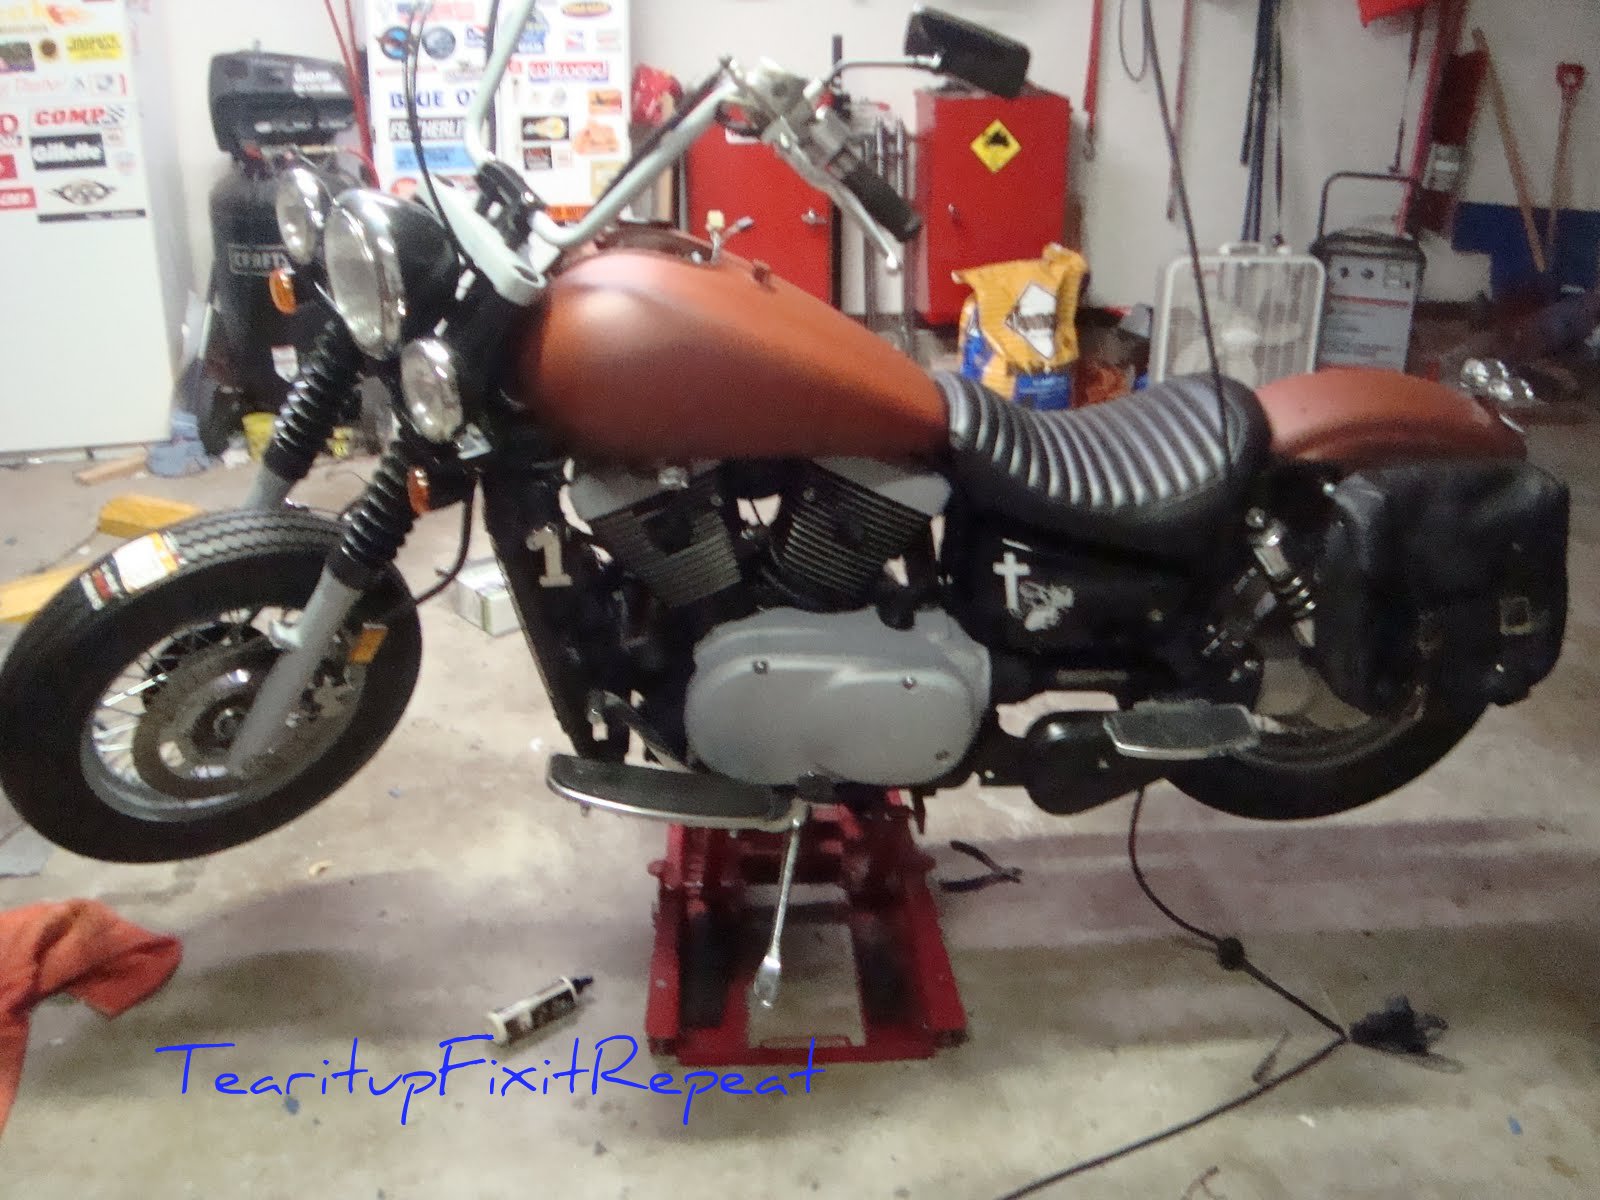
That does look cool. Even if it was my idea.

oh yeah.

There should be a rubber grommet here, but I took it out to run a tank bib. Now I don't want a bib, but I can't find the grommet in my spare pile.

Here's the jury rig of the day. Wrap the dash tab with electrical tape.

Perfect!

Ready to ride. Still need to fix the spot light relay problem, some pinstripping, and may be some more de-chroming but it's good to ride now.

Saturday, October 30, 2010

Clutch and front brake lines

Route and measure the stock front brake line. Looks like I need about 3 1/2 more inches.


Remember this post about the custom lines? I had the brake line built to match...


but put this on the other end. It is a touch narrower than the stock eye, but it works. So next time I want black cover stainless lines, I will use these ends and the extra long shrink wrap from Steve's wholesale, but this will work for this build.


Clutch line installed...


and routed.


I used all new banjo washer and torqued everything per the book.


Then I tightened the piss out of the AN-3 fittings.


Fill and bleed both lines. Like this. http://gadgetjq.com/hydraulic_bleed.htm Pat fills and I bled.


With the clutch line done, the cover goes on, unless the fitting is in the way and you have to loosen and reroute it a bit.

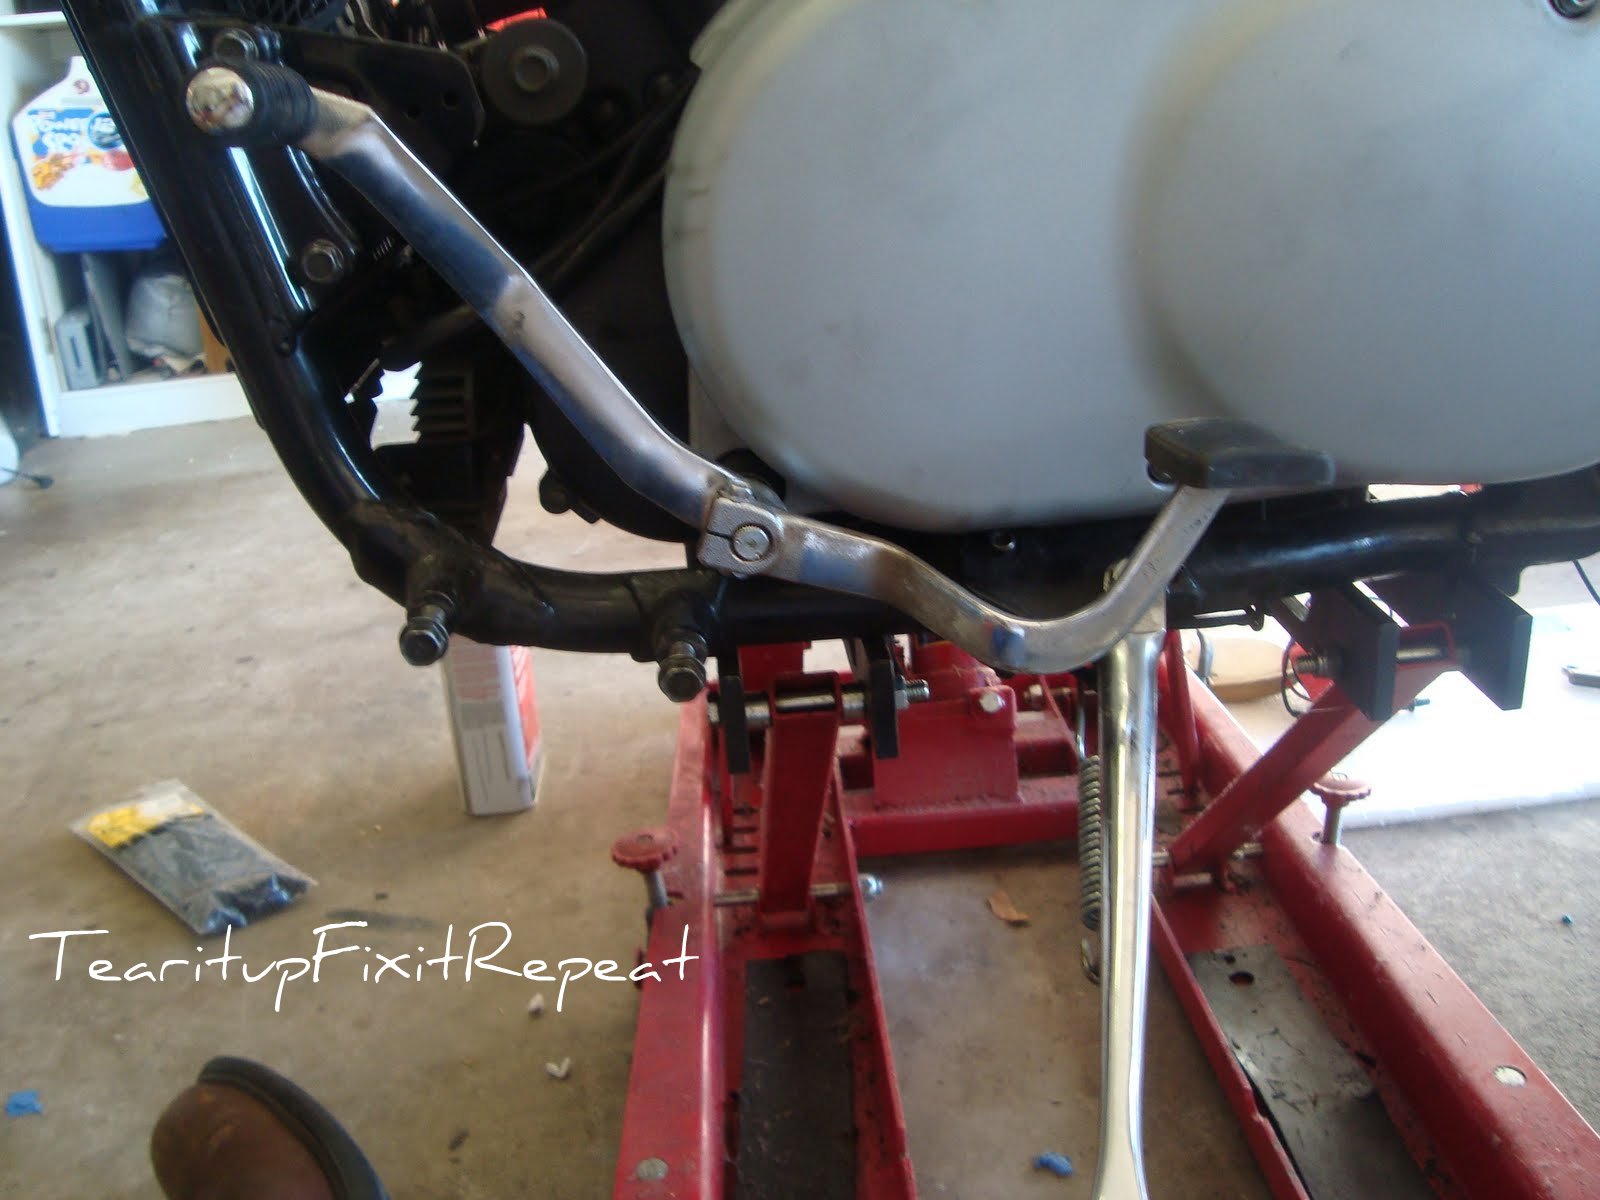
Shift levers on.


Floorboard on.


I'd throw the stock tank on and go for ride except the battery is bad and I won't have any more blowing money for two more weeks.

Finishing the back end

Okay, we got a painted fender, thanks to Panhead Pat, rattlecan extraordinaire. I used this, http://www.zero-rust.com/ I like it. Looks like a semi flat primer, but holds out moisture.


Run the taillight wires.


Yep, too short, but I knew that.


Cut the wires between the clips and add 18 inch extensions.


The red, black, and green are the same for both lights, so I'll wire them together and I have the correct colors.


Glad I have an 18 inch ruler to measure with.


Orange and yellow are turnsignals. I didn't have the colors on hand, so white and blue will do. Just so I will know they are different and test them to check that the side is correct.


The wrap keeps falling out of the back of the light so a zip-tye had to be used to keep it in place.


Perfect.


Cover the rest of the new wires.


Ready to go again.

Time to mount the fender.


Feed wire through a grommet.


You have to be kidding me! The license plate holes on my taillight bracket are too narrow for my tag! I can fix that, but crap.


Fender on the bike.


Now to fix this tag holder. The whole light set-up has to come off the bike, the all together wiring(that I was so proud of) means I have to work around the lights and wires.

Getting there.


Clean it up.


Good to go.


Wired up, kind of a mess, but I'm tuck it in after I get a new battery, because this one just quit on me.


On to mounting the bag.


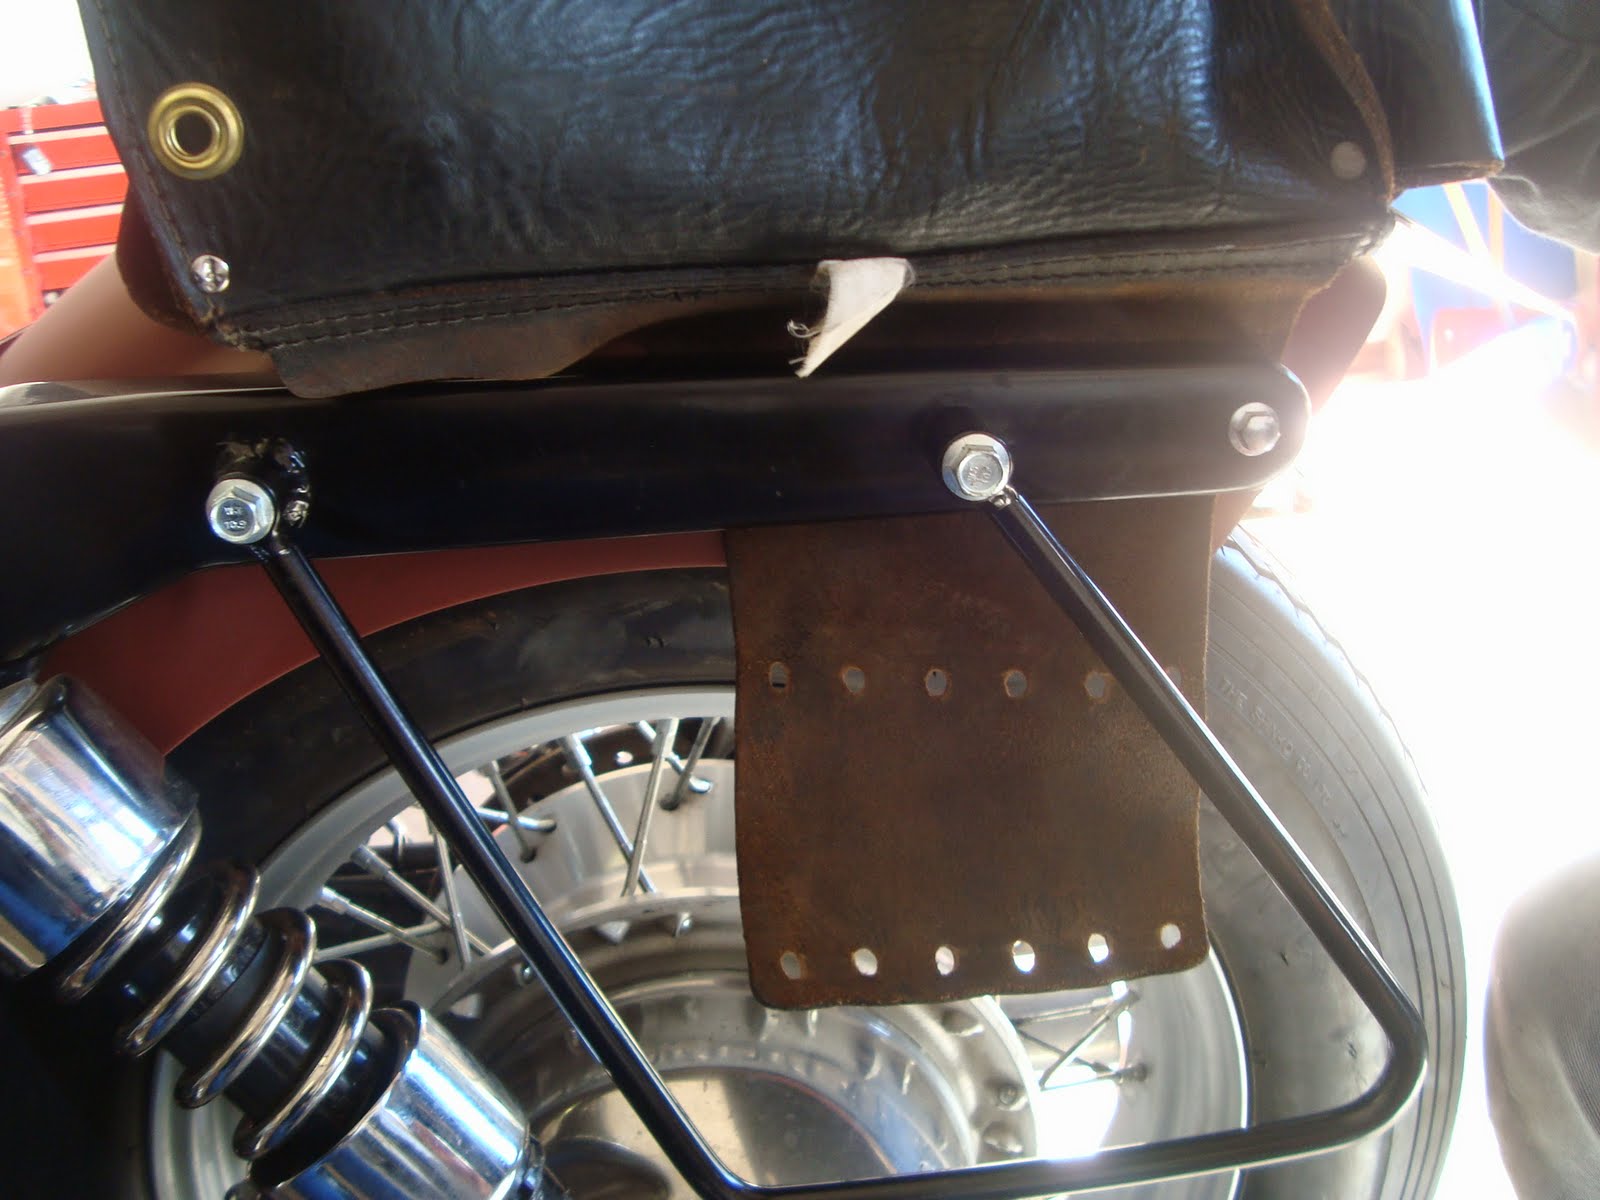
Behind the strut and the bolt goes through a hole.


The back bolt needs a new hole.


All bolted up.

Get this flap out of the way.


That should protect the back of the bag, too.


A few more zip-tyes and the bag and fender are done.

Saturday, October 23, 2010

Frontend done

Nothing really worth a how-to today. Finished the spotlight wires, put on the headlight, torqued everything, put on the mirrors. Really coming together. Needs a front brake line built and installed, clutch line installed, tins painted, and taillight.