I didn't get as many pictures as I usually do on this effort, because I had help from Ed and Columbus. I really wasn't in the good mood after all the parts chasing on a Sunday afternoon to get everything. Then Ed being broke down halfway between my house and his house the next Sunday afternoon. Columbus did help remove and replace the front races and that was a lot of work for sure.
All that to get down to business. When axle nut is torqued down, the spacer should allow have 0.004 to 0.018 inches of movement of the Timken-style bearings according to book, but I'm told you want something closer to that 0.004 inch. This inspection and measurement should be taken with the bearings dry and not packed with grease.
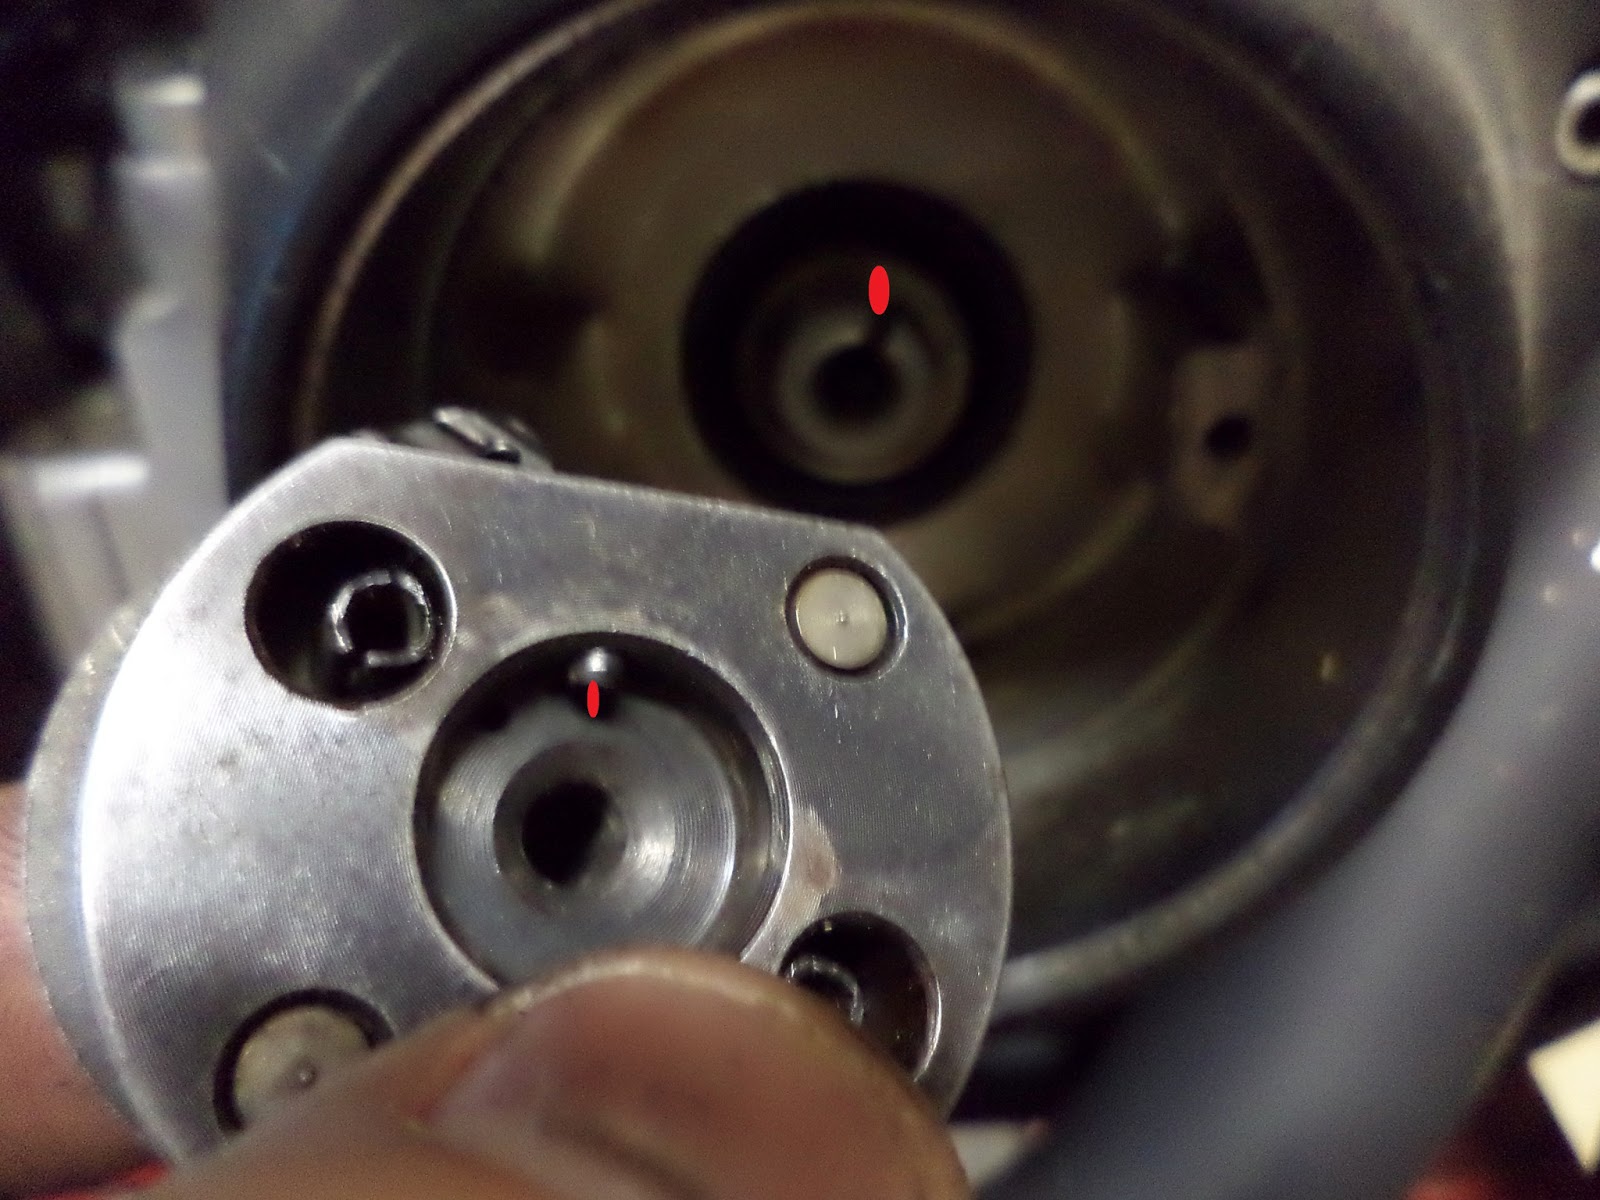
Here's our first set-up to inspect the front wheel bearings. It's the front axle in the wheel with enough other spacers outside the bearings to allow the axle nut to be torqued.

Here's the video of the amount of movement with the front axle spacer. Clearly way too much movement meaning that the spacer was too wide. That's good it's easy to make something shorter.
So we took a quick measurement to know how much should come off to get use into the proper movement range.

The spacer went into the lathe to shave 0.010 inch or something like that I don't recall exactly.

We then restacked everything and torqued down the nut again and here's the range of movement we were looking for. The front wheel is ready to go.
We already knew the back wheel had the opposite issue. The spacer was too narrow, so if you torque that nut properly everything will smash together and lock up.
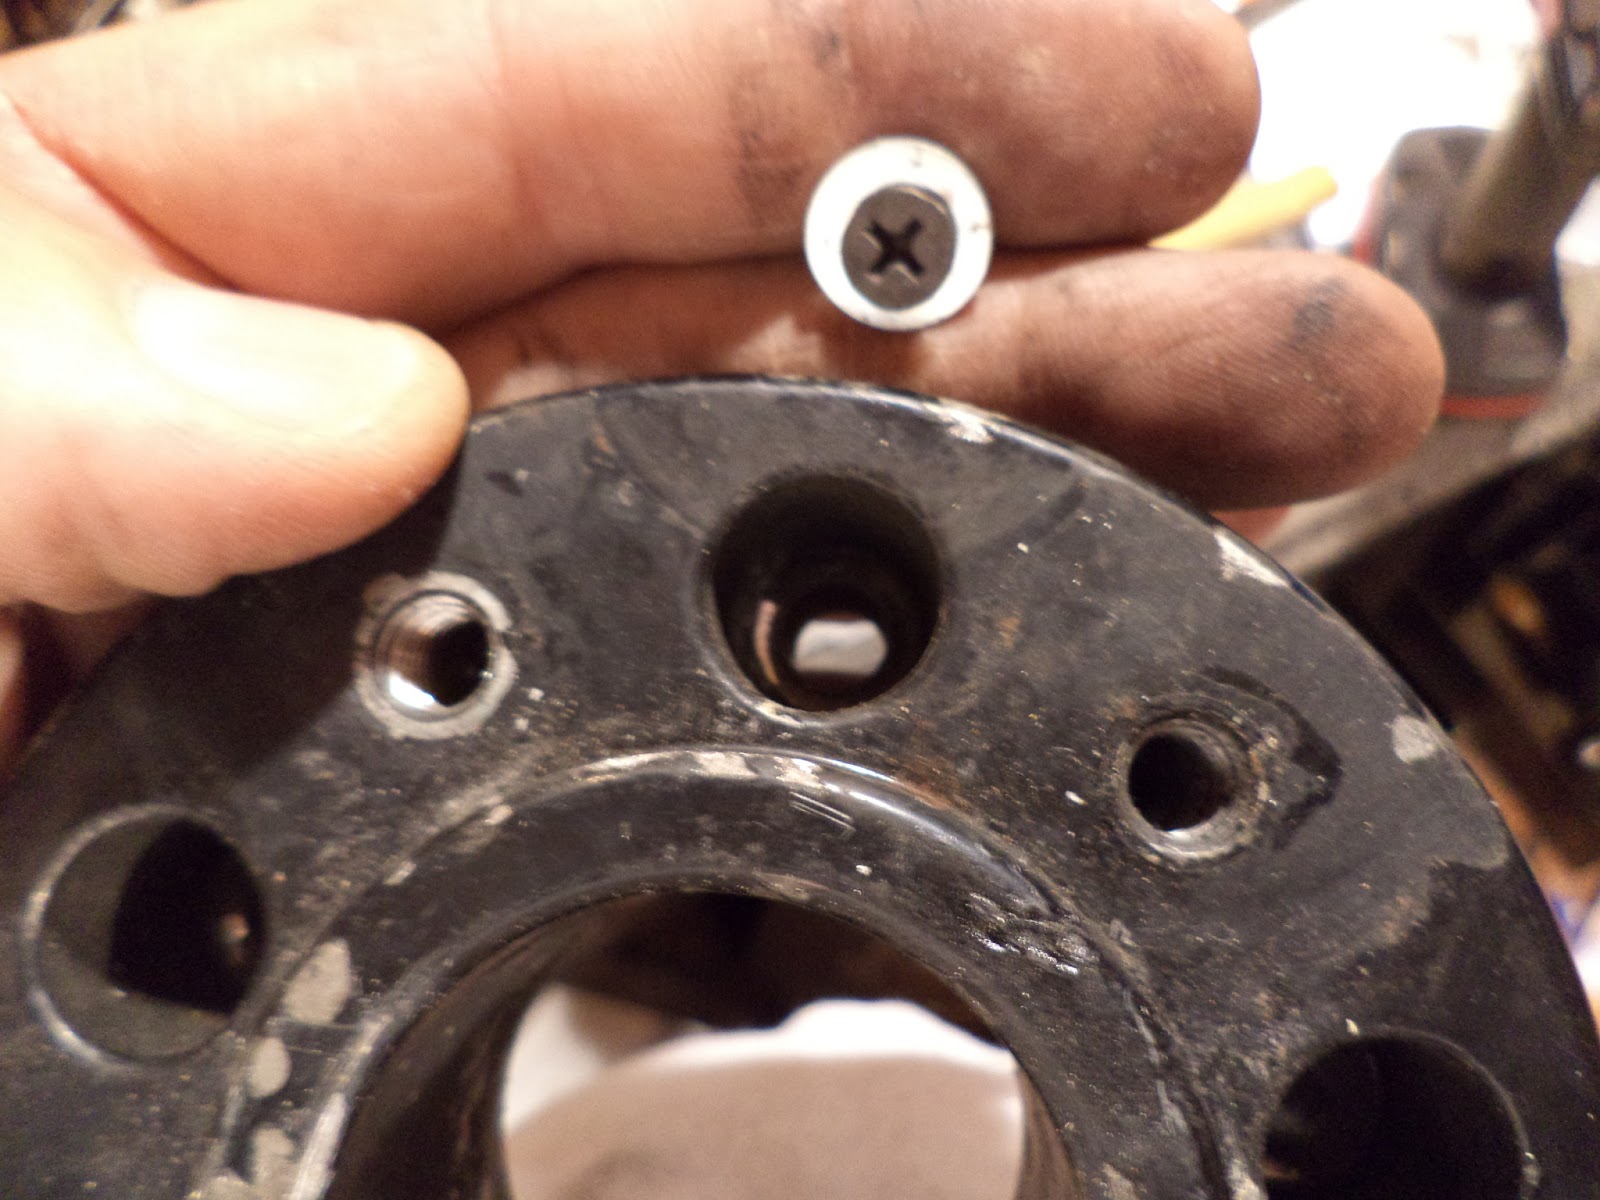
I thought one of these fancy adjustable spacer would to the right. Nope. This spacer has too large of an outer diameter to fit into the mag wheel.

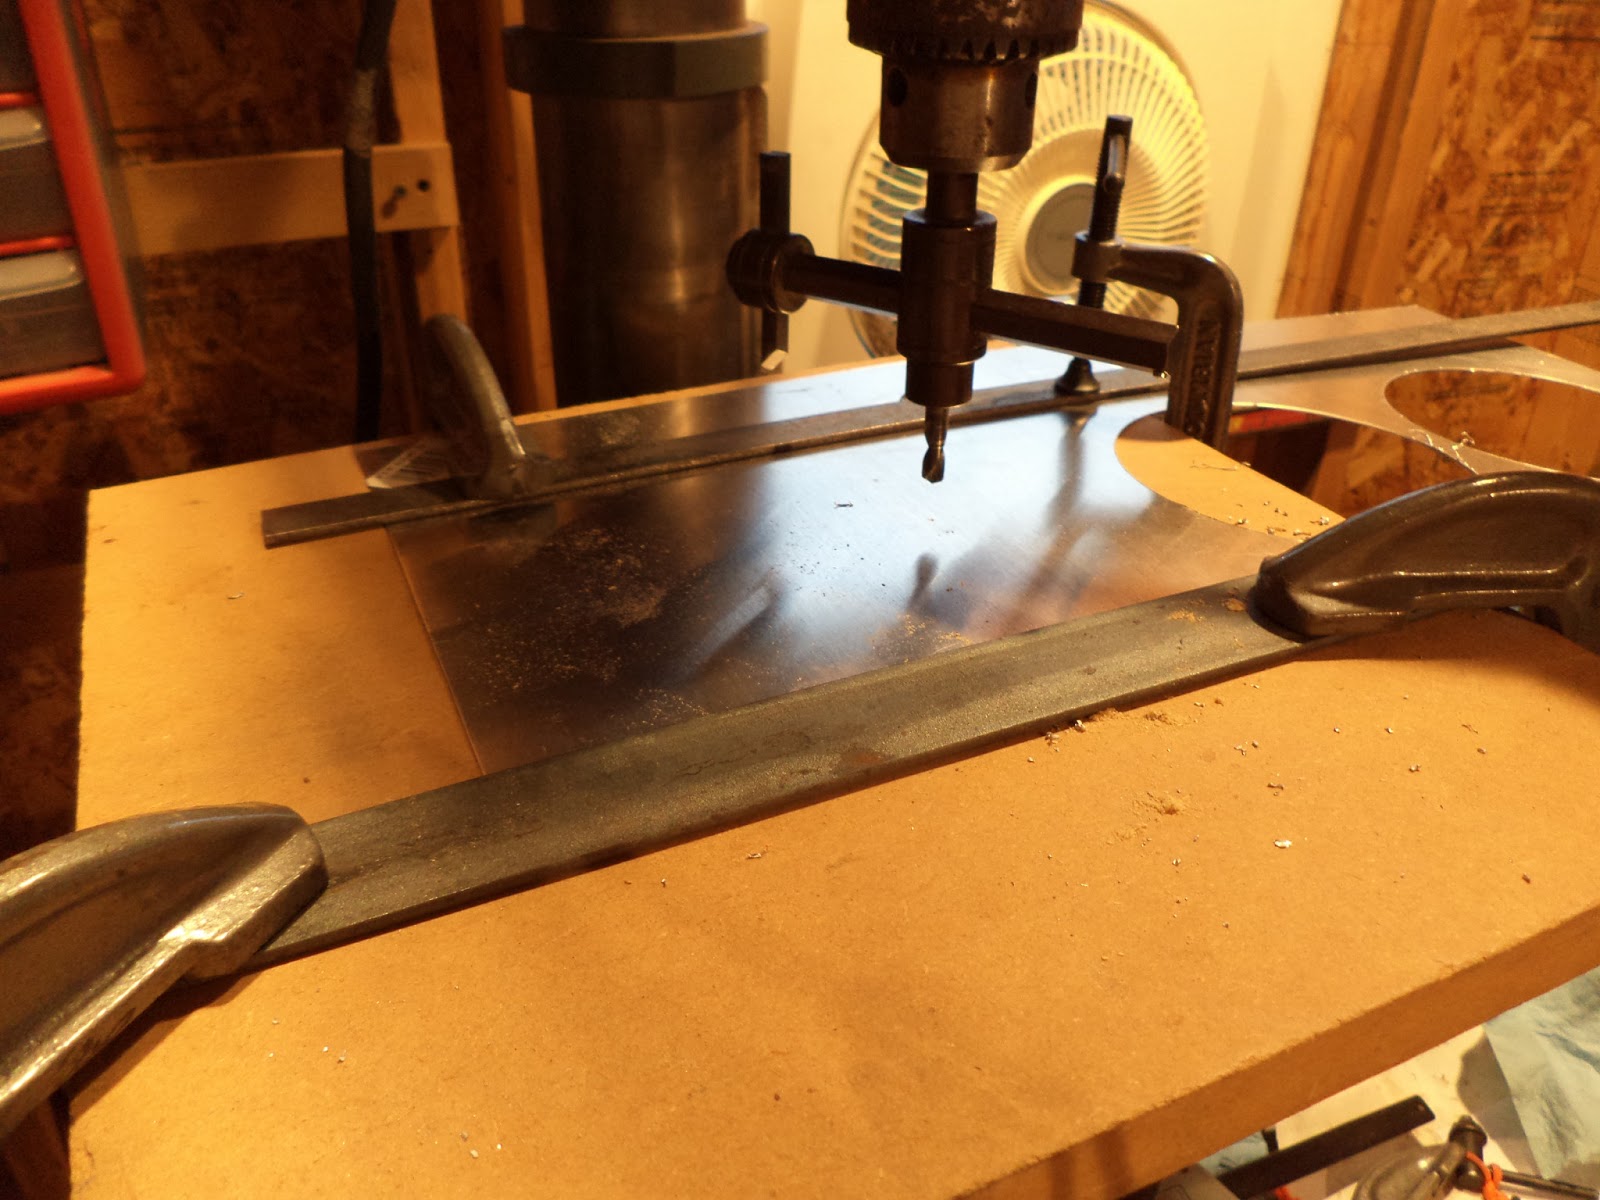
Luckily Columbus had round stock already bored to 3/4 inch ID in his stockpile. So we squared up the end and chamfered the edge of inside and outside diameters.Then check fitted the axle into the round stock and it fit perfectly.

We had an idea of how long the new spacer should be, but we opted to cut it long the first time and finish cut based on its actual fit in the wheel. Columbus marked the cut line with the turning tool first.

DO NOT TRY THIS AT HOME.
Columbus broke his parting tool and hasn't fixed or replaced it yet. So the cut was made with the lathe running and hacksaw. Then the rough cut end got squared up and cleaned up.

We stacked everything to do the check on the new rear wheel spacer. Too wide as exactly as planned.
Then we checked to see how much extra needed to come off.

Back to the final cuts on the lathe.

Now the rear wheel bearing spacer is perfect, too.