Here's the inside of the kicker. It wouldn't normally need to come apart to rebuild the transmission, but it was leaking out the kickershaft and I plan to cut a counterbore for a real seal like Saddlebagrail(Ray) does.

Unbend the tab washer.

Hold this end.

Wrench this end.

Comes apart.


This shaft is junk too. The ridge in the middle of it about 0.005 inch deep. You can catch a fingernail on it.

See how leaky this thing was.

I would try to clean up and/or turn down the shaft and make some custom bushings for it, but the dang spring is stuck and I can't get it out. So a new shaft and spring will be ordered.

Check this side out.

Remove the kicker spring stop.

Back to the inside. There's an E-clip the holds the release arm shaft and fingers. Take that off and the shaft slides out.


Now I wait for the kickershaft and seal to come in.
This case is nasty dirty of course.


Into the Simple Green 50/50 water soak for the night.

Out of the soak, a little bit of work with a brass brush and a garden hose. It cleaned up so nice that I don't think I will need to glass bead blast it.


It may seem silly to clean everything up so nice and then put oil back on the steel parts, but I didn't want the steel to spot rust.

I'm going to seal the bottom studs nice and tight just like Saddlebagrail(Ray)suggests. So the studs have to come out.

I soaked and degreased these things, too.

Chase with a tap and clean the holes with brake cleaner.
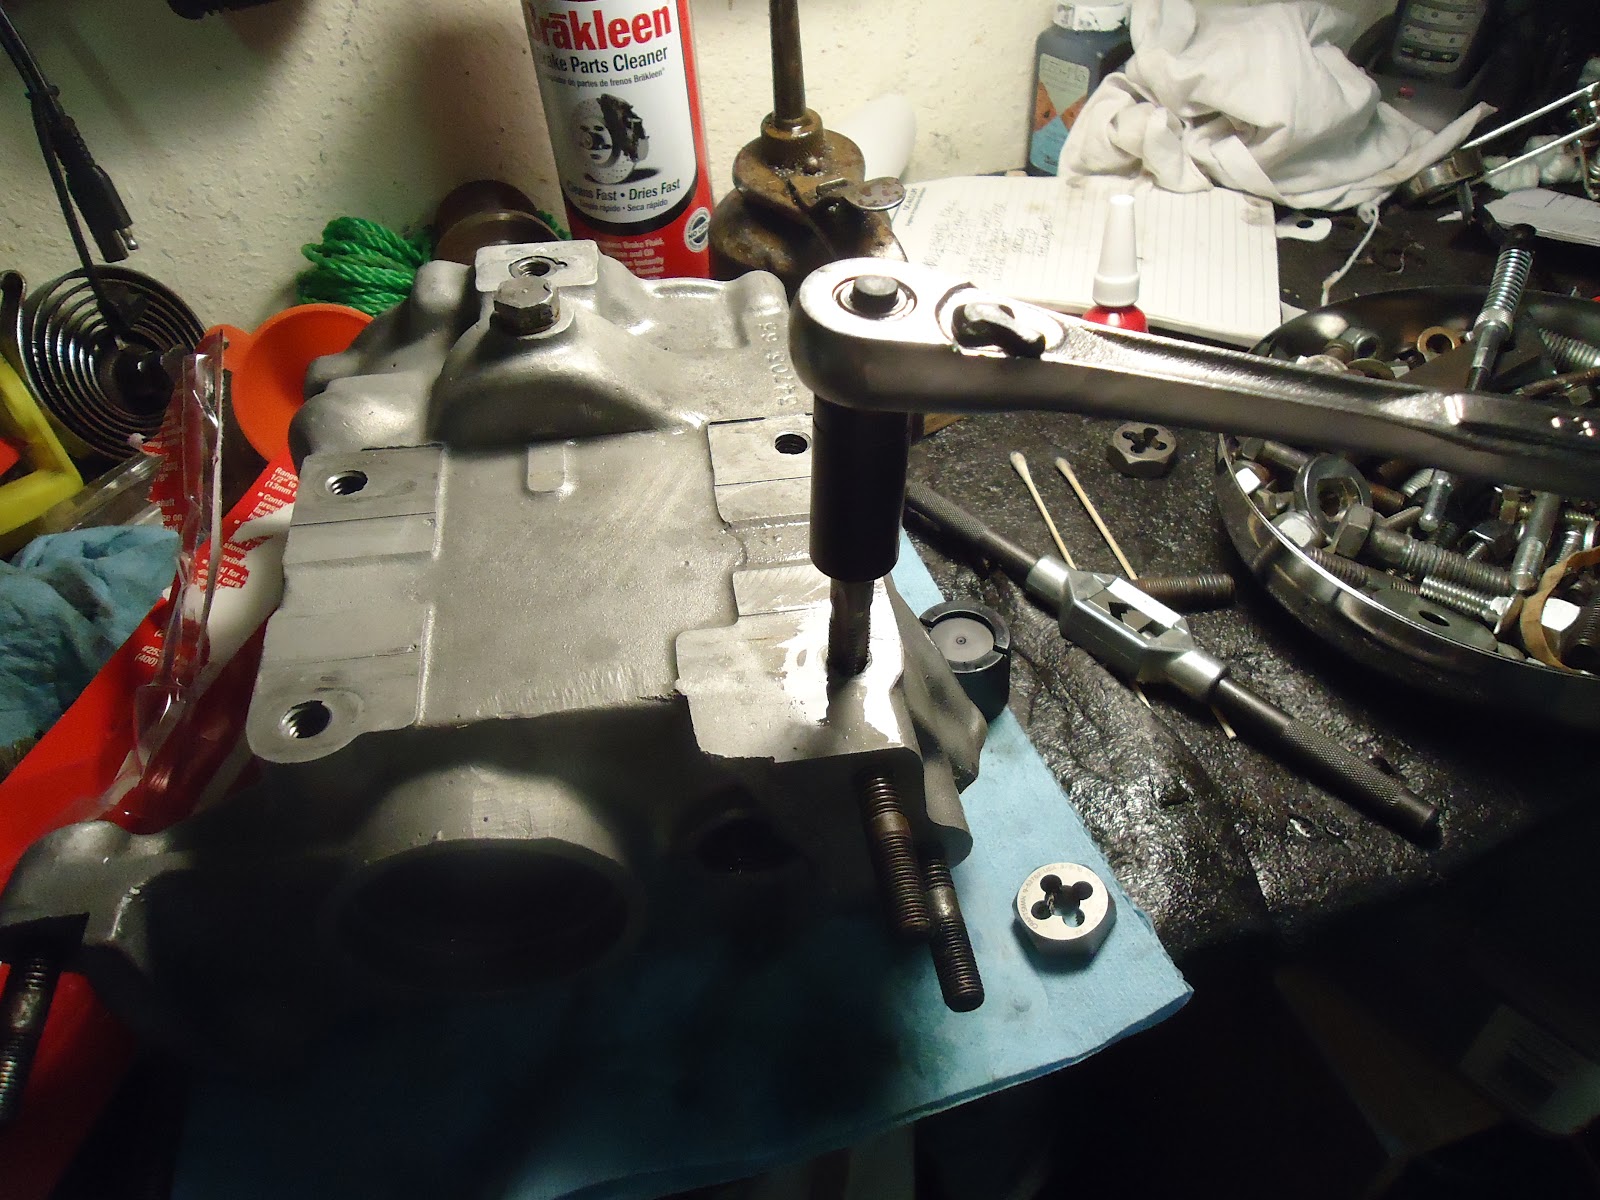
Run a die over the studs.

I used 7471 primer instead of 7649 primer that Ray uses. It was available and the specs seemed similar. I'm sure Ray will tell why I should have used the 7649. They are really proud of this stuff so I hope it helps set the studs extra tight.

I used 642 Red Loctite instead of 272 that Ray uses. Again available and seems to be appropriate per the specs. It seemed the 272 was high temp and 271 was for larger diameter bolts. The pictures of the 272 seem that it may be thicker and easier to use. Again I'm sure Ray will tell me why I should have used the 272. I plan to let everything set for 72 hours and then run a die over the other end of the stud and then I will know if the stud are good and tight for sure.

Set all the studs and don't mess around before the loctite sets up.

Oh geez. This thing is bleeding on the inside for sure. Fortunately it's still wet enough to towel up and clean right up.

Set it and forget it.

Now onto another little problem I want to fix. I think the countershaft o-ring was most of my big nasty leak. You can see the dirty rust spot where the o-ring sat. I'm going to clean up that with a brake hone. It's harder than you think to find 3/4 inch hone, but I got one that will work.

A little bit with the drill and hone and it should be good to go.

And Saddlebagrail's special o-ring spacer arrived via Par Avion.

No comments:
Post a Comment