This has left me in a bind on the shovelhead. I bought a Nash Half and Half bag specifically for the rigid frame on the Vulcan. It's just not quite big enough for what I need and really wish I could find another set of Hondaline bags like I have.

Looking around on a Facebook parts swapping page I found these. A bit bigger, not real leather, a little blinged out, but with a different cool look about them. They should work well on the Vulcan, especially as my son gets old enough to do some longer day trips with me.

Here's the rub, The Hondalines were throw overs that I mounted like this.

My new old bags were throw overs once, but the over part has been cut off.

Luckily, the now cut off throw over part was sandwiched between the back and top pieces of the bag.

Now I had a plan. I could easily add a new throw over section to the bags and mount them up. I have been holding onto this nasty set of throw overs that came with the pile of shovelhead parts and I never knew why. These will be the donor material for my new bags.
First thing to do is to drill out and remove all the top back corner rivets in both sets of bags.


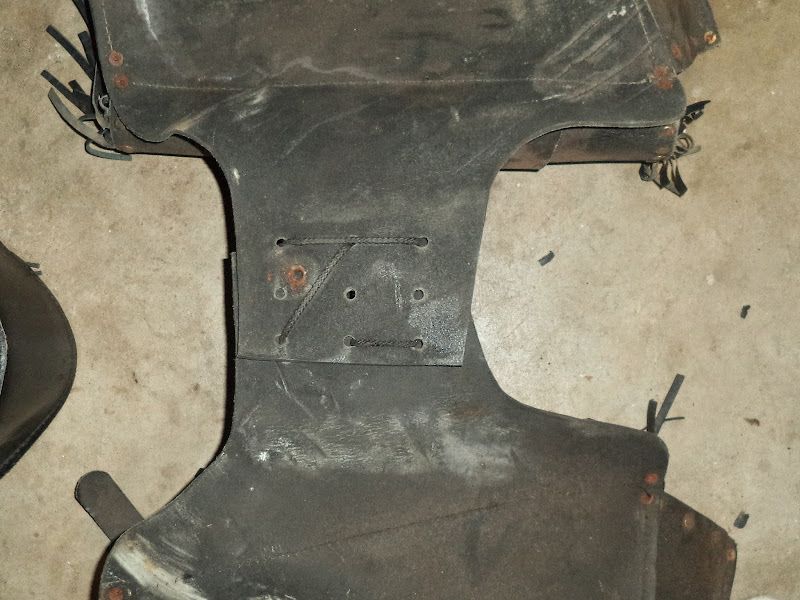
Now unstitched the seams of the back/throwover section of the nasty old bags.


Unstitch the cut off throw over section of the new bags.

The piece from the old bag was the back and throw over part and needs to be cut to resemble the cut off throw over of the bags I want to use.

Looking about right.

It's a bit longer, too, so that needs addressed and it needs a new rivet hole(I should have held out on the hole until it was stitched to the new bag. I had to make another new hole then anyway.)

Tandy instructional video to the rescue again. This wound up being a four handed job. The lid for the bags was curled in the way most of the time and the new bags appear to homemade so the holes do not perfectly line up for stitching, making this thing pretty challenging. My wife helped me a ton as always, even working hard on Mothers' Day.

If you thought the out of alignment hole were a trick to stitch the first time, just wait until you have to do the backstitching at the end. But oh sweet success. We did put off stitching the second bag up for a couple of days.

This is turning out great and well worth the effort.

Rivets in the corners.


After about ten mock-ups I figured out that there needs to be clearance for my sissy bar support plates.

Like a glove.

Not super cool, but about the best you can do for a two-up bagged-up bike.


