
Wednesday, October 23, 2013
Ed swore...
to that dude at the dealer that his shovelhead didn't leak. Everything dark is fresh from last night.

Wednesday, October 16, 2013
Any sticker can be a magnet
I love stickers, especially toolbox stickers. I guess because I want to pretend I'm a professionally sponsored mechanic or something. What do you do if you have a cool collection of stickers, but then need to upgrade tool boxes? Don't stick the stickers in the first place. Make your stickers into magnets instead. I don't recall where I first read this trick, it's not my original idea, but I do it way too much not to share.
First go to the hardware store and buy a pack of magnetic vent covers.

Stick your stickers to the covers and then cut out the stickers out with a pair of scissors or hobby knife.Voilà! Awesome new magnets that will stick, unstick, and re-stick to most ferrous metals.
"I would like to thank all my sponsors for their wonderful support."

Tuesday, October 15, 2013
Budget Bike Building
I got this for my son, but I might draw up a new bike or two with it.


I'm not sure how the seat post goes through the transmission case of a twinkie, but I guess this is just pretend.

We built one like this in real life!

Mod's forever!


I'm not sure how the seat post goes through the transmission case of a twinkie, but I guess this is just pretend.

We built one like this in real life!

Mod's forever!

Chinese Craftsman Torque Wrenches don't click either way
So I have about every Craftsman tool there is and I am generally pleased. Good price point, solid quality, hand tools have lifetime warranty, and mostly made in USA. Well anything with an electric motor was outsourced a long time ago, but hand tools were almost all USA until recently. Craftsman has even taken the "Made in USA" off the stuff that is made in USA in their advertising. It's very frustrating that they won't admit on their website what is USA and what ain't. You have to go to the store and look at the packaging.
I have thought about doing a blog site just to show which Craftsman tools are foreign and which are domestic, but I haven't been bored enough to follow through on it. With the death spiral that Sears and Roebuck are in, it won't be long before all tools are Harbor Freight or way expensive stuff from a tool truck anyway.
I have two smaller torque wrenches from a few years back, not twenty years ago, maybe like 7 years max. Both of these are older Made in USA versions and click in both the standard right-hand thread direction (clockwise) and the less common left-hand thread direction(counterclockwise). These have served me well. I don't know if they are calibrated for counterclockwise, but they seem close enough.


I needed larger torque specifically for doing 4 speed nuts that are left-handed so I bought this torque wrench and it clearly does not click counterclockwise. It will go back to Sears and I will go shopping on eBay.


Monday, October 14, 2013
Sunday, October 13, 2013
Resealing the Main Drive Gear: How-to, How-not-to, and what might work
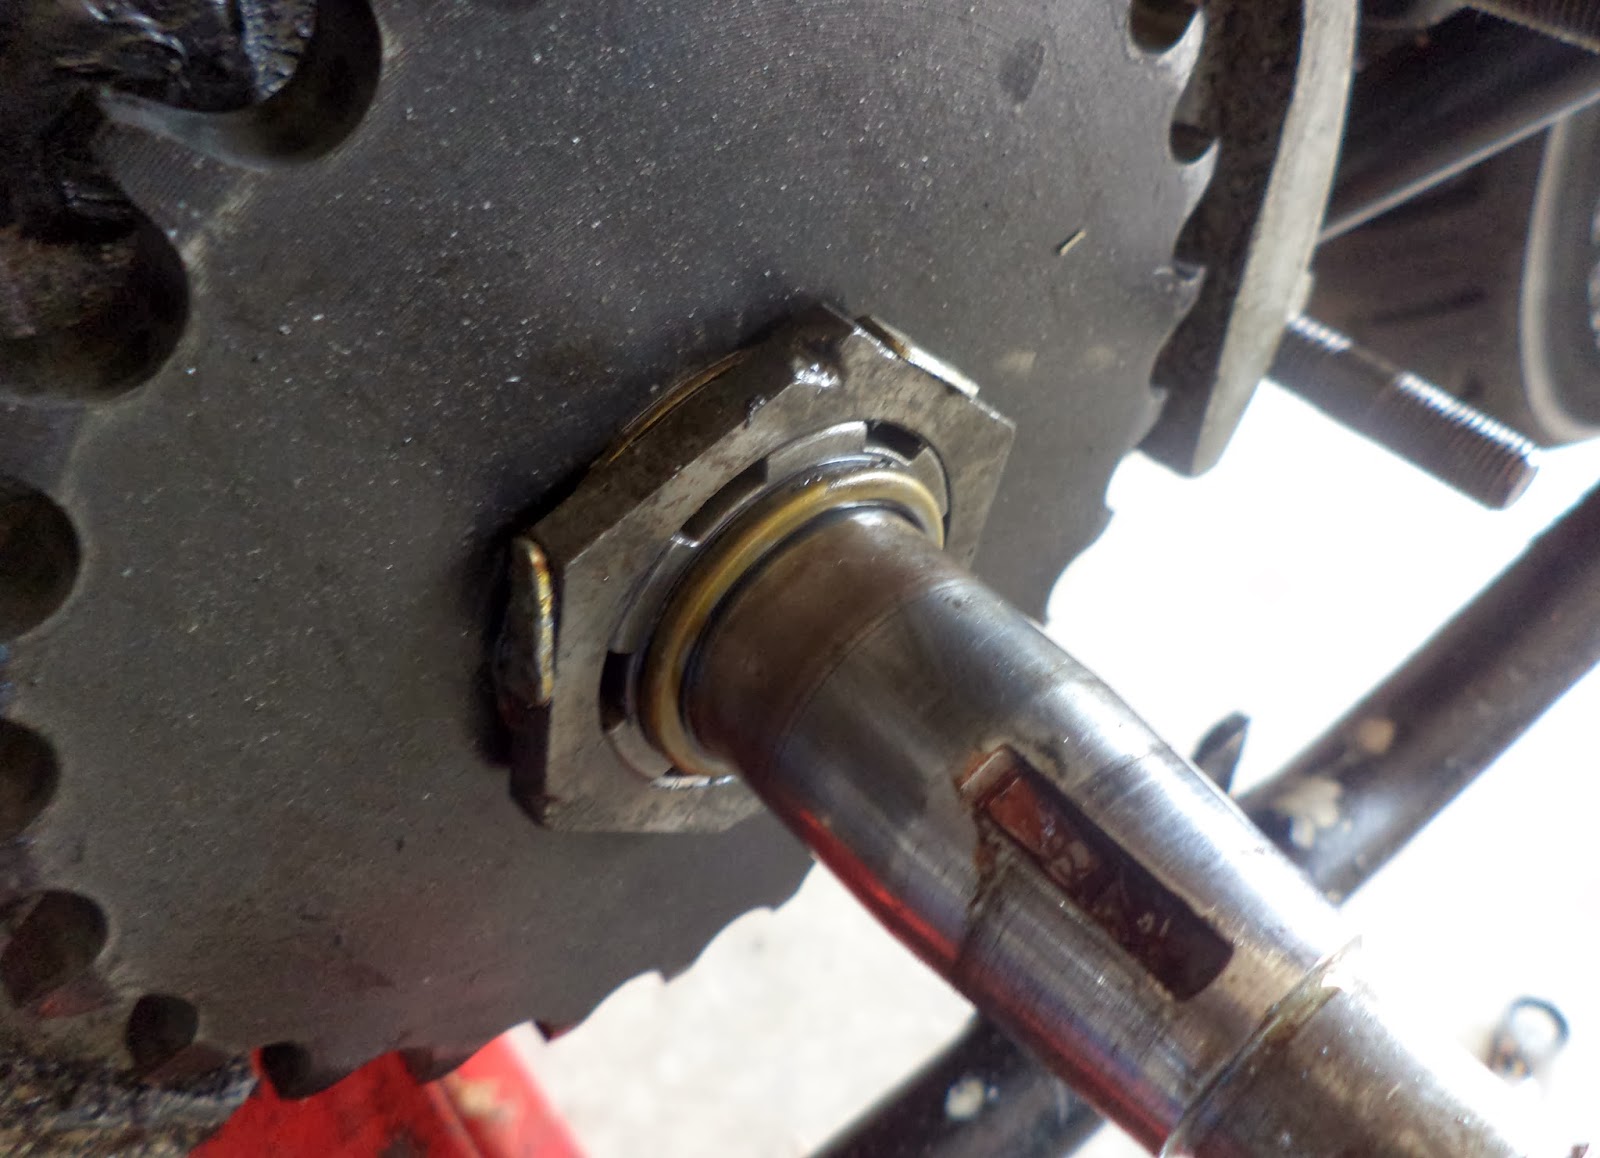
Man this thing was leaking. This is what it looked like when I took the clutch hub nut off with an impact gun.

Time to pull the hub and the bearing support plate to see what's up.

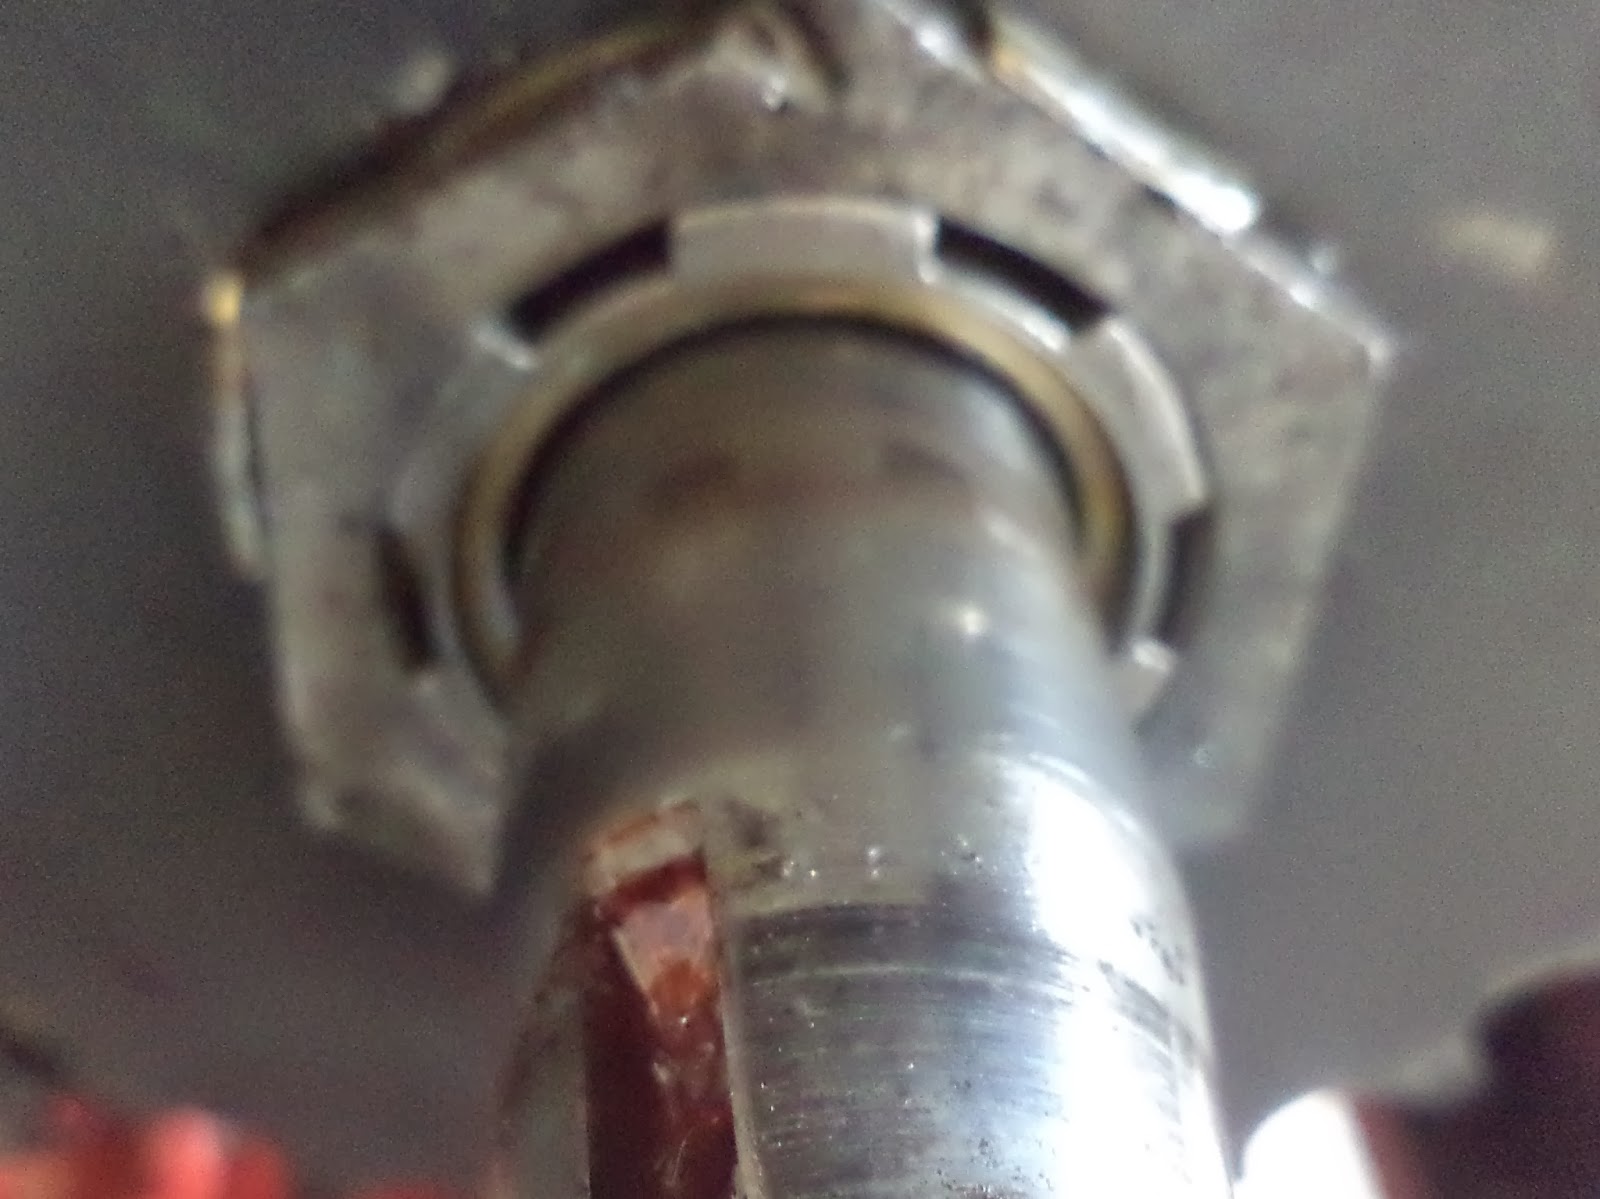
Yep. The main drive(4th gear) seal popped out. Remember I modd'ed this to take two seals. I have no idea why at least one didn't hold.

ugh. That came out with no effort and was mangled.

There's the second seal. It took more effort, but it wasn't holding anything in either.

I had my suspicions that this seal was my problem and I had another solution to try. An Evo five speed will fit and it's a better seal overall.


Double lipped already.

So I want to grease the inside and Motoseal the outside.

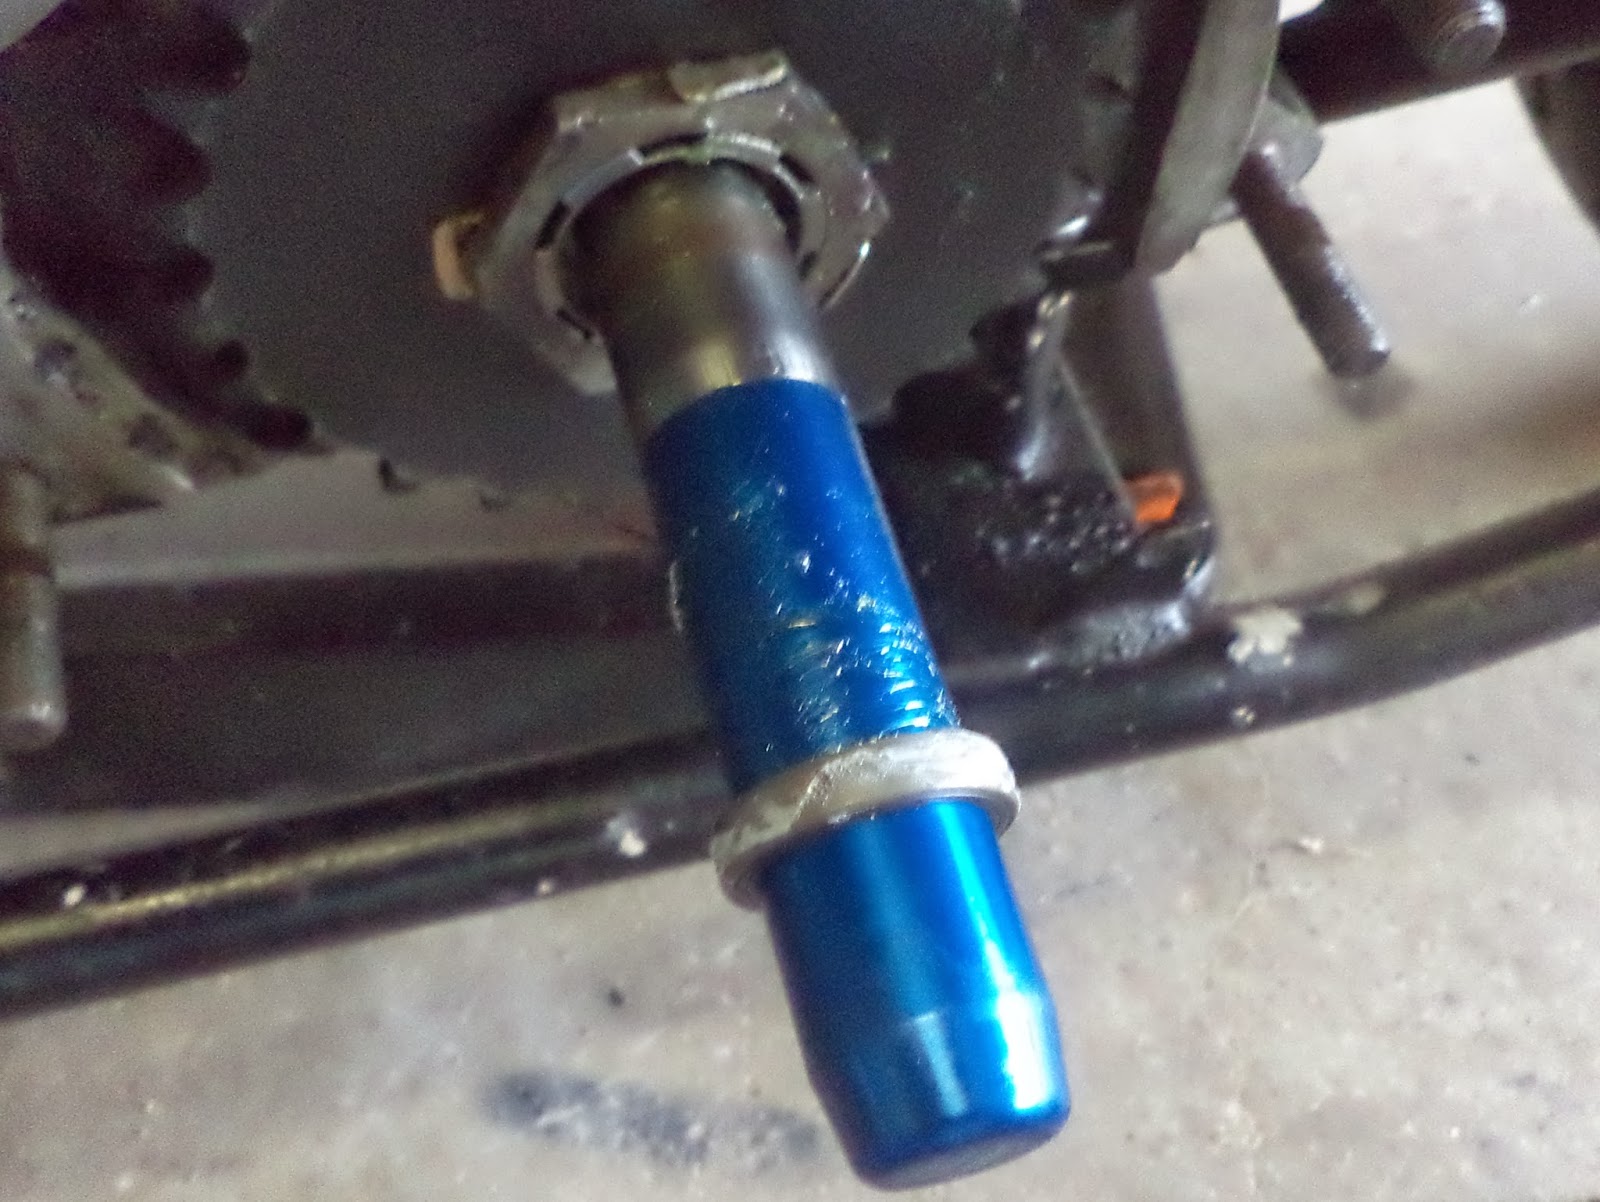
Then install with a Jim's tool #2256. Dhelding lent me this one.

Slide the seal down the shaft. Grease on the shaft and Motoseal on the outside.

A couple whacks to seal it.

Ooops. So I discovered that with the bike on the sidestand and the blows not delivered perfectly that you will destroy the seal. I put way too much faith in that tool. Usually I buy two seals or gaskets for every one I need, but not this time.

I can't get a new Evo seal until Tuesday. I do still have two spare 12022 seals that I can use. The trick to the tool is to spin the sprocket and shaft after every blow to make sure the seal goes on straight.

With the first seal seated as far as the Jim's tool will seat it, I grabbed the nicer of the two used seals that I pulled out of the gear earlier, and drove that seal on top of the new good one.

I pulled the one bad one out again. Then installed another new old style seal (with Motoseal) but not as deep as I had drove the used one it.

I must have quit taking pictures about then, but if the two new old style seals don't hold then I will tear it all apart again and do the newer style seal. I will be more careful installing that one for sure.

Time to pull the hub and the bearing support plate to see what's up.

Yep. The main drive(4th gear) seal popped out. Remember I modd'ed this to take two seals. I have no idea why at least one didn't hold.
ugh. That came out with no effort and was mangled.

There's the second seal. It took more effort, but it wasn't holding anything in either.
I had my suspicions that this seal was my problem and I had another solution to try. An Evo five speed will fit and it's a better seal overall.


Double lipped already.

So I want to grease the inside and Motoseal the outside.

Then install with a Jim's tool #2256. Dhelding lent me this one.

Slide the seal down the shaft. Grease on the shaft and Motoseal on the outside.
A couple whacks to seal it.

Ooops. So I discovered that with the bike on the sidestand and the blows not delivered perfectly that you will destroy the seal. I put way too much faith in that tool. Usually I buy two seals or gaskets for every one I need, but not this time.

I can't get a new Evo seal until Tuesday. I do still have two spare 12022 seals that I can use. The trick to the tool is to spin the sprocket and shaft after every blow to make sure the seal goes on straight.

With the first seal seated as far as the Jim's tool will seat it, I grabbed the nicer of the two used seals that I pulled out of the gear earlier, and drove that seal on top of the new good one.

I pulled the one bad one out again. Then installed another new old style seal (with Motoseal) but not as deep as I had drove the used one it.

I must have quit taking pictures about then, but if the two new old style seals don't hold then I will tear it all apart again and do the newer style seal. I will be more careful installing that one for sure.
Saturday, October 12, 2013
Shovelhead Main Seal and Spacer install
I had a little leak at the main seal and I don't think I put it in quite right so here's my second try.
Lube the seal and spacer.


Install the spacer into seal.

Line it all up and get the seal started straight.

A little piece of PVC to drive it home with. I labeled the piece so I don't throw it away when I clean up my workbench.

Lube the seal and spacer.


Install the spacer into seal.

Line it all up and get the seal started straight.

A little piece of PVC to drive it home with. I labeled the piece so I don't throw it away when I clean up my workbench.

Friday, October 11, 2013

Tuesday, October 8, 2013
Pit Posse Tire Mounting Lubricant
Pit Posse Tire Mounting Lubricant, I highly recommend this stuff. I have done a ton of tires dry, but never again. I'm sure someone will tell me this is just thick Dawn soap or something, but I love it.


Subscribe to:
Posts (Atom)