 I might should have got the angled one, but we'll see.
  Here's the carb diagram.
  Tear it down.
  Bowl looks okay.
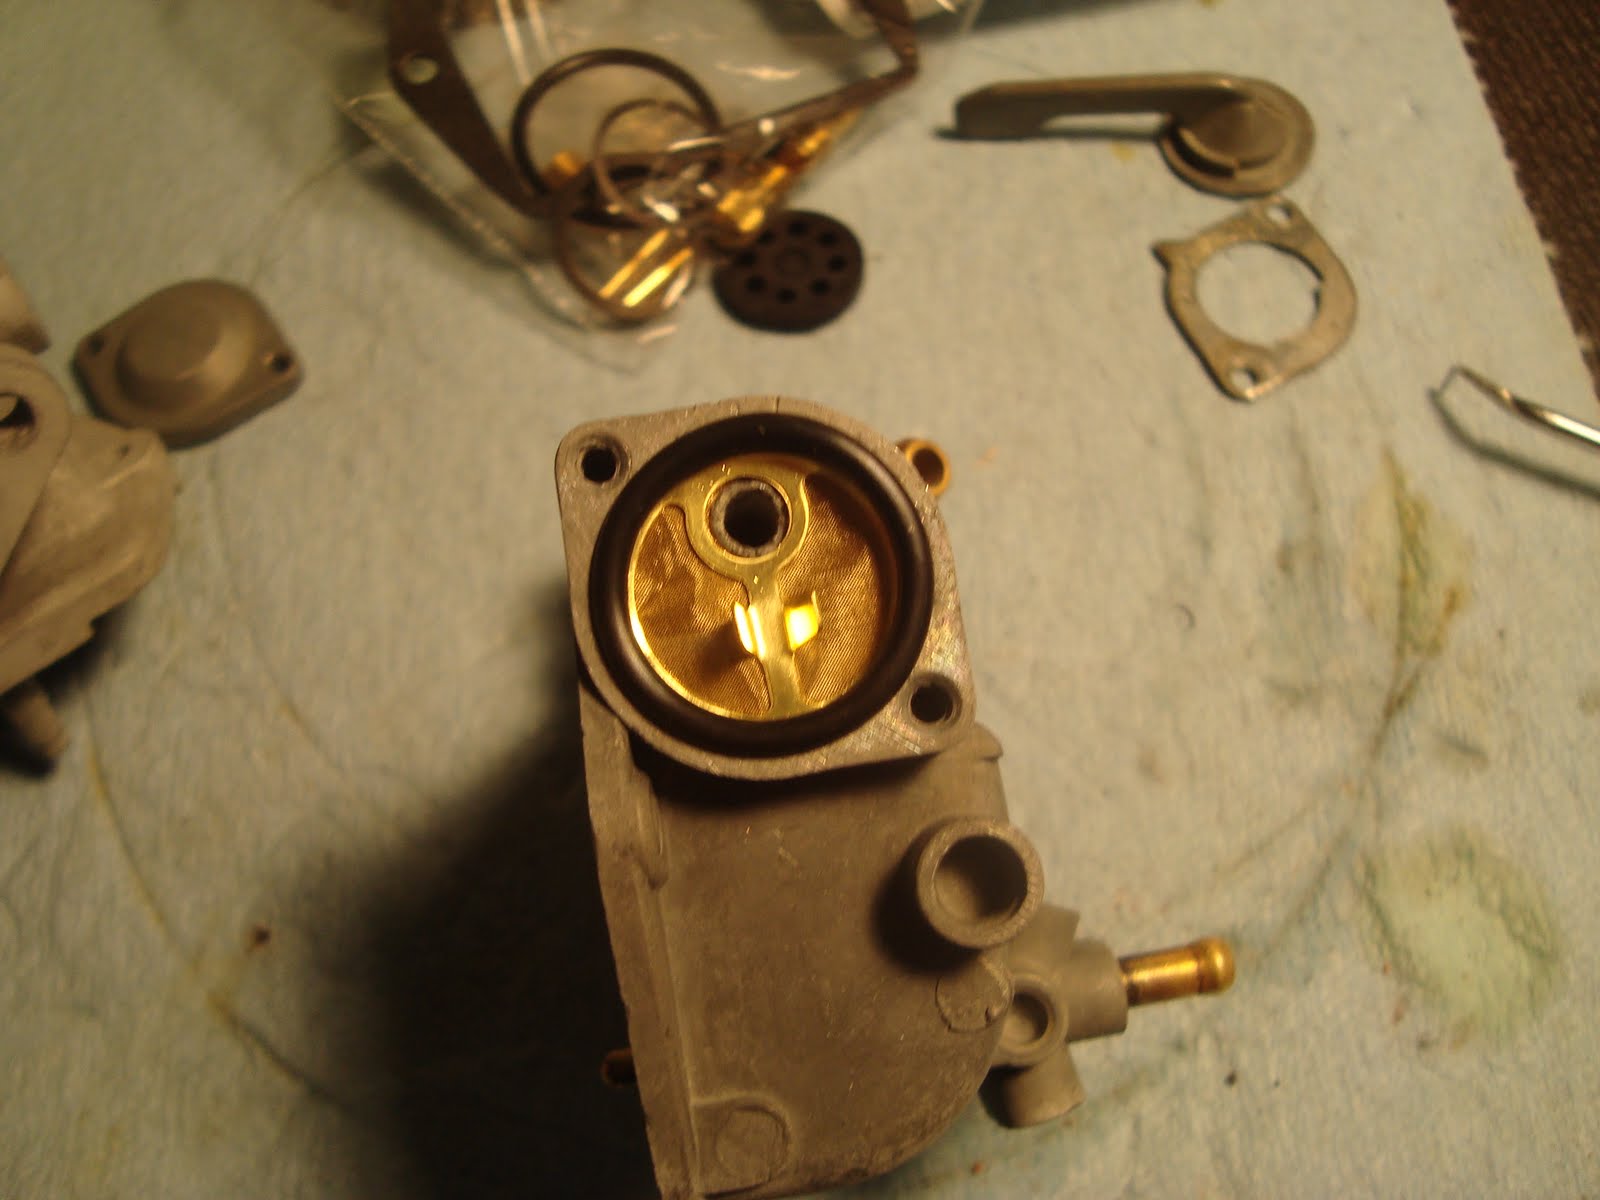
  Rip into the petcock.

The drain screw is tight! Had to use those pliers.


Fuel filter side.

Crusty.

Top half.

"Look Ma, no pilot jet!" Must have be stolen at some point.

Crusty gasket.

Main jet and emulsion tube.

Not too bad.

Float needle and seat.

Idle adjust screw and pilot screw. The empty spot is cool because that's where the High Altitude knob goes on a Trail 90 carb. Same casting without the extra machine work.

Put everything in some carb cleaner. The float still floats so that's good.

Knock the red mud off the outside before I soak it in the vat.

Into the vat.

Couple of hours later.

Rinse.

The top is still crusty, so I'll soak it some more.


Rinse with water and blow with compressed air. Ready to go up.


I bought new stainless bolts with allen heads, because the phillips head screws are tired and the heads are half stripped.

Here's the best carb kit again from dratv.com.

Filter side.

Filter.

O-ring.
Cover.

Petcock side.

The seal that guides the gas.

Switch pieces stack like this. Lever, wave-washer, cover plate.


Are you kidding? The head of the new hardware stripped out.

Back to the hardware store and I got socket heads instead of button heads.

New o-ring here.


Tube and pilot jet.

Float needle valve and mainjet. The gasket was premature, I had to take it back off to adjust the float level.

Float on.

Adjust the float level. (I stole this picture from dratv.com, because it was good and I figured they wouldn't care given the ads and money I give them.)
New idle and pilot screws and springs.
 Together again. I'll put that in a bag in a drawer, because I have to rebuild everything else before I need it again. (The intake o-ring and top throttle seal are still on the bench.)


