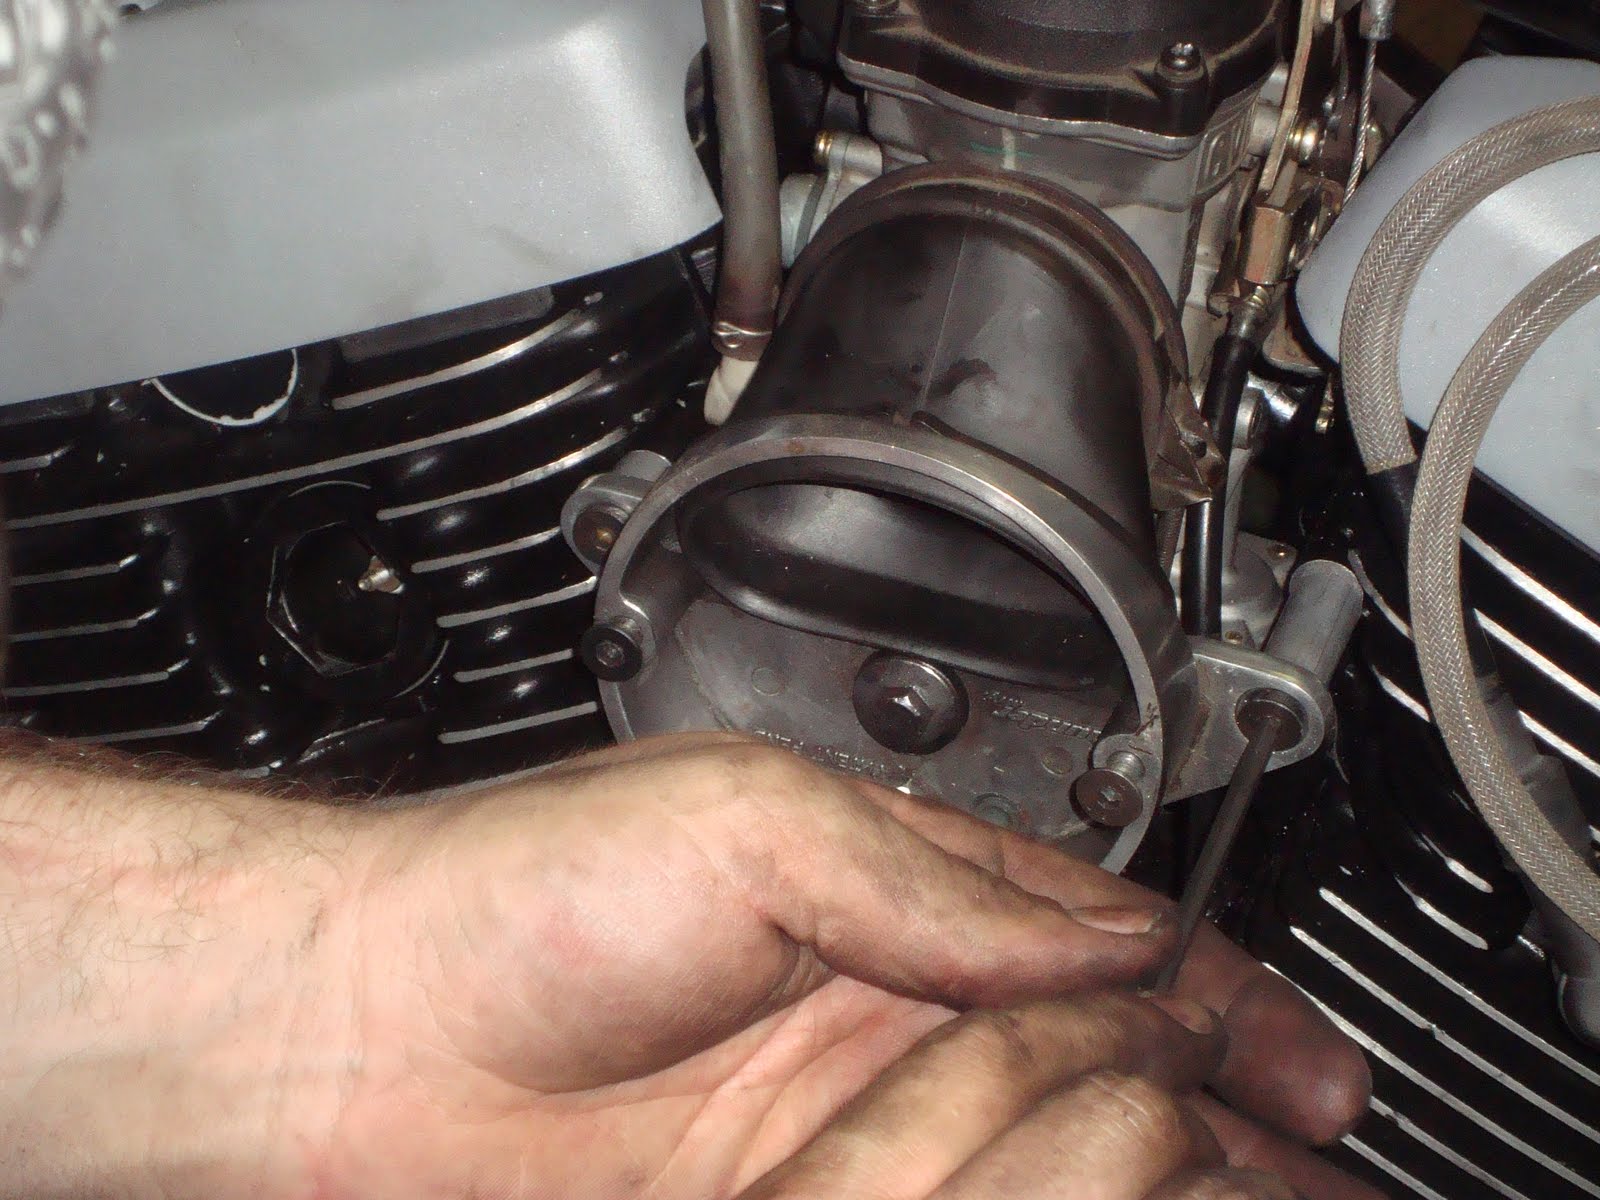
Hotsauce came by to help. He unplugged the electrical connections under the left cover and filled them with dielectric grease. He's seen a few of these melted down and this should help.

What's this green stuff? Antifreeze? You mean like in a car?

New oil filter. (It helps to use the right one, because my mini-van oil filters are about the same size, but they don't fit no matter how hard you try.)

Don't forget to put oil in it.

Yea! I get to use my new I.V. gas tank.


Hook up the dash.

LIGHT IT OFF!
The battery is a touch weak so we charged for a bit and tried again.
Runs better than new. Get it warm and burp the coolant.
Finish it up.
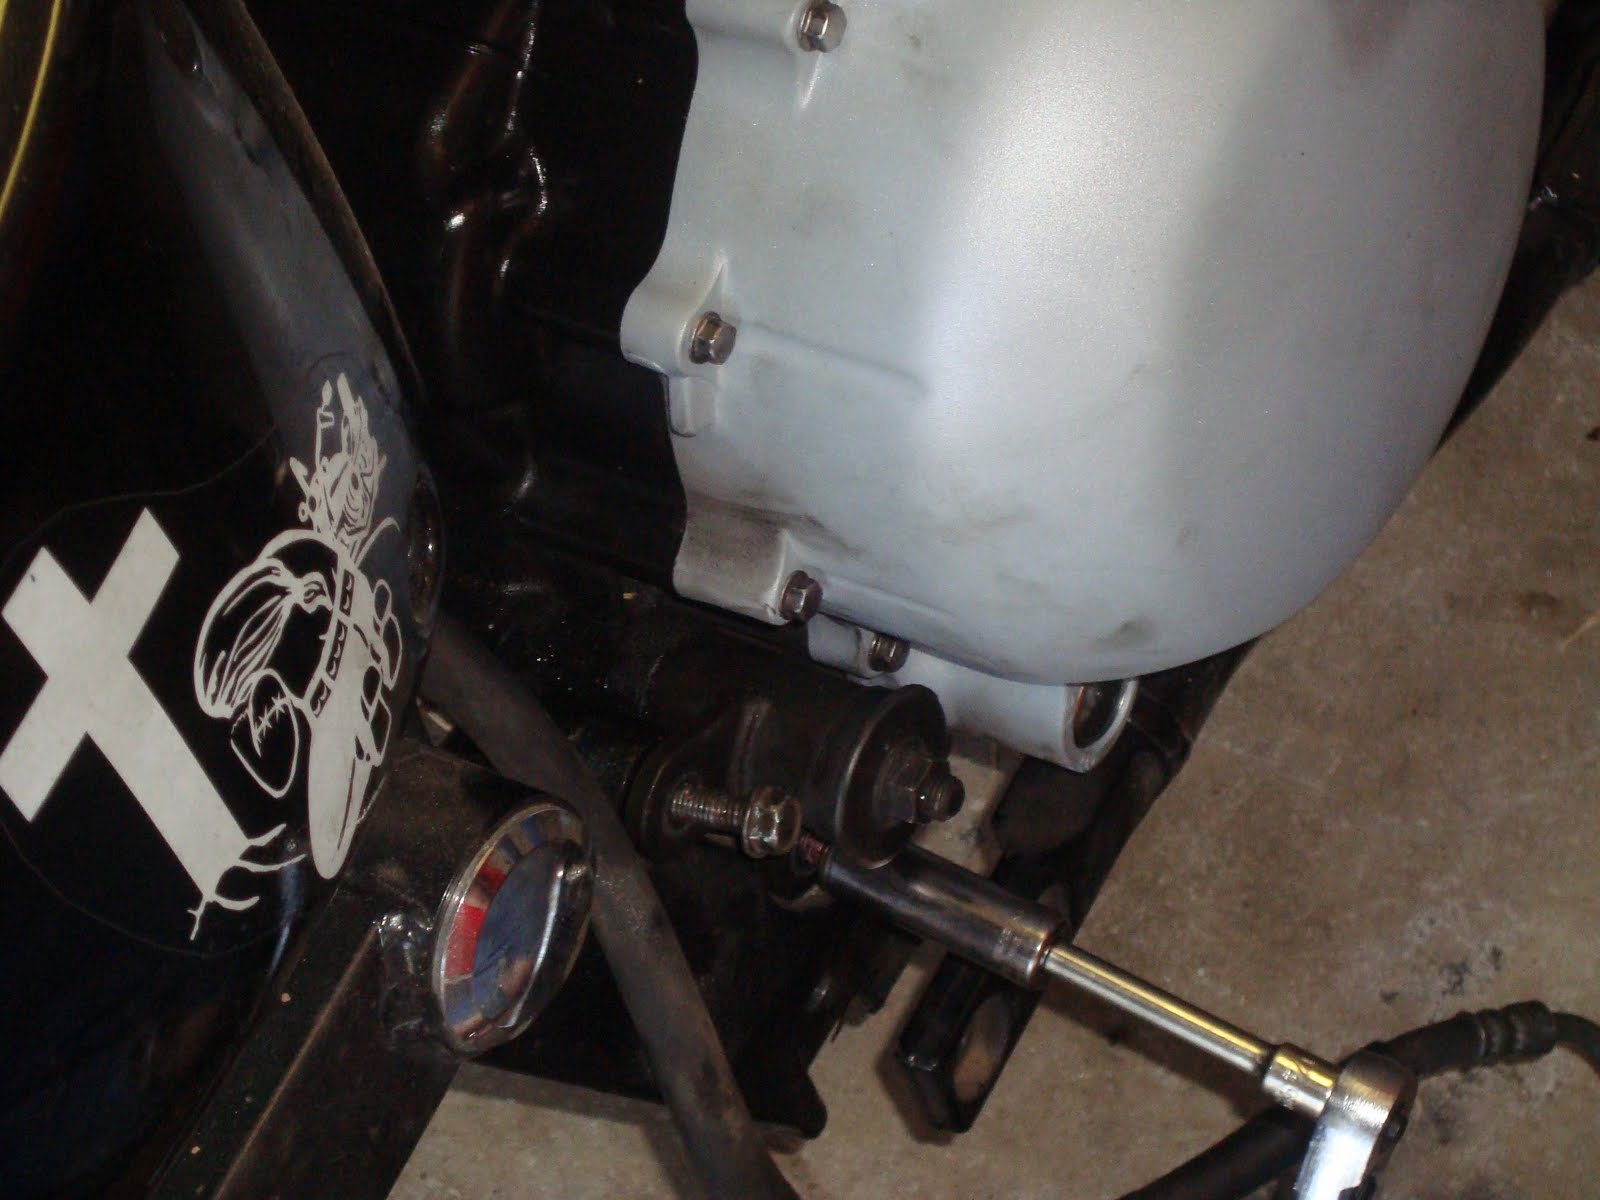
Left cover.

Toe shifter.

Heel shifter.

Floorboard.


Dash and Tank. Empty the IV bottle, too.


Ready for a test drive. Pat and Hotsauce laughed at me because I didn't a jacket, too.