Still working this clutch rod out. This was my next planned move. Female 5/16 inch heim joints and 5/16 inch round stock. External threads are easier to cut because you don't have to drill a hole first. The 5/16 round stock is plenty beefy, too. I found an awesome local source for heim joints.Smiley's Racing. They don't show many on the website, but they have a whole pegboard full them in the store.
If I had to do this over again this where I would start day one.
The pedal got some more attention. First the connection was too high then too low. I took the stop tab that I had cut off and had a friend weld it back to the top.
Drill a hole in the new tab
A little mock-up action to see how things were.
Not bad, but the clutch release arm is still adjusted too far forward.
I adjusted the clutch as far back as possible too avoid the snap backward from my last set-up. The good news bad news is that the filter housing will be my back stop now.
I have worked this arm over and over, but...
It still wants to kiss the chain. Next time I will use FabKevin's Extended Arm for sure. I just don't want to wait another week to get one in the mail.
More bending and unbending, but I finally got it right.
Now I had this brilliant idea to salvage the fat and too short rod I had built instead of the new skinny one from scratch. I needed just a couple of more inches to work with. The thing with heim joints is that they are always UNF(fine thread). This is so they are more adjustable, but try finding UNF all-thread, coupling nuts or even fully threaded bolts at your local hardware. That's not going to happen. So I found the longer 5/16-24 UNF bolt at Ace and built all-thread.
Start a die down the bolt. (Take the jam nut of first though.)
Now you have a fully threaded bolt.
Put the jam nut back on and thread the bolt into the shaft.
Cut the head off of the bolt and run the nut off to clean up the last thread. Now the short rod has an extension stud.
Install two jam nuts and female heim joint.
Pretty good. I had to tweak the rod a bit more to fit where I wanted it and should have used loc-tite on the bolt at the pedal. It came out and I had to pull the rod with hand to slow down a few times on the way home. I'm glad there's a belt guard and the bend in the rod is a nice handle, but I don't want to have to do that again.
I'm personally more of a fan of the Smokeout Stampede, The Cannonball Motorcycle Run, or the Hoka-Hey Challenge, but I did get to see some expensive exotic cars on the road in Illinois during the Gumball 3000. It was pretty cool. Rolls-Royces, Porsches, Topend Benzes, a Cobra, and this chrome Lambo. If you got plenty of money and time to blow, why not?
I was thinking I wouldn't blog this project at this point, but I think I can salvage a useable piece from either the built piece or at least the lessons I learned from building it. I figured it was worth it to my 12 followers to see the process even if the product wasn't quite right the first time.
Here's the problem with my foot clutch set-up, according to Fabkevin and others, the clutch rod connects too high on the pedal and so the clutch throw is too short to have a smooth transition through the clutch friction zone.
Here's the basic shape of the rod to be build. I stole the idea to use tie down twist ties to get the basic bends from another blog, but I don't recall which blog or I would give proper credit for the idea.
Here's the rod I started with 1/2 inch round stock.
I cut the end off first, because the ends have a slight taper from the manufacturing process.
I drilled and taped the new rod and the clutch release arm. The how-to is written here.
I put the clutch rod and clutch release arm back on the bike to see where we were starting. The clutch release arm is too low and the chain still wants to kiss the arm.
Used MAP gas and plumber's torch to heat and pipe to bend the clutch release arm up a bit.
Looking better.
Now to mark the first bend of the rod.
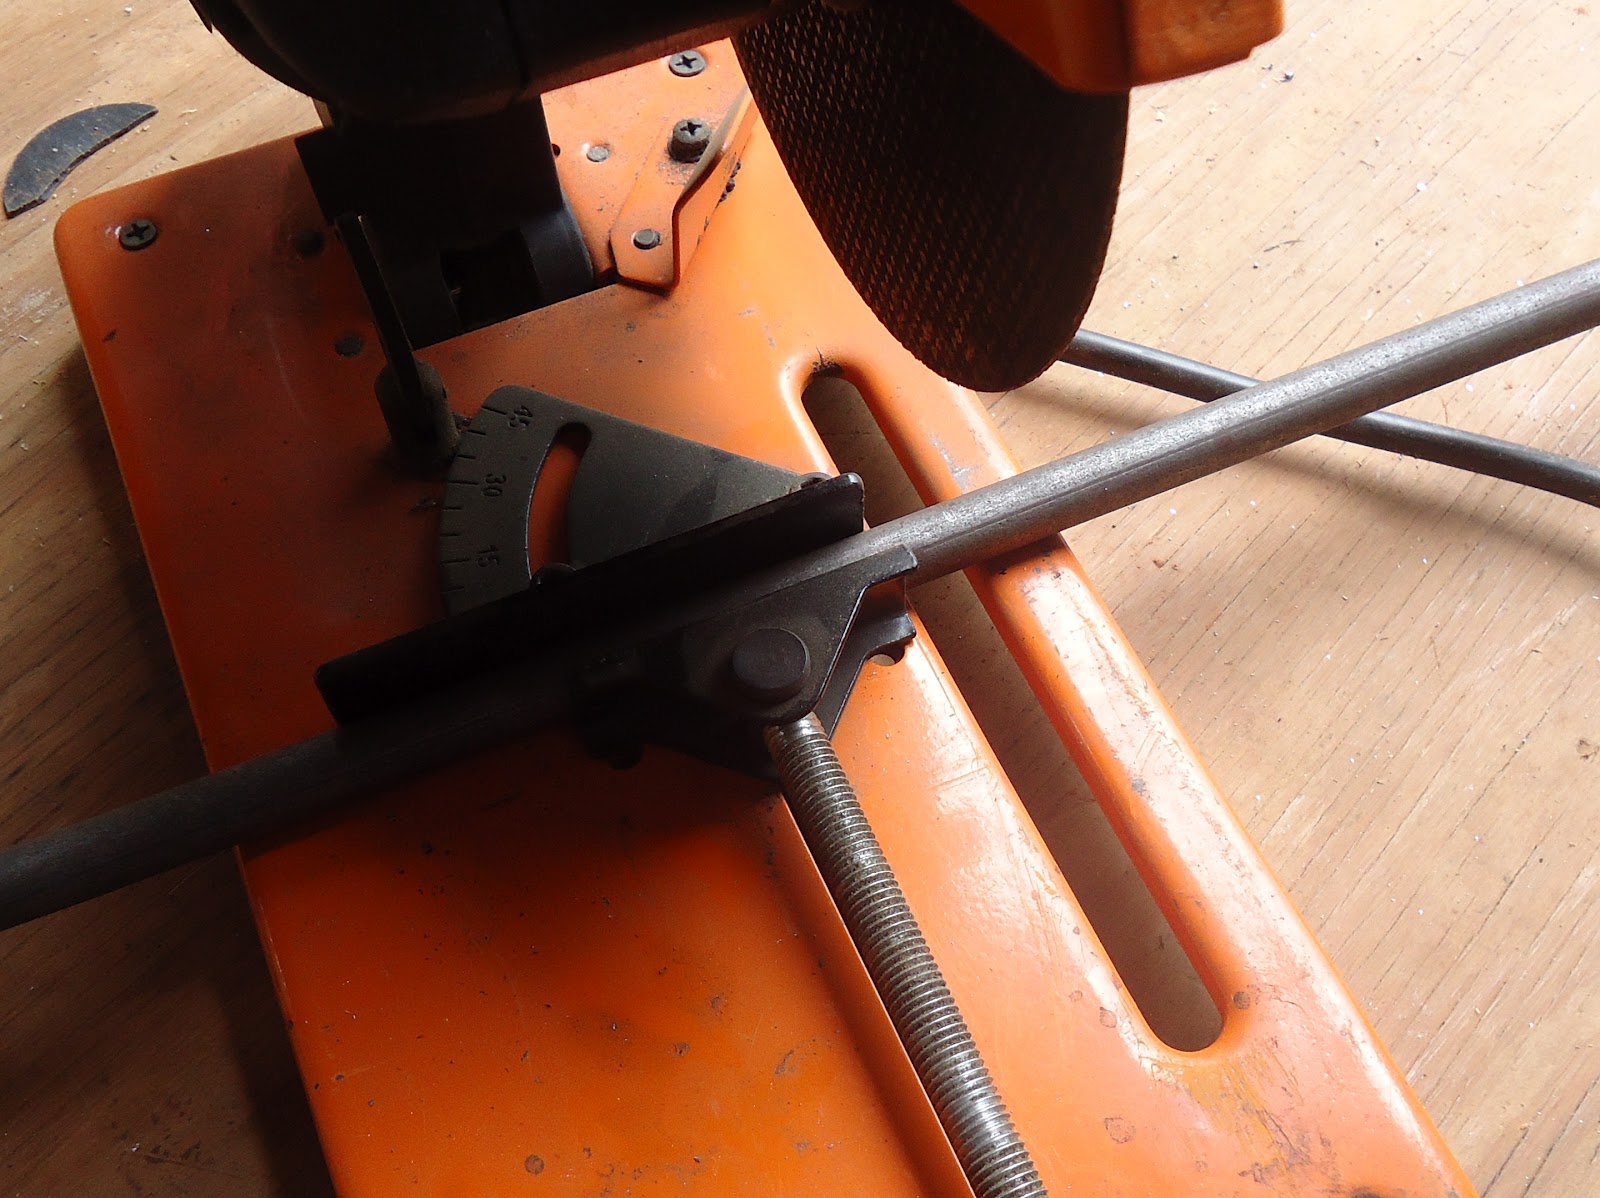
Since there is not good way to get a wrench on the round stock, I drilled holes in the rod and use a pin punch to hold the rod when I adjust the jam nuts.
Now to make the first bend. Again MAP gas and pipe.
Mock-up and compare.
Second bend complete. The bar is too long to really check, but looks okay.
Another tight bend.
The basic shape is there.
This is where I screwed up. The bar was way too long and should have made several cuts to get to the right length.
Now to drill a hole in the pedal.
I found these and I think this will work for the peg on the pedal.
Well this looks pretty good, but...
... doesn't work correctly. Several things I have discovered at this point. The rod is too short. The clutch is not adjusted properly. I think the low peg for the rod interferes with the fulcrum of the pedal. The little hook part of the pedal, that I cut off, was a stop.
So I built this new foot clutch rod and looks okay, but it is a complete failure as a functional part. It's too short and I built around a clutch release arm that was adjusted wrong, too. As a learning experience it was great and the next one will be perfect.
Here's what I learned and wanted to pass on. I probably didn't invent it first, but I figured it out by myself and it worked.
I needed to put a threaded hole in the clutch release arm. The cable end needed to be cut off first. But how the heck am going to chuck this weird piece into a drill press to get a nice straight hole to tap?
I drilled the cut off piece in my drill press, with my drill press vice and v-jaws.
Nice straight hole.
The v-jaws in the bench vise and use the cut-off/drilled piece as a drill guide for regular hand drill.
Straight and tappable.
The next trick was putting a straight tappable hole in a three foot rod with only a benchtop drill press. And the same technique works here, too.
Perfect!