Search

Search all blog posts here.

Search This Blog

Sunday, August 29, 2010

08 Grand Caravan rear brakes

Okay, this was one of those super easy jobs that wasn't easy the first time. I won't show all the learning I did on the left side just the correct work on the right.

First lift the rear end up and put jack stands under it, then take the wheel off.


Take out the guide pin bolts.(13mm hexhead) You may need to use a backer wrench if everything wants to spin.


Pull the caliper off and out of the way. The pad holder stays on the wheel.


Now use an 18mm to get the two bolts out that hold the pad holder in place.


Take out the old pads


Whack the rotor until it gives loose and will come off.


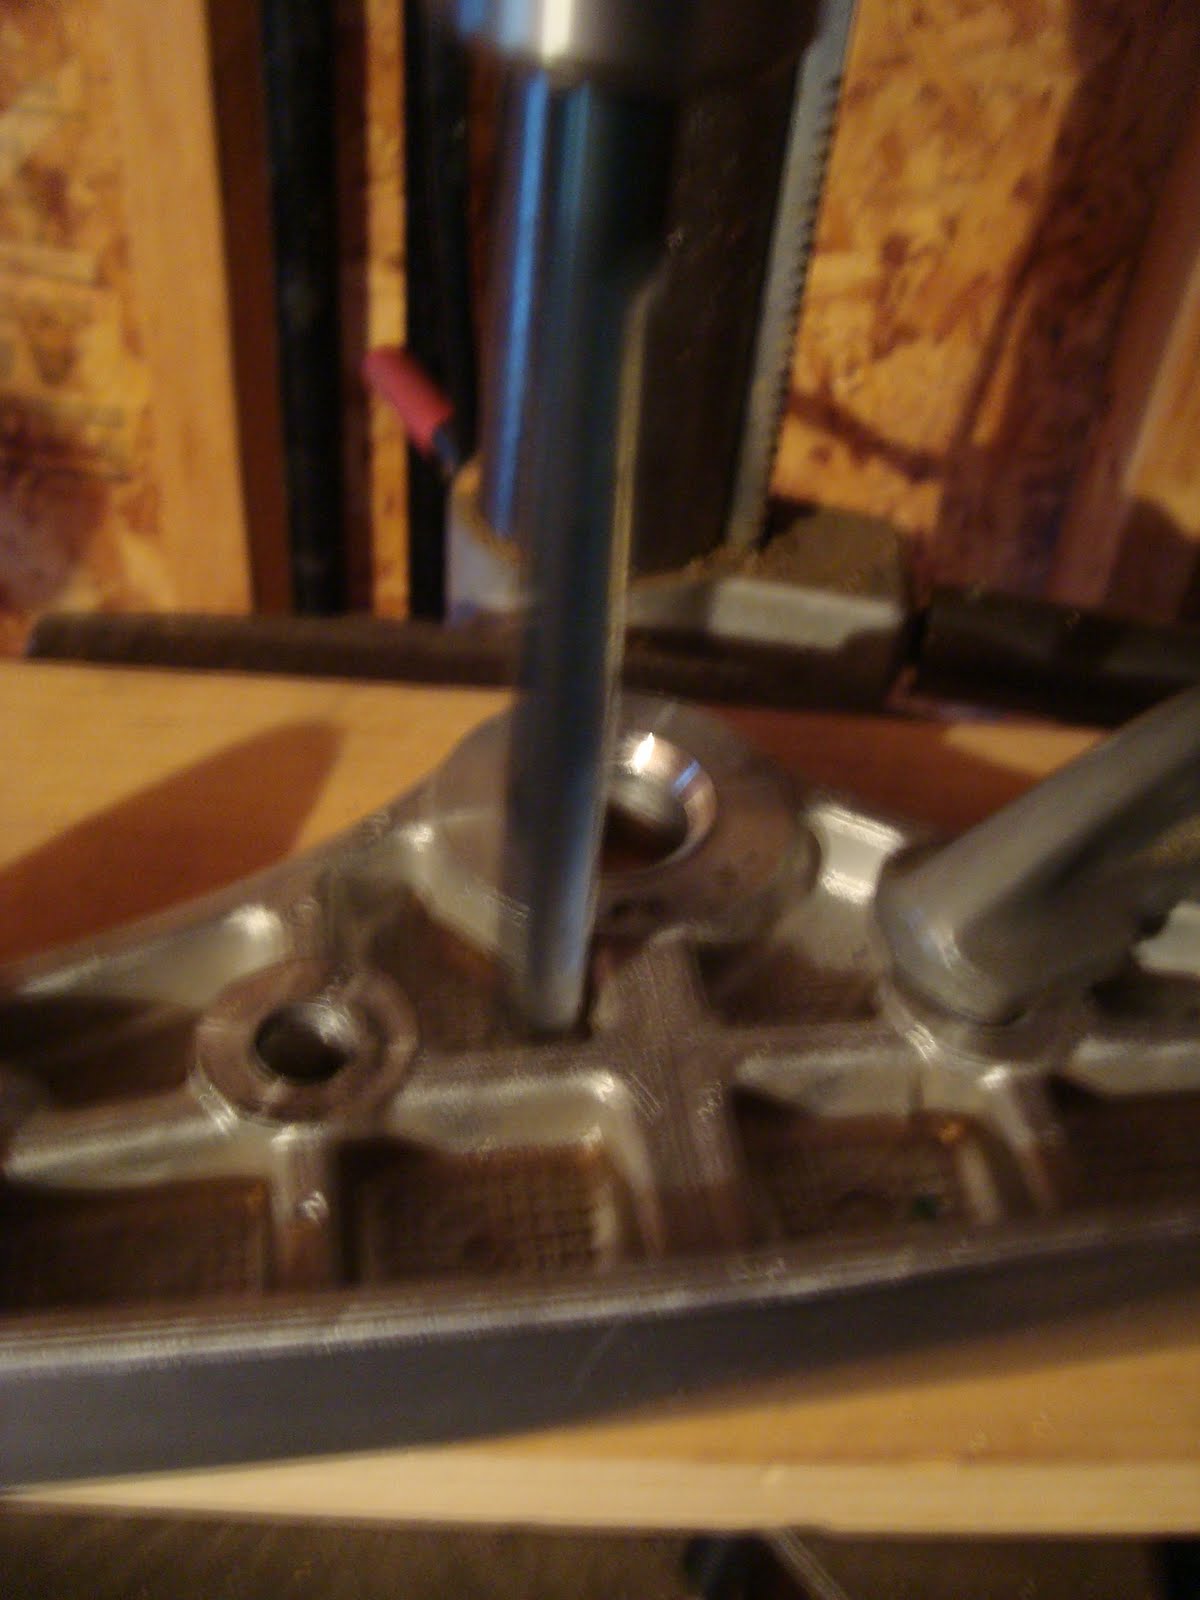
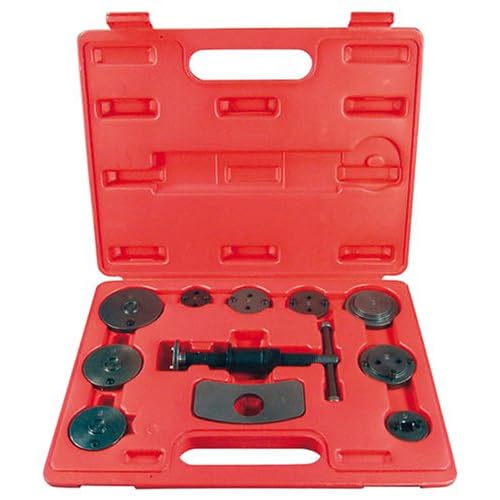
Now you need to pull the piston back in to the caliper. A regular C-Clamp won't get the job done. The piston must be screwed in the caliper not just shoved in. You need one of these. I borrowed one from my local Irish AutoZone (O'Reilly's)


Turn it 'til it seats.

New rotor on and pad holder go on.


Pads in the clips.


Looking good.

I must have thought I was done, because that's my last picture. All you have to do to finish is put the caliper back on and the tighten the guide pin bolts. Then put your wheel on and try not to screw up the lug nuts and wheel hub studs, but that's another story.

Wednesday, August 18, 2010

Custom Clutch Line

So I couldn't get a black covered stainless line as long as I needed for the clutch. So I went to Midwest Hose & Speciality to see what they could to do. They only had uncovered or clear covered stainless lines and the correct banjo eyes where brass colored. So I got them to cover the stainless with a black hose and crimp on female AN-3 fitting to use with the banjo fitting from the harley store. The ends are kind of ugly and I should have covered the line with black shrink wrap to make a skinnier line.


Here's my ugly fix for the ends.


That's better.

Here's something else, put at zip tie on the hidden end to keep the over hose from slipping. We'll see how everything looks when I get it back together.


Fork teardown and top tree

Let's get these forks apart so the sliders can go to the powdercoater.

The tiny ring holds the spring cap in place. You have to push the cap down and work the ring out. This is easier to do with the fork tube in the triple tree(unloaded spring) or in a soft vise, but it can be done otherwise. Hold the tube push the cap with a large screwdriver and hold the pressure on the screwdriver with your forehead and take out the ring.


Take the dust seal out. You'll probably tear that up.


Another retaining ring in the here, but luckily no spring pressure.


Take this screw out. (Remember we broke it loose earlier on the bike to drain the tubes.)


Slide hammer the tube to get the seal out, and you're done. Legs go to powdercoater.


I'm running the wiring through the bars so I will need a hole in the tree for the wires, too.
3 and 1/2 inches between centers and 1/2 bolt, so 2 inches is the center of the tree, but...


this is the bottom of the tree. Notice the center is thicker and is designed to hold the load, so I don't think putting a hole there is a good idea.

How about here.


That will work.


Off center, but still strong and you hopefully won't notice.

Saturday, August 14, 2010

Final mock up before powdercoat

I put it together one last time before the front goes to powder coat.


Gaitors! Gators!?

I'm back to taking apart the front end for powercoat.
Wheel off.


Drain the fork oil. (Don't leave the drain pan were it can be knocked over later.)


Loosen the pinch bolts, and the tubes slide right out.


Here's my gaitors. 41mm from the local harley-type store.


Get these covers off and not tear stuff up. They are tight.


I thought these two bolts were the only thing holding the beer cans on, but no you have to everything off the triple tree to get to one more bolt.


Windshield hardware has to go.


Note this is one more place you have to grind to fit a Cobra lightbar with a Memphis Shafe windshield.


Headlight and spotbar have to move.


One bolt holds the top fork cover.


On the left 1500 upper fork cover with the notches for the turn signal stuff.
On the right 800 drifter upper fork cover with no notch for the turn signal. You need the rubbers for the 800 drifter covers, too.


800 Drifter parts fit with no extra holes.


Last bolt for the beer can.


One more thing to make the drifter parts work. Remove the little tabs on the lower tree cover.


Perfect! I'm glad I found this before the powdercoating.


Gaitor ons! I love it, it did a good job of de-chroming the front end. I could probably get away without powdercoating the rest.