
Wednesday, March 30, 2016
Lummie's New Springer
So my buddy Lummie moved to South Dakota and left me a bunch a parts he didn't want and just some fond memories. Then he calls me up to go look at a bike locally and see what I think and get pictures. If he decides to buy, then I get to ride it for him until he can come pick it up. So here it is.

Aftermarket 5 speed kicker kit. Groovy mid peg set-up, but I know I could talk Lummie out of the pegs.

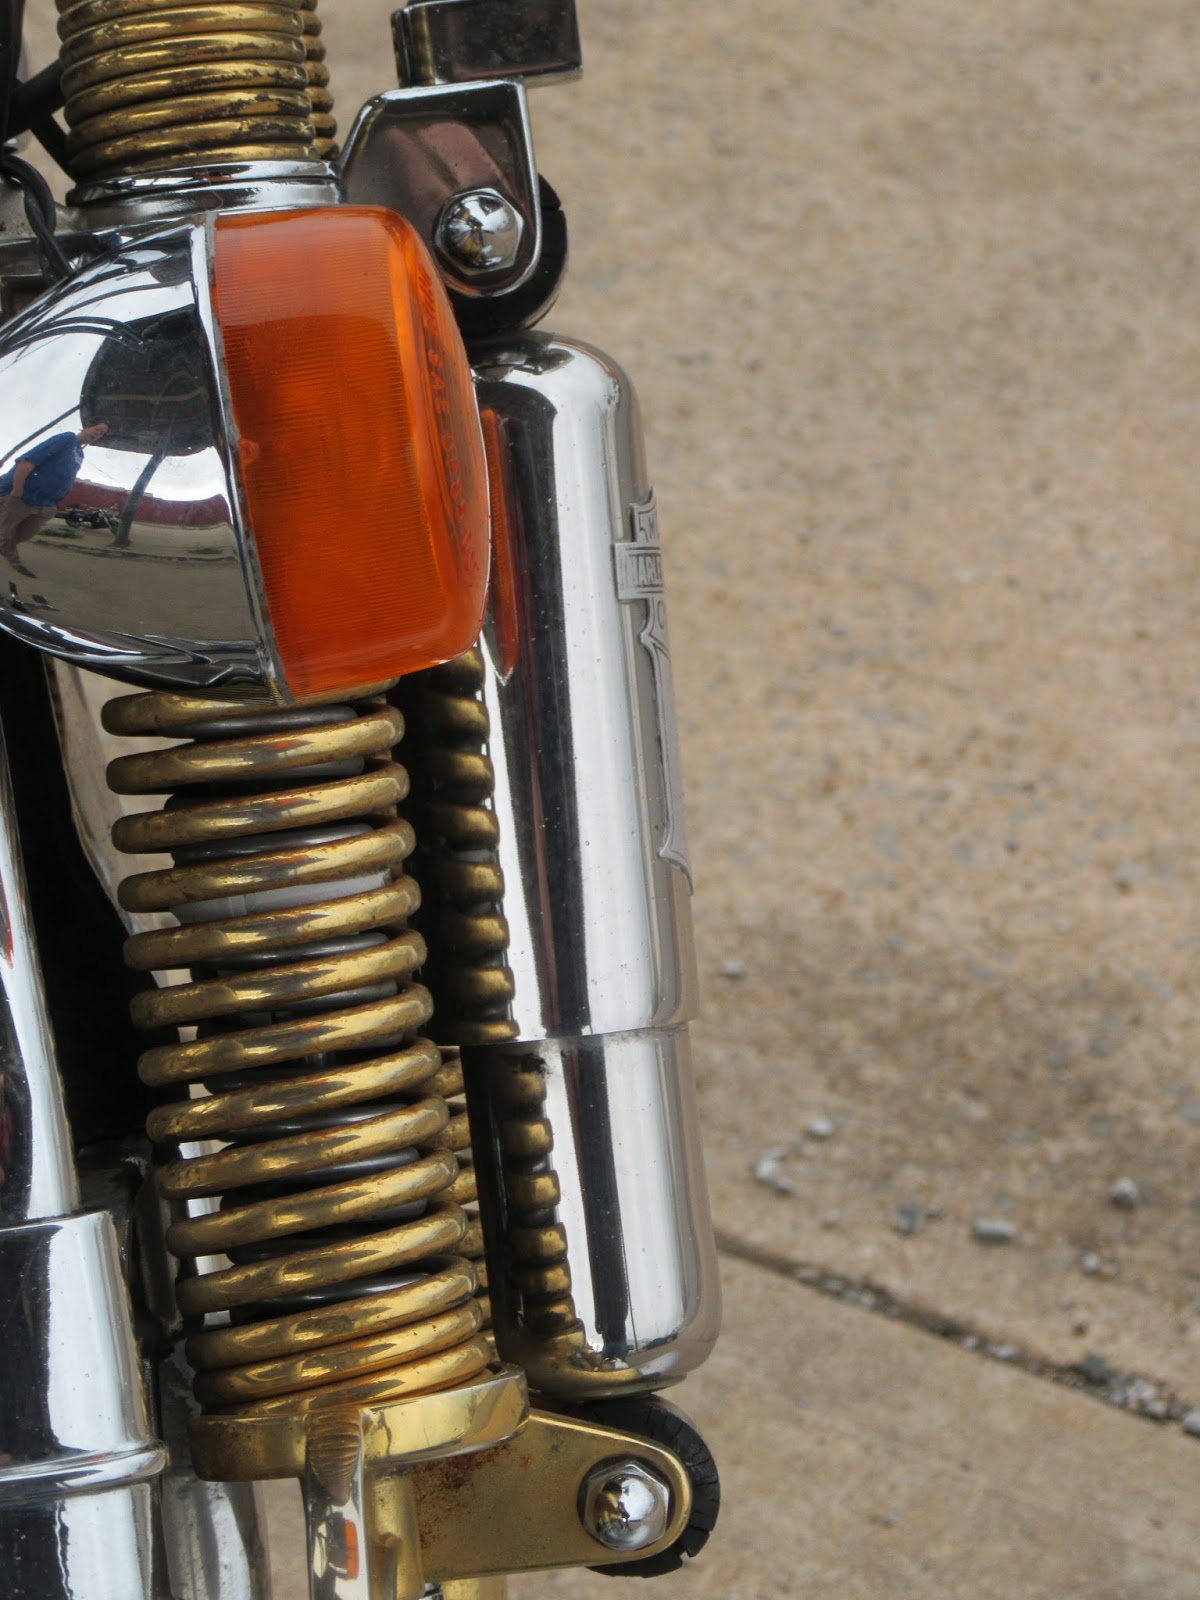
Gold plated springer bits.


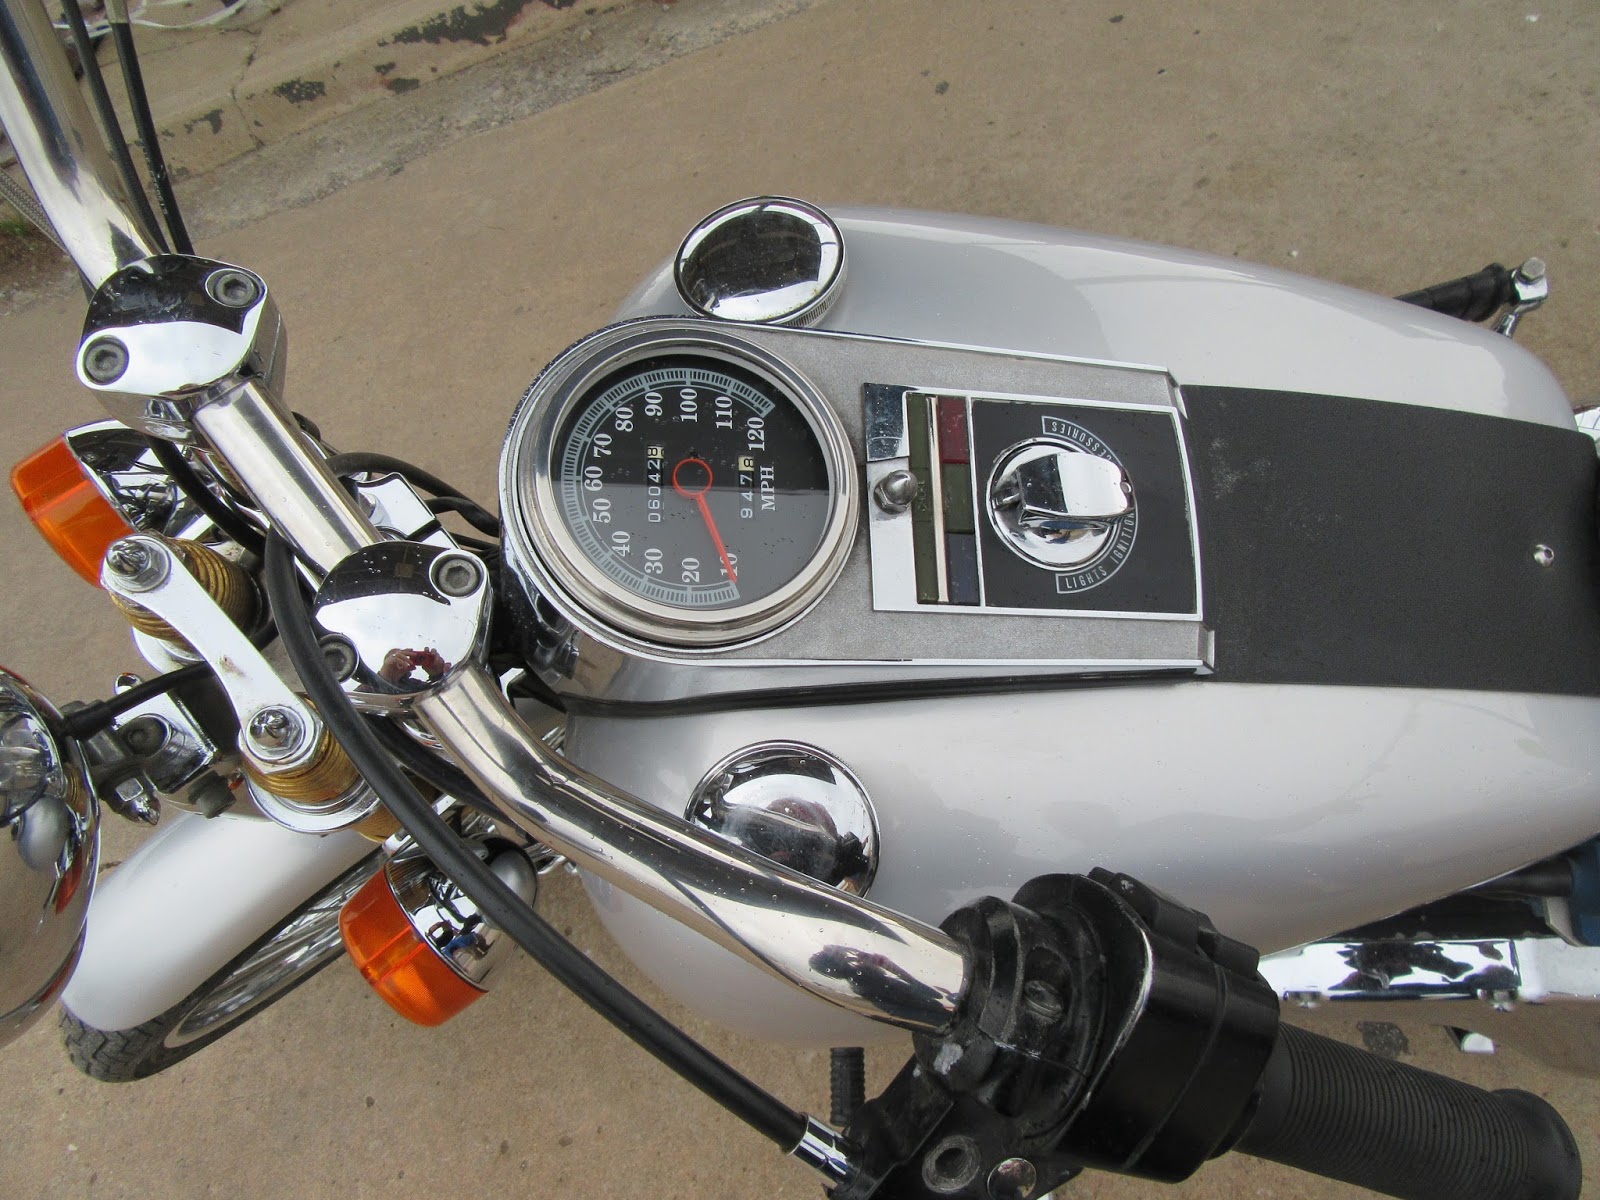
Check out the coils and connections for the ignition.


Nearly new rear tire.

Some rust on the hubs.

Here's the ignition brain box. MDS Pulse, high dollar and programmable (I don't see the point on a stock 80 inch Evo)

Overall, not a bad sled.

Yes, started raining on me forty miles from home.


So Lummie decides he wants it. So I have my wife drive me like 40 miles one way to go get it. Then I drive it home with just one hiccup, but otherwise it drove and ran great. I get home and I start playing with the kick starter a bit and I'm having mixed results, but mostly success. That's when I decide to e-start it and run it for a bit to make sure I hadn't flooded it or anything. The e-start barely makes a click. I can't figure how messing with the kick had affected the e-starter. Well, it hadn't. I checked the battery and the voltage was like 9V. I was really lucky to have made it home on this bike. Battery(supposed to be new), stator, or regulator? Park it with the trickle charger on it for now.

Oh and then there's this. Everyone keeps telling me that EVO's and 5 speed don't leak.

Lummie showed up like two weeks later, before I could fix it and ride it. Luckily the stator was still putting out good AC, so it only needed a regulator. Lummie brought a Dyna-S to put in it as well.

Put up level on the jack and leak was clearly an overfilled primary. Oil went everywhere when we popped off the derby cover. As Pat says, "Another expert Harley mechanic. The internet is full of them."

Time to swap the regulator and ignition.

Yep, we had to pull a tank to find the VOES switch connected to the brain box.

I had to leave for a bit, so I didn't get all the repair action, but here's how it finished up. New regulator and no ignition box out front.

Here it is ready to go to South Dakota. I was really bummed that I only got to ride once.


Aftermarket 5 speed kicker kit. Groovy mid peg set-up, but I know I could talk Lummie out of the pegs.

Gold plated springer bits.


Check out the coils and connections for the ignition.

Nearly new rear tire.

Some rust on the hubs.

Here's the ignition brain box. MDS Pulse, high dollar and programmable (I don't see the point on a stock 80 inch Evo)

Overall, not a bad sled.

Yes, started raining on me forty miles from home.


So Lummie decides he wants it. So I have my wife drive me like 40 miles one way to go get it. Then I drive it home with just one hiccup, but otherwise it drove and ran great. I get home and I start playing with the kick starter a bit and I'm having mixed results, but mostly success. That's when I decide to e-start it and run it for a bit to make sure I hadn't flooded it or anything. The e-start barely makes a click. I can't figure how messing with the kick had affected the e-starter. Well, it hadn't. I checked the battery and the voltage was like 9V. I was really lucky to have made it home on this bike. Battery(supposed to be new), stator, or regulator? Park it with the trickle charger on it for now.

Oh and then there's this. Everyone keeps telling me that EVO's and 5 speed don't leak.

Lummie showed up like two weeks later, before I could fix it and ride it. Luckily the stator was still putting out good AC, so it only needed a regulator. Lummie brought a Dyna-S to put in it as well.

Put up level on the jack and leak was clearly an overfilled primary. Oil went everywhere when we popped off the derby cover. As Pat says, "Another expert Harley mechanic. The internet is full of them."

Time to swap the regulator and ignition.

Yep, we had to pull a tank to find the VOES switch connected to the brain box.

I had to leave for a bit, so I didn't get all the repair action, but here's how it finished up. New regulator and no ignition box out front.

Here it is ready to go to South Dakota. I was really bummed that I only got to ride once.

Tuesday, March 29, 2016
4 Speed Stud - Keyed Insert fix
I wouldn't call this fix a fail, but it was probably more time, energy, and money than really needed to be spent. I learned a few things and that's why I blog and share.
This stud is loose and I actually thought it was the source of my leak.

See it wiggle.
I decided to try key locking threaded inserts(keenserts) instead of my usually helical threaded insert (heli-coils). The goal was thinking that a keensert would be easier to seal than a heli-coil. I was also under the impression that keenserts have an OD thread in a standard pitch and can be installed with just a standard bolt. So no special tap or install tool would be needed. Both are true to a degree, but as I found, not completely accurate in this specific case.
I had some trouble finding a small batch of inserts in the size I wanted, but I did find 3/8-16 ID and 9/16-12 OD on ebay.

I had searched for the thin wall version with a 1/2-13 OD, but 9/16-12 is the best I could do on a budget. So I had to check to make sure I had enough case left for the oversized hole. That looked okay.

I need a work stand for my transmission and couldn't find the box I built last time. So I figured out a new way. Luckily, I already had some 3/4 inch plywood ripped to 4 1/8 inch wide and this was a perfect start.

Here are the rough locations of the bottom studs. This was kind of a hack job, but with the holes oversized it fit just fine.

I screwed two of the narrow boards together and then screwed that to a larger board for support.

It was pretty good, but still a bit cantilevered out so I slipped a scrap of plywood under the kicker end and I really liked the set-up.

Thinking this was a through hole, I began to step up the drill sizes and pack the bit with grease so that the chips wouldn't go into the transmission.

See how that holds the chips.

Well I figured out that the hole wasn't through and not the source of my leak, but I had to carry on at this point.

Did I say I wouldn't need a special tap? Well I didn't, but I still had to buy a tap because I didn't have a 9/16-12 and most stores don't carry anything over 1/2. So the no special tap really didn't have any advantage in this situation.

On to the no special install tool part, yes there are special tools but you can get by without them. The OD pitch is a very tight interference fit and using an allen bolt to install it was very tough. The dang thing wanted to cross thread extremely bad. Next time I will drill the hole slightly larger than normal spec for the given thread pitch. I wasted a couple trying to get them in.

Success. I got one in. It was so tight that I don't think the stakes were ever needed.

The hole is good now.

No wiggle and set with loctite.
Tuesday, March 1, 2016
39 vs 40 tooth engine belt sprocket
So my primary belt is too tight and the transmission adjusted all the way forward, so I decided that a 39 tooth front pulley would be the way to get everything to fit.
For what it's worth I was running a 62-40 SK3 kit with the BDL-30853 BE "Bullseye" Belt. BDL number convention breaks that out as 62 tooth clutch basket, 40 tooth engine sprocket, S for splined engine sprocket, K for kick only(no e starter ring.), and I have no idea what the 3 means. BDL lists this as a kit for 1965-1978. It's too tight on my rigid frame of unknown origin.
Swapping the engine sprocket to 39 tooth will give me the same set-up as a 62-39 SK2 kit which BLD lists as fitting a 1955-1964. As it turns out this is the kit I should have started with.
First let's look the actual diametrical differences between the 39 and 40 tooth pulley. The 39 is smaller of course.

With just a very basic reference measurement the 40 tooth is 3.985 inches across.

Using the same methodology the 39 tooth is 3.890 inches. So about 0.100 inch difference; which doesn't seem like a lot.

Here's the cold belt tension with the 40 tooth sprocket.
Here's the cold belt tension with the 39 tooth sprocket with everything else the same. That's actually a bit on the loose side.
Look at how much slack there is. I'm considering running a standard belt instead of a bulls-eye because it actually fit just about right.

Time to tear down the clutch and swap the transmission 23 tooth sprocket for a 25 to get my gearing back in order. Ugh, more unplanned stuff. The lower left stud has decent enough thread to hold things together, but the stud has a bunch of lateral play and is leaking. I knew this already and tried to fix it with plumber's tape, but yeah that didn't work. Now I need to fix that. Stay tuned.

Subscribe to:
Posts (Atom)