Time to really go back together with the motor. I cleaned up the cases with Simple Green soak and an electric toothbrush. Clean enough. I found this busted boss on the left case.

It seems to match the busted spot on the stock left side cover that I was going to replace.

There has to be a real way to fix this, but this is what I am going to do. QuikSteel. It's not truly structural and I just what something to hold a bolt to fill a hole in the new cover.

Knead it up and fill in it.

DISCLAIMER: The rest of the efforts documented here are not chronologically true for my build. I had to try stuff, back up, and try stuff again. This documentation is how to do things correctly the first time.
Now onto getting these cases together. Here's the way the kickstart shaft fits.

The old kickstart shaft is still in the right case. I need to get it out of the case and get the gear and retainer off of it to re-use them.

16mm snap ring goes first. The retainer and spring come off.

Gear and shaft slide off. This is what I discovered next, the splines to the left of the 20mm thrust washer and snap ring are bigger than the 20mm. So everything has to come off to the right and then be re-install from the right as well.

New shaft and everything else new I need.

New 20mm snap ring on the left end of the new shaft.

17mm washer off. Then the 17mm and 20mm snap ring come off the old shaft.

Here's the gear off shaft with the ratchet spring. I bought a new one, but I don't think I will use it.

The 20mm washer off of the old shaft onto the new shaft.

Gear on the new shaft.

Another new 20mm snap ring.

It fits in the case like this. The 17mm snap ring and thrust washer shouldn't this sit in this high.

It should be down here.

Like this. The thrust washer sits on top of the ring and against the other case.

Here's part of the transmission diagram. Note 11 and 12, they look the same, but one is 13.5mm and the other in 14mm. It makes a difference, trust me.

See they only fit one way.

The shift drum, forks, and gears go something this.


Drop the whole mess in like this.

The mainshaft still needs a few more pieces. This funny washer.

Another gear.

Spacer.

Then the proper washer. This is the smaller washer. I know the big one is already in place, this will fit.

Getting closer, but not quite. I decided to slip the other case on temporarily to work on the outside of the left case.

I figured I would pull these old seals.


Flip things back over and of course I have to find all those shift drum pins again.

I had to make sure that this thrust washer was in place.

Here's the gasket.

This piece needs cut off.

Now the right case can go on and flip it over to put the case screws in. Four screws, three medium, and one short one. As near as I can tell, the medium screws go here.

The shorty goes on the back.

And these are the long ones.

Together.

New seal here. If you bought all the oil seals, double check the part numbers to make sure it's the right one or you may ruin the wrong seal and need to buy another one for the rotor.

This bolt goes into the shift drum.

And the cap.

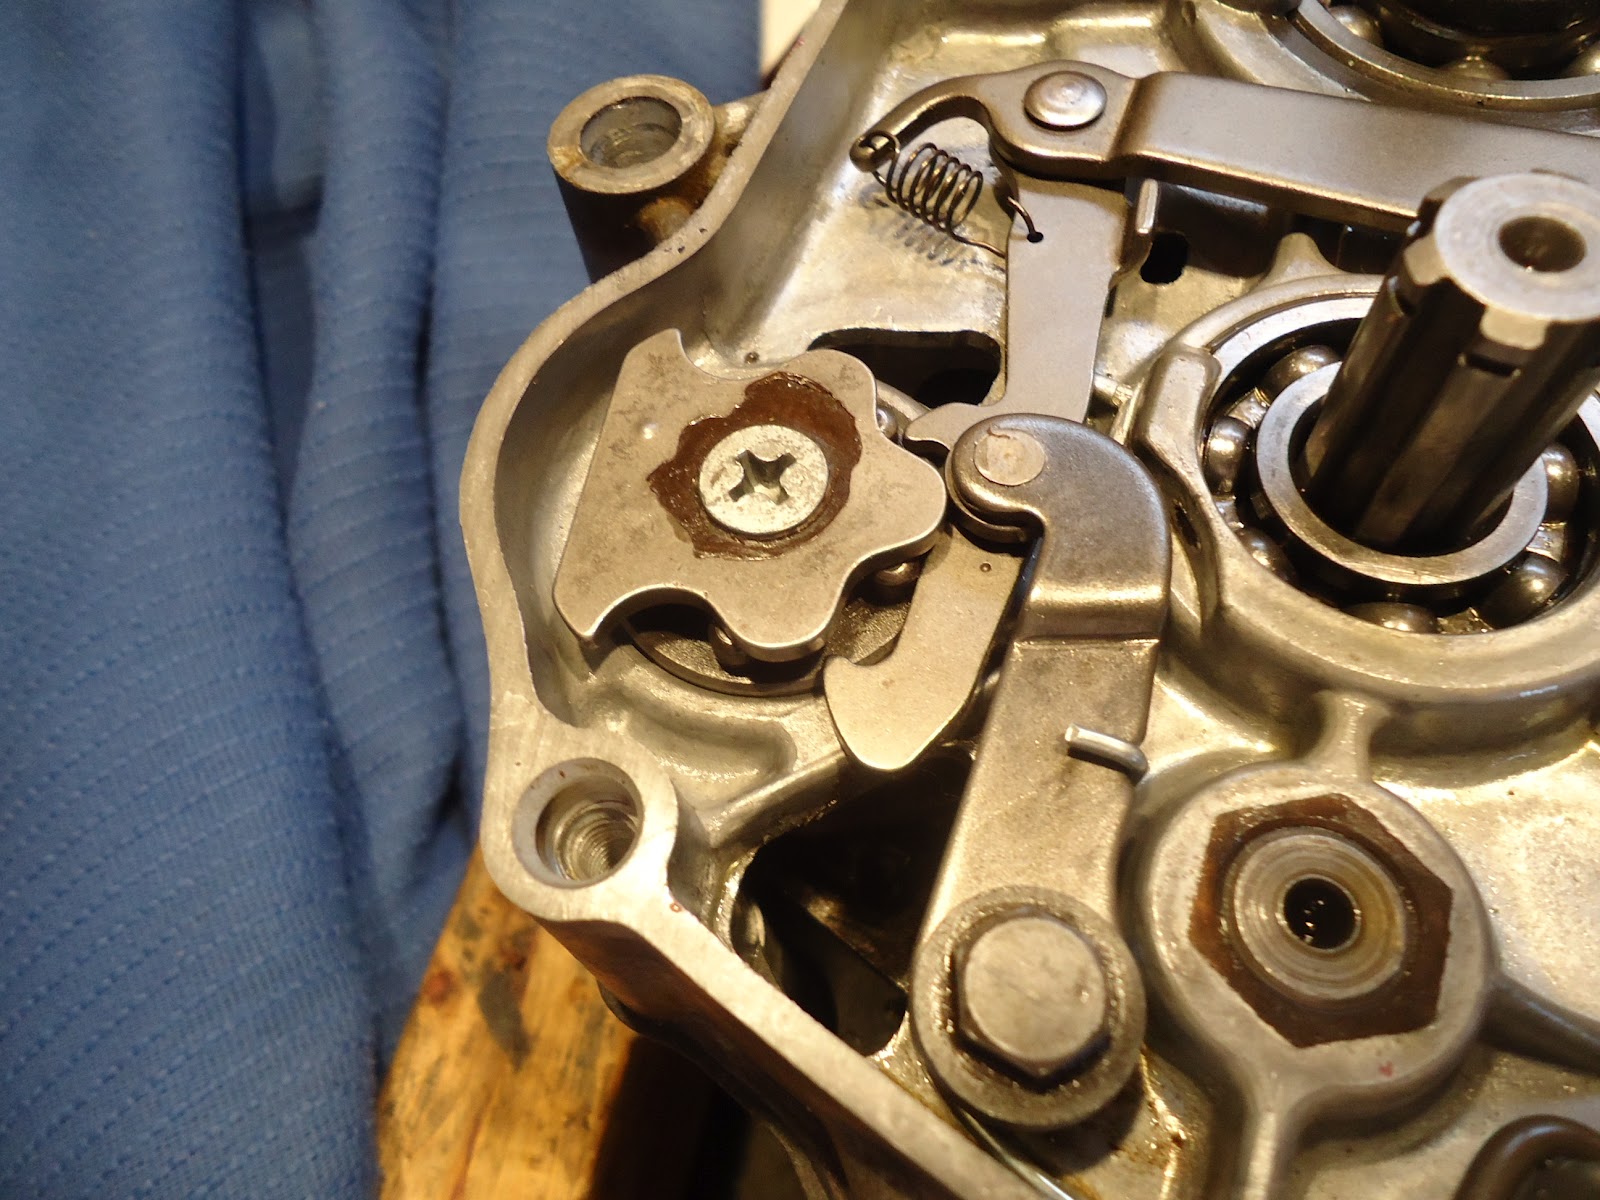
I just barely laid the the shift lever stuff in because I wanted to play with it a bit and I wanted to capture those stupid pins. I somehow forget to order a new shift shaft, so this part is on hold until I get a new one.

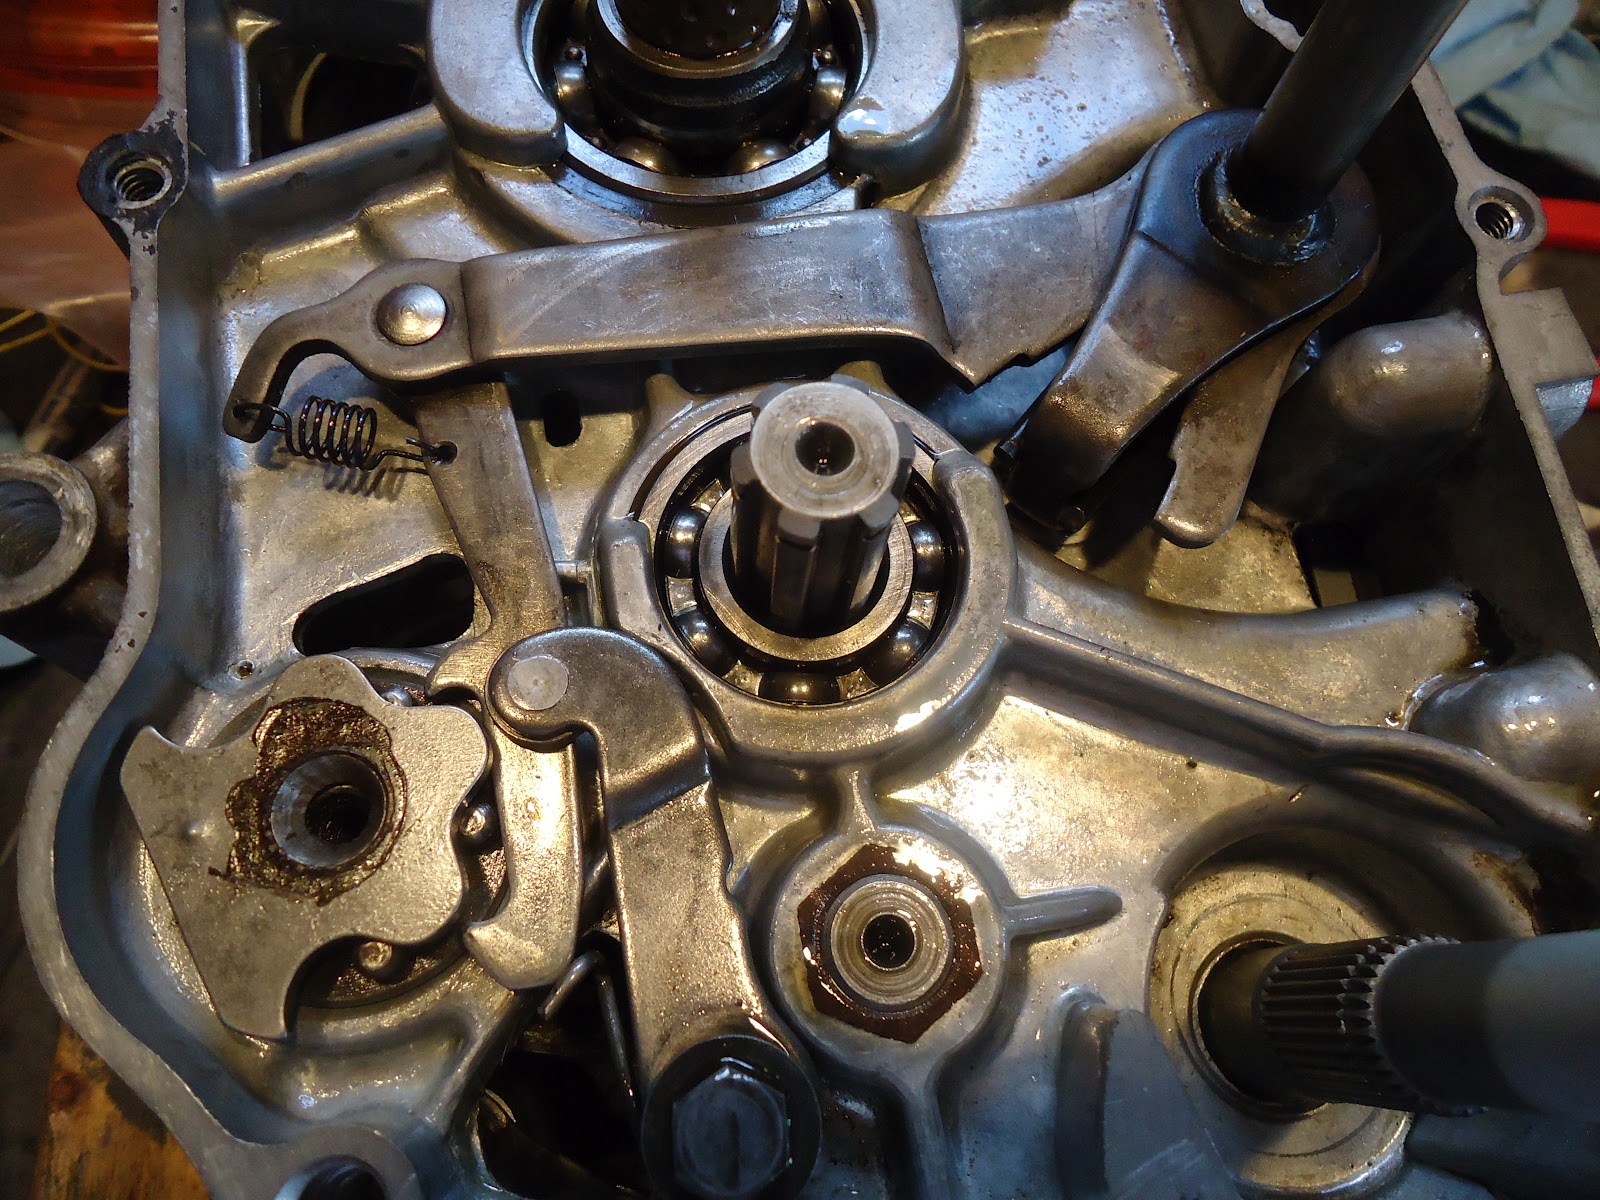
I can pretty much finish the kickstart shaft. The spring and retainer slide onto the splines. The retainer needs to catch the corner on the case.

Pull the hook end of the spring onto this catch.

The retainer needs to slide down enough to slip the snap ring into the groove.

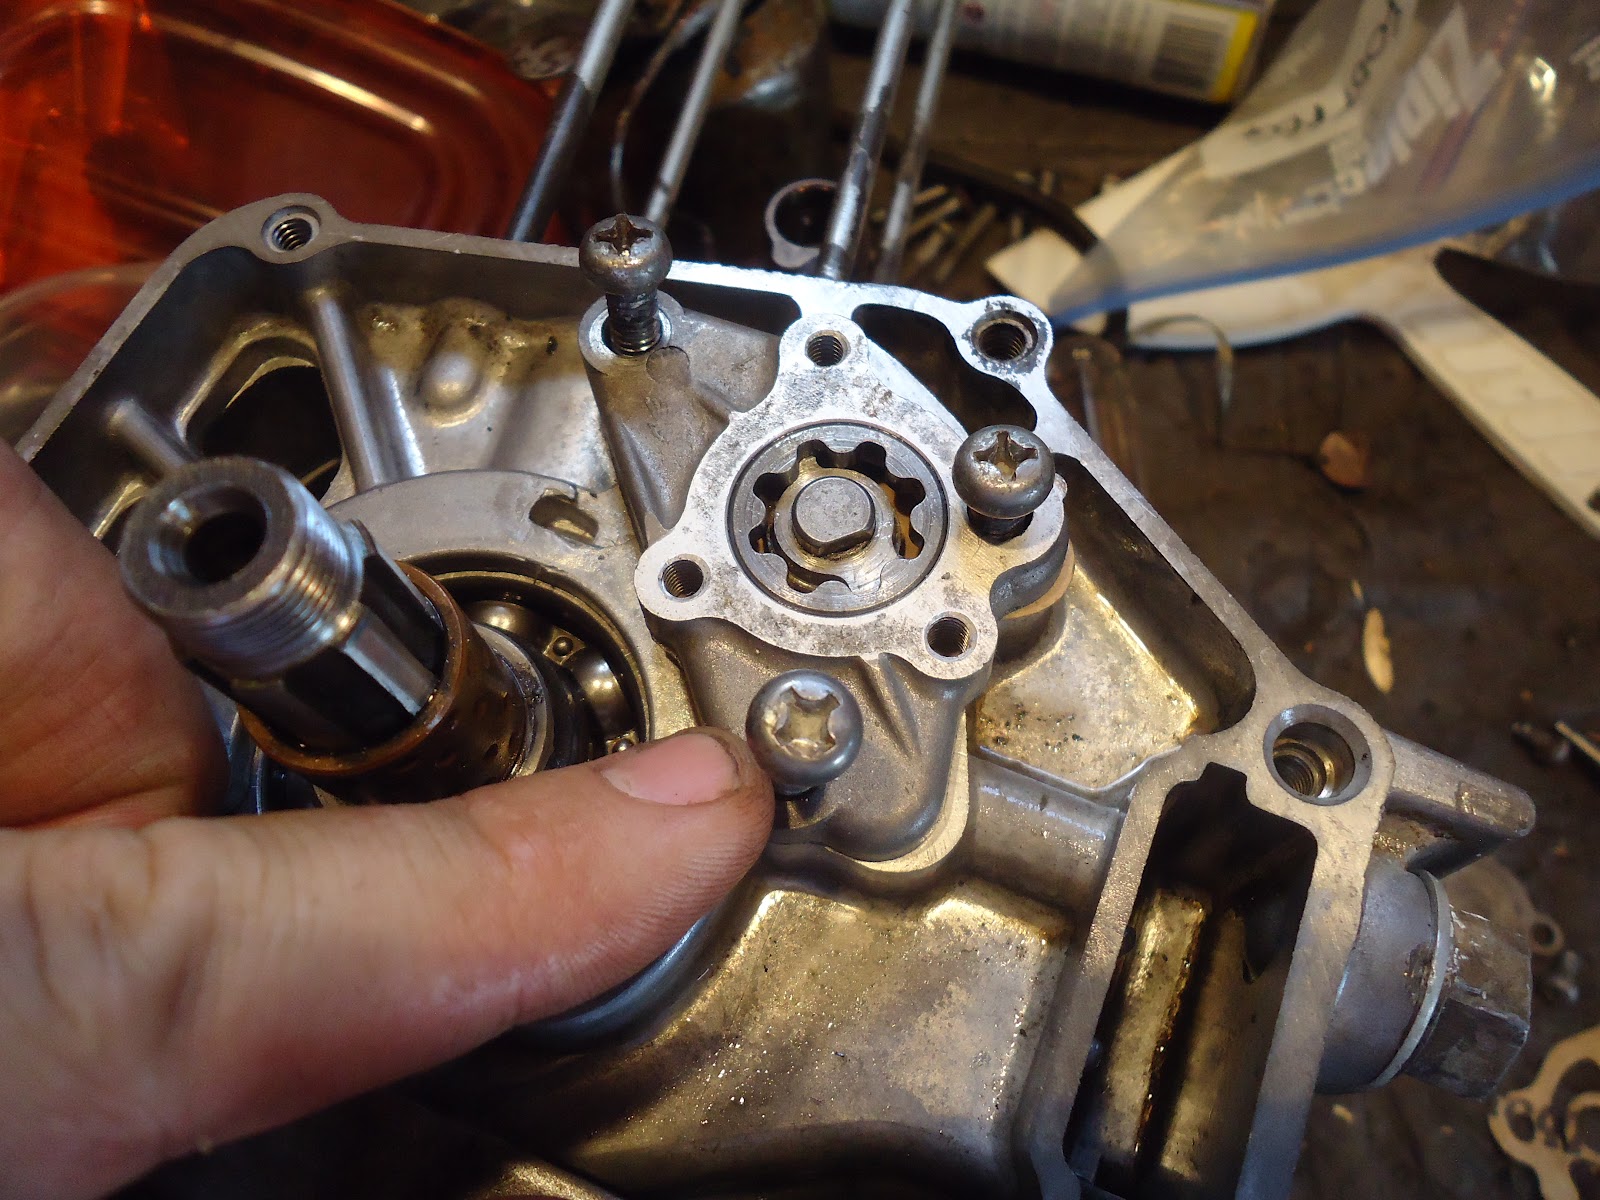
Oil pump next. For whatever reason I didn't get picture of the tear down, but it's really simple. Gasket here.

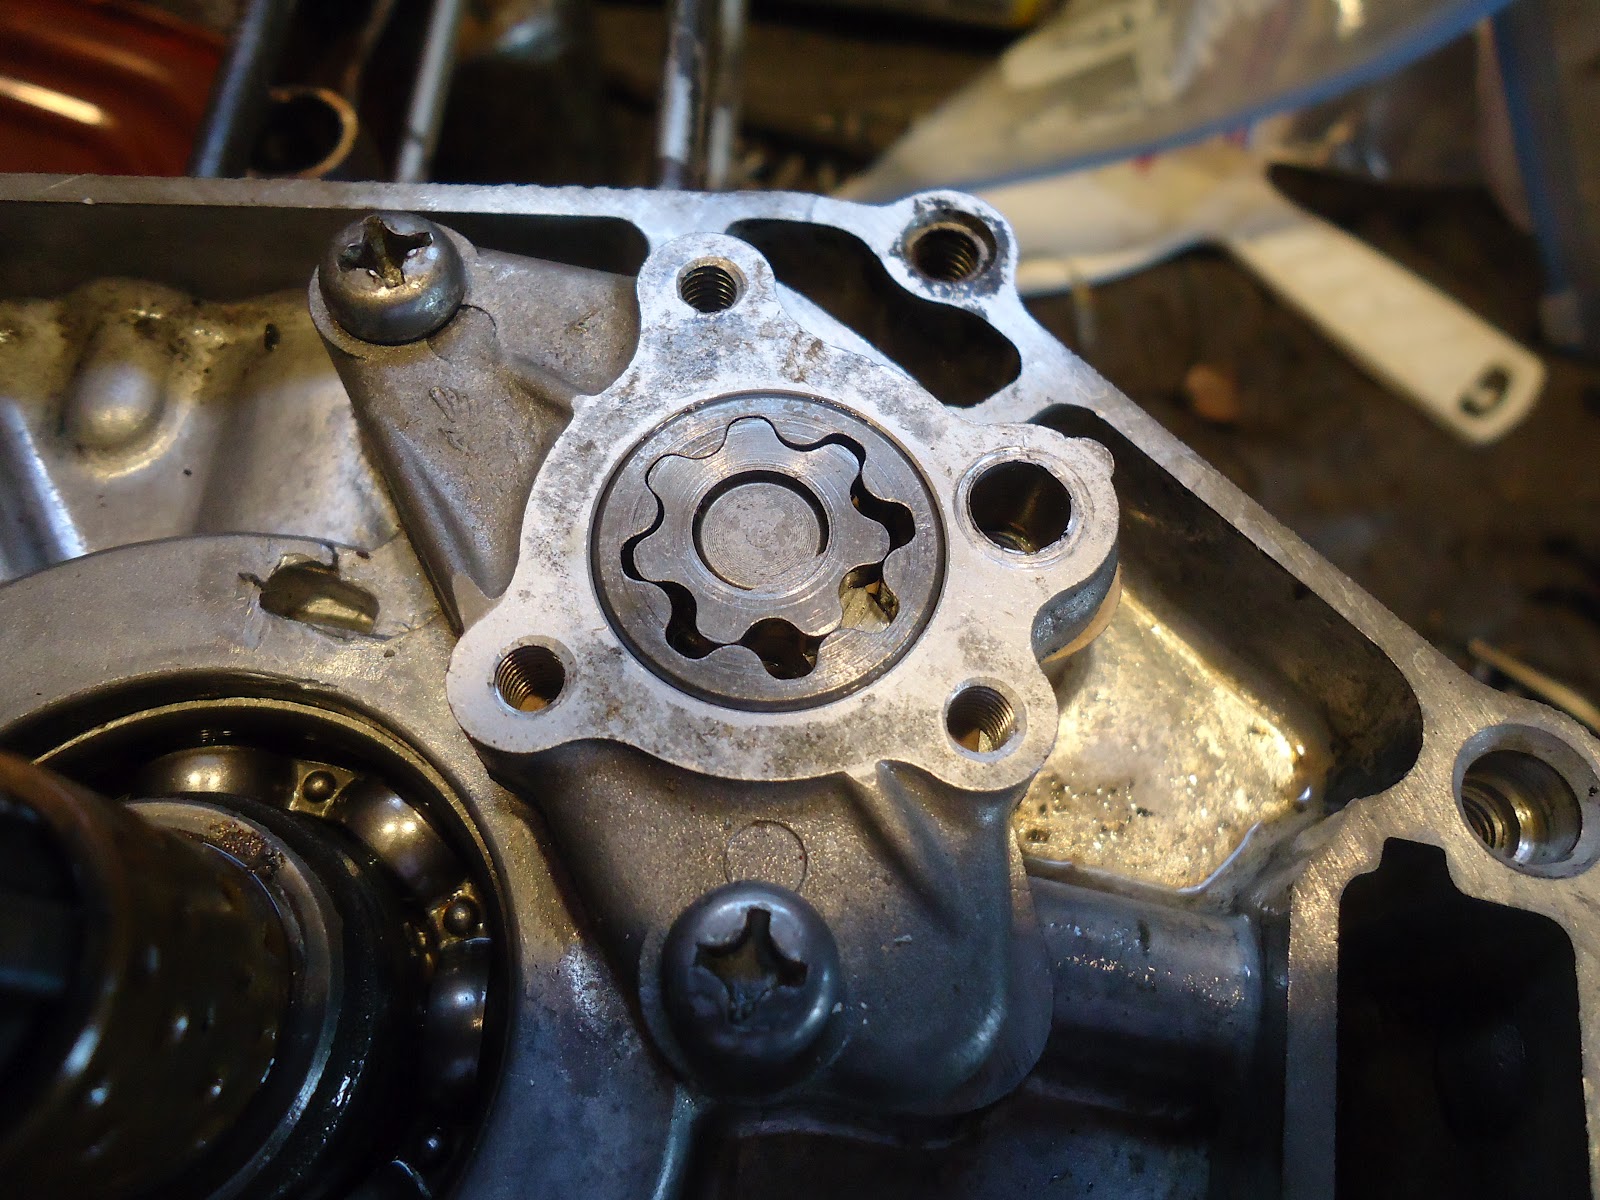
Body and screws.

Make sure the whirly gig parts are in there and they are spinning with the sprocket from the other side connected to the camchain.

Gasket.

Cap and screws.

Onto the clutch side cover. This the inside of the clutch adjuster. The pin makes it dummy-proof.

New o-ring here. Here's a look at the powdercoat. "Wrought Iron" not as black as black wrinkle, but not smooth. I think James wants the bike to be black so I don't want all the accents to be too black.

Locknut and washer just on loosely at this point.