Search

Search all blog posts here.

Search This Blog

Sunday, July 29, 2012

Kawasaki Gas Cap Key


So I use a Harley style key switch on the my Vulcan and then I don't always have my Kawasaki key with me. This is a problem, because at least twice I have gotten out somewhere and not been able to open my gas cap. I decided to fix that. It's not a new idea, but I was having trouble pulling off and with being too kitschy.

Start with a fresh key copy and paint it with dye chem.


Mark it in place.


A second mark for about the height of the knob.


Cut it.


Not a good picture.


Here's my knob. I wanted hex stock and simplest way to get it was a cheap set of jumbo hex L-keys  for about $10. I will use just a little bit of this wrench and still basically have the full set of L-keys if I actually need them.


Start a nice straight groove with a hacksaw.


Do the rest of the work with a cut-off wheel.


Fit it up and check it out.


Once I like the fit, it's time for J-B Weld.


Stuck now.


Cut off what I need.


Sand things down and clean it up. I'll paint it black of course.


It works, but I may try again. It sits a little high and I think I would do a lot more fitting on the bike to get it to sit nice and tight to the cap.


Saturday, July 28, 2012

Kawasaki Vulcan 1500 / 1600 Radiator Cap Pressure Check

I was having problems with the coolant system on my 1500 Vulcan Classic. It boiled over on me twice, so I want to figure out what the problem was. My friend Hotsauce and I had it running in the garage long enough that antifreeze began filling the overflow tank, but the fan just wouldn't quite come on. We figured it was the fan or fan switch. Before that test I had been concerned that I may have had a leaky head gasket and I had already ordered the pressure test equipment to check the radiator cap and system. So the equipment arrived and I decided I would do those checks just to put every possible coolant issue to bed. Here's the equipment I bought. A Mityvac MV4560 about $50 and that seemed a lot better than a $200 testing set-up.


First thing to do is find the cap and system pressure rating from the manual 14 to 18 psi and 18 psi.


Now to test the cap. Uh-oh, it doesn't hold an ounce of pressure.


Off to the auto parts store. Guy Mobbley of Sherm's Cycle Products had told me that a cap for an Asian car will fit and there's not a need to order a Kawasaki cap. (If you need anything that Sherm's sells please spend money with him. I always try to. Heck of a guy that Guy.)

Here's a cap for a 1996 Honda Accord.


Looks about the same and is rated the same.


And it actually holds pressure.


Now to check the system. The deep neck is the one you need, not the shallow neck, trust me.


Put it on the filler neck of the radiator.


Awesome! The system holds pressure. (Don't check it higher than the rated pressure.)


Surprisingly when I released the pressure it sucked antifreeze back up the tube. It drained back into radiator when I cracked open the adapter cap.


So now to put the good new cap on. Guy had said something about needing cut the tab of off the car cap, but I had hoped I would be lucky. Nope. It doesn't quite close all the way with the bleeder screw in the way.


Cutting time.


File down all the sharp edges.


Like a glove...


The best part is that I don't have a blown headgasket and I when I fired it up and got the motor hot again the fan worked perfectly. I can only guess the coolant boiled out before it got hot enough to kick on the fan without being under pressure.

Kawasaki Vulcan 1500 / 1600 Main Fuse


It's under the right sidecover under this little red cover.


Wednesday, July 25, 2012

USAF Coin Display Box

Before I got serious with motorcycles and kids, I used to do a fair bit of woodworking and furniture building. I think my last major projects were a crib and swingset. At any rate co-worker of my wife is retiring from the civil service side of the Air Force. The Air Force coin has a long history and the units this gentlemen have supported sent in like 30 coins. So a proper display was needed. We couldn't find what we wanted so we had to build it. Of course it was short notice so I had to cheat a bit.

I started with a basic hinged door display from Hobby Lobby. My other friend took it to a glass shop and had mirror put into the back of it. The mirror will look great in use, but will make my pictures of the build a little tricky for sure.

Measure the depth for the shelves.


When you have cheap bench saw with cheap fence you need a square to set it up properly.


Cheating again, I bought the nice pine board that was sanded smooth already. That will save me more time in the end. Always use push boot with a table saw.


One 1X4 will rip down to two shelf boards.


Measure the width.


Cut those to length on the miter saw.


Fitting good.


Make a few spares, too.


Now to figure out the spacers to hold the new shelves.


Yeah, I tried and tried to figure out how to get those shelves evenly spaced. I should have used a CAD program or something, maybe in was the 105° heat in my shed, but the math never worked out one shelf is just a bit different.


The spacing looks okay though, but ...


I don't like the width of the spacers at all.


Set the saw to rip them in half again.


I started with a fresh board for safety sake.


Now it's shaping up.


I didn't like the bottom shelf height so I ripped it narrower and cut the last shorter spacer.


Matching the finish on the prebuilt box is going to be a trick. I played with a couple of methods and finishing black spray paint and flat clear spray seemed to match up pretty well.


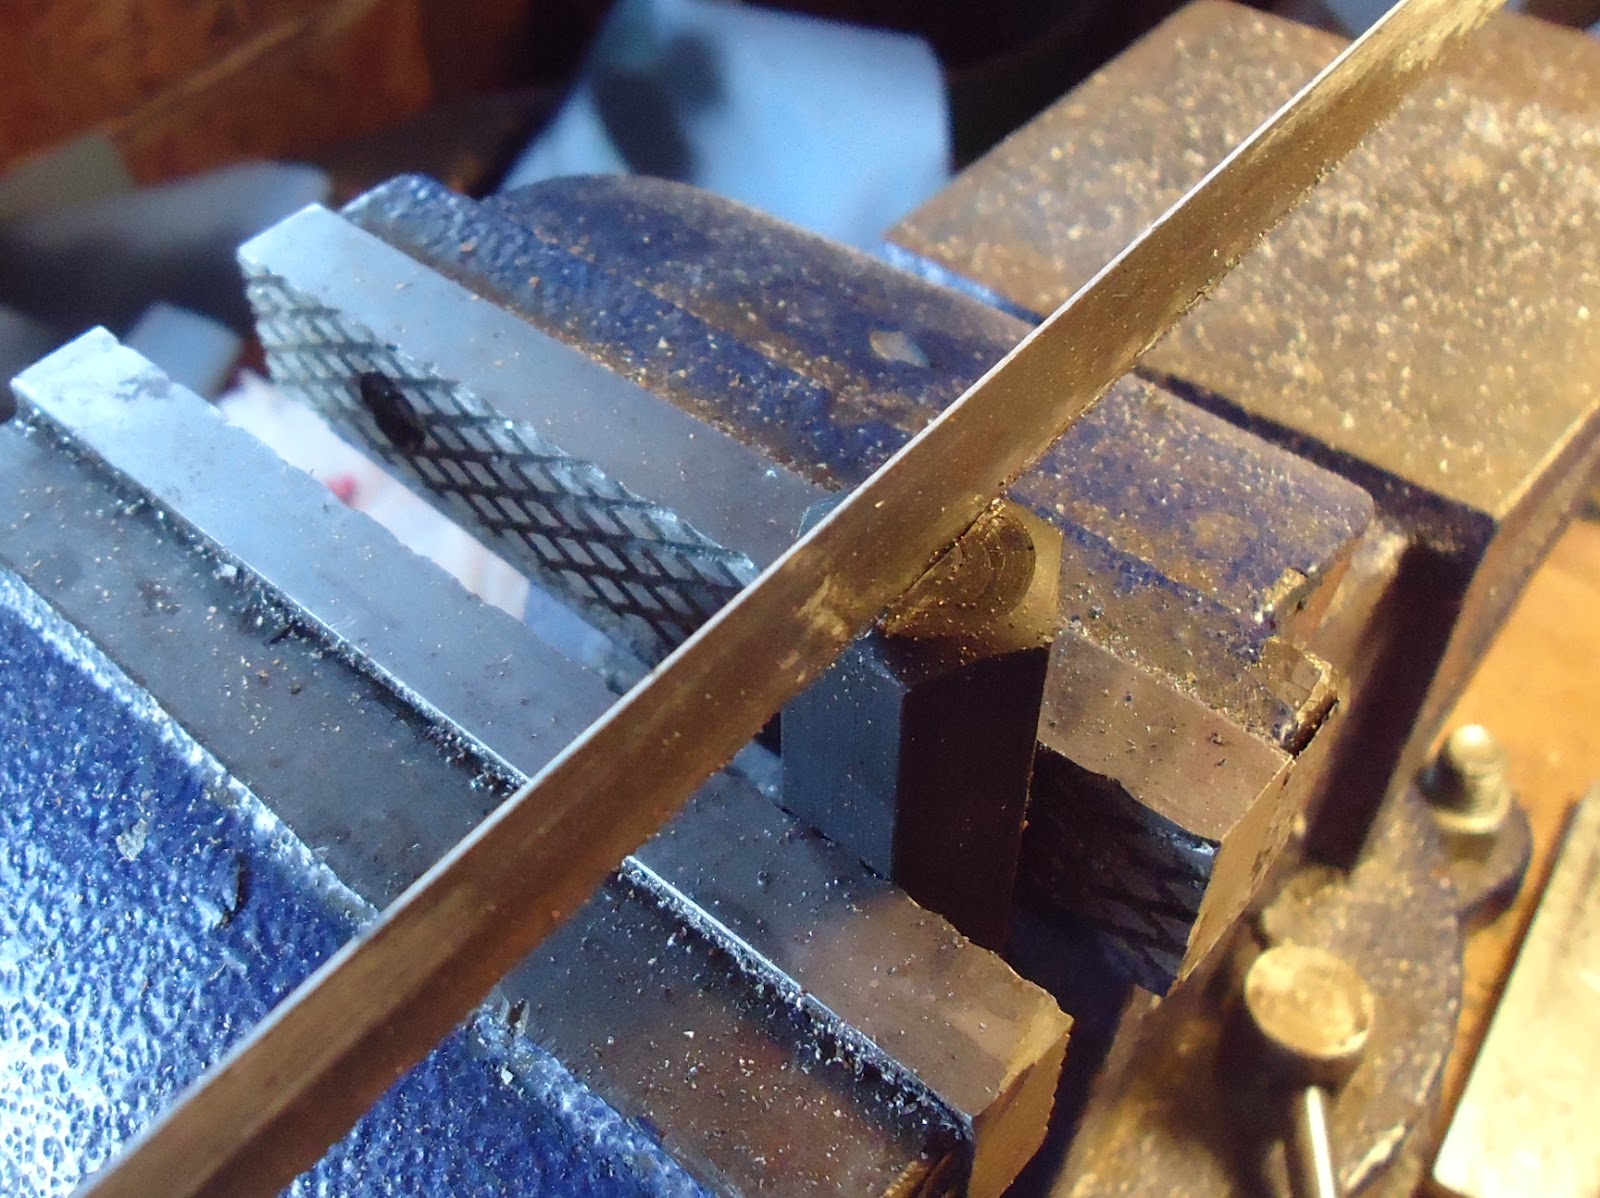
Now to cut the coin slots. I tilted the blade a bit and had to make two passes get the width right. Notice the shim on the fence to get the cut offset just a bit.


It left a little in the middle, that was easy to knock out.


Test fit.


All cut and ready for paint. The presanded boards helped a bunch here.


All together and looking good.