This part seems pretty simple.
.jpg)
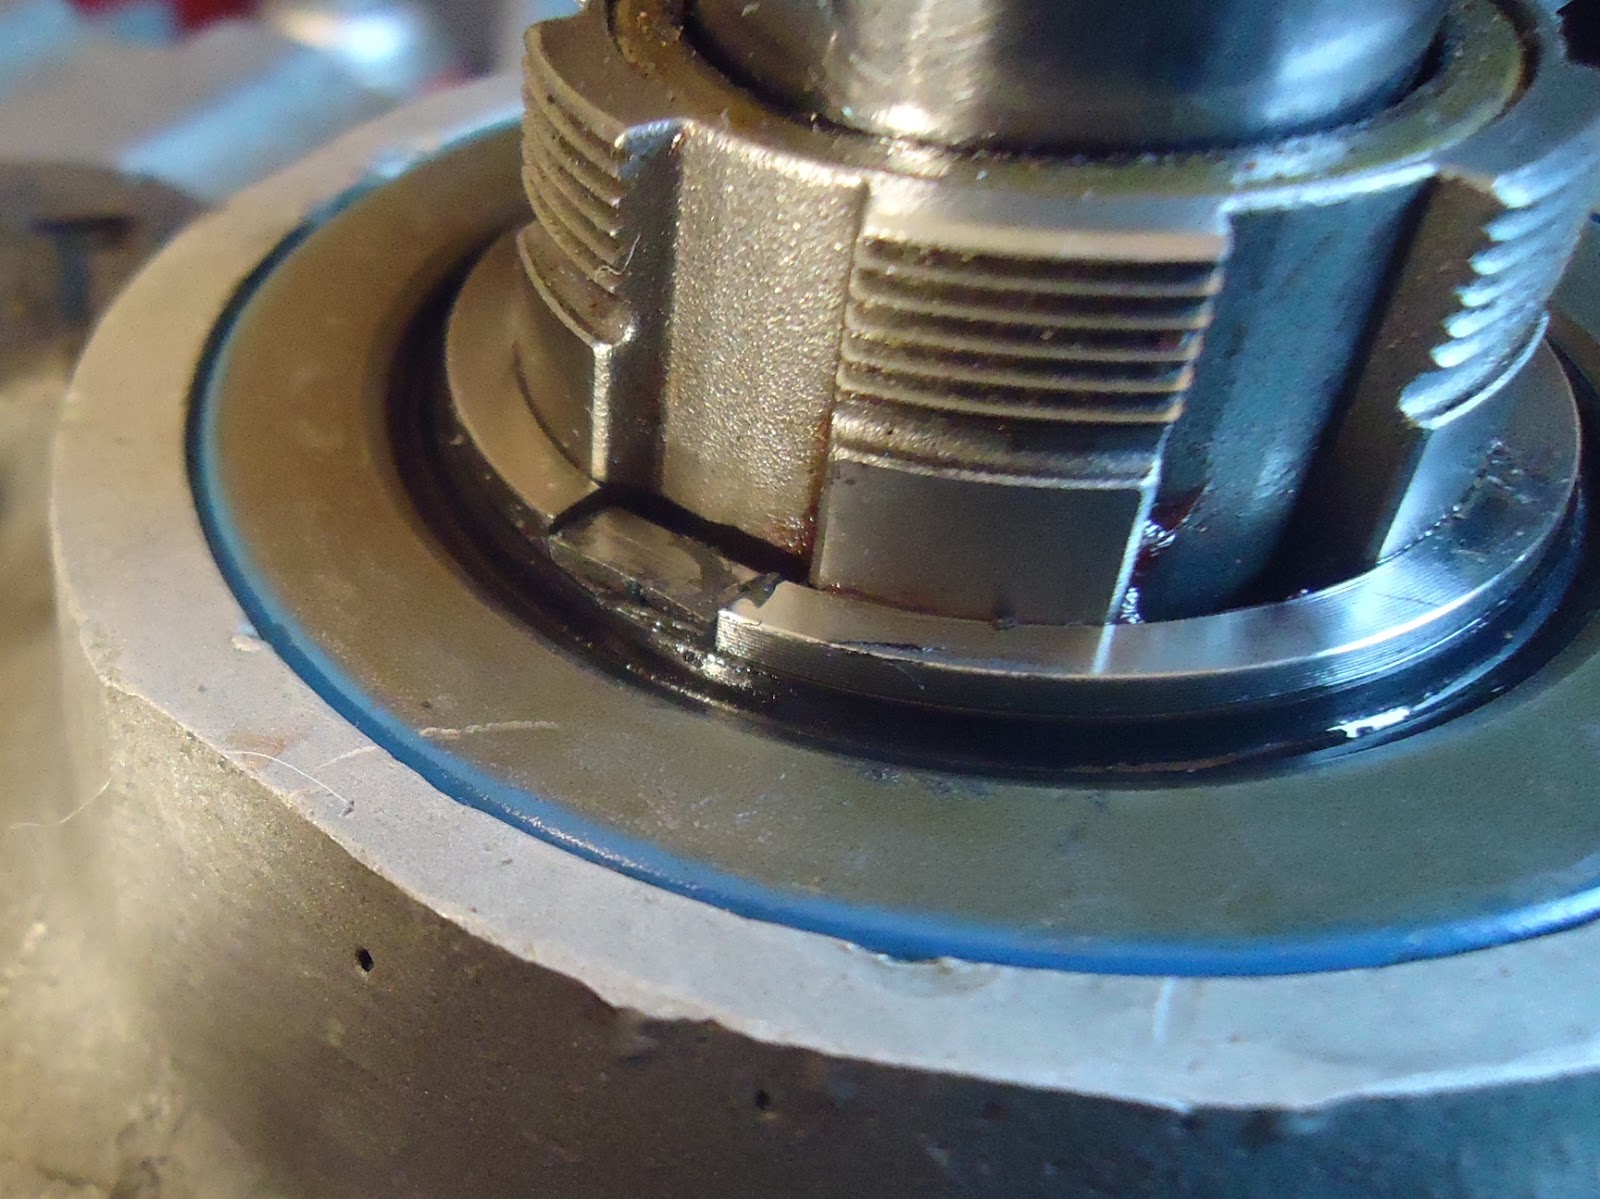
Nut(5), Tabwasher(23), Key(22), Starter Clutch Gear(20), Starter Gear with bushing(24&26), and Spring (21).

I'm sure not the years and the details, but looking through catalogs it seems some starter clutch gears have two keys and possibly some mainshafts have two keys, and some tab washers have two tabs and some only one.
At any rate I have one keyway on the my gear and shaft, but two tabs on my tabwasher.

The second tab can easily be flattened.

Good to go.

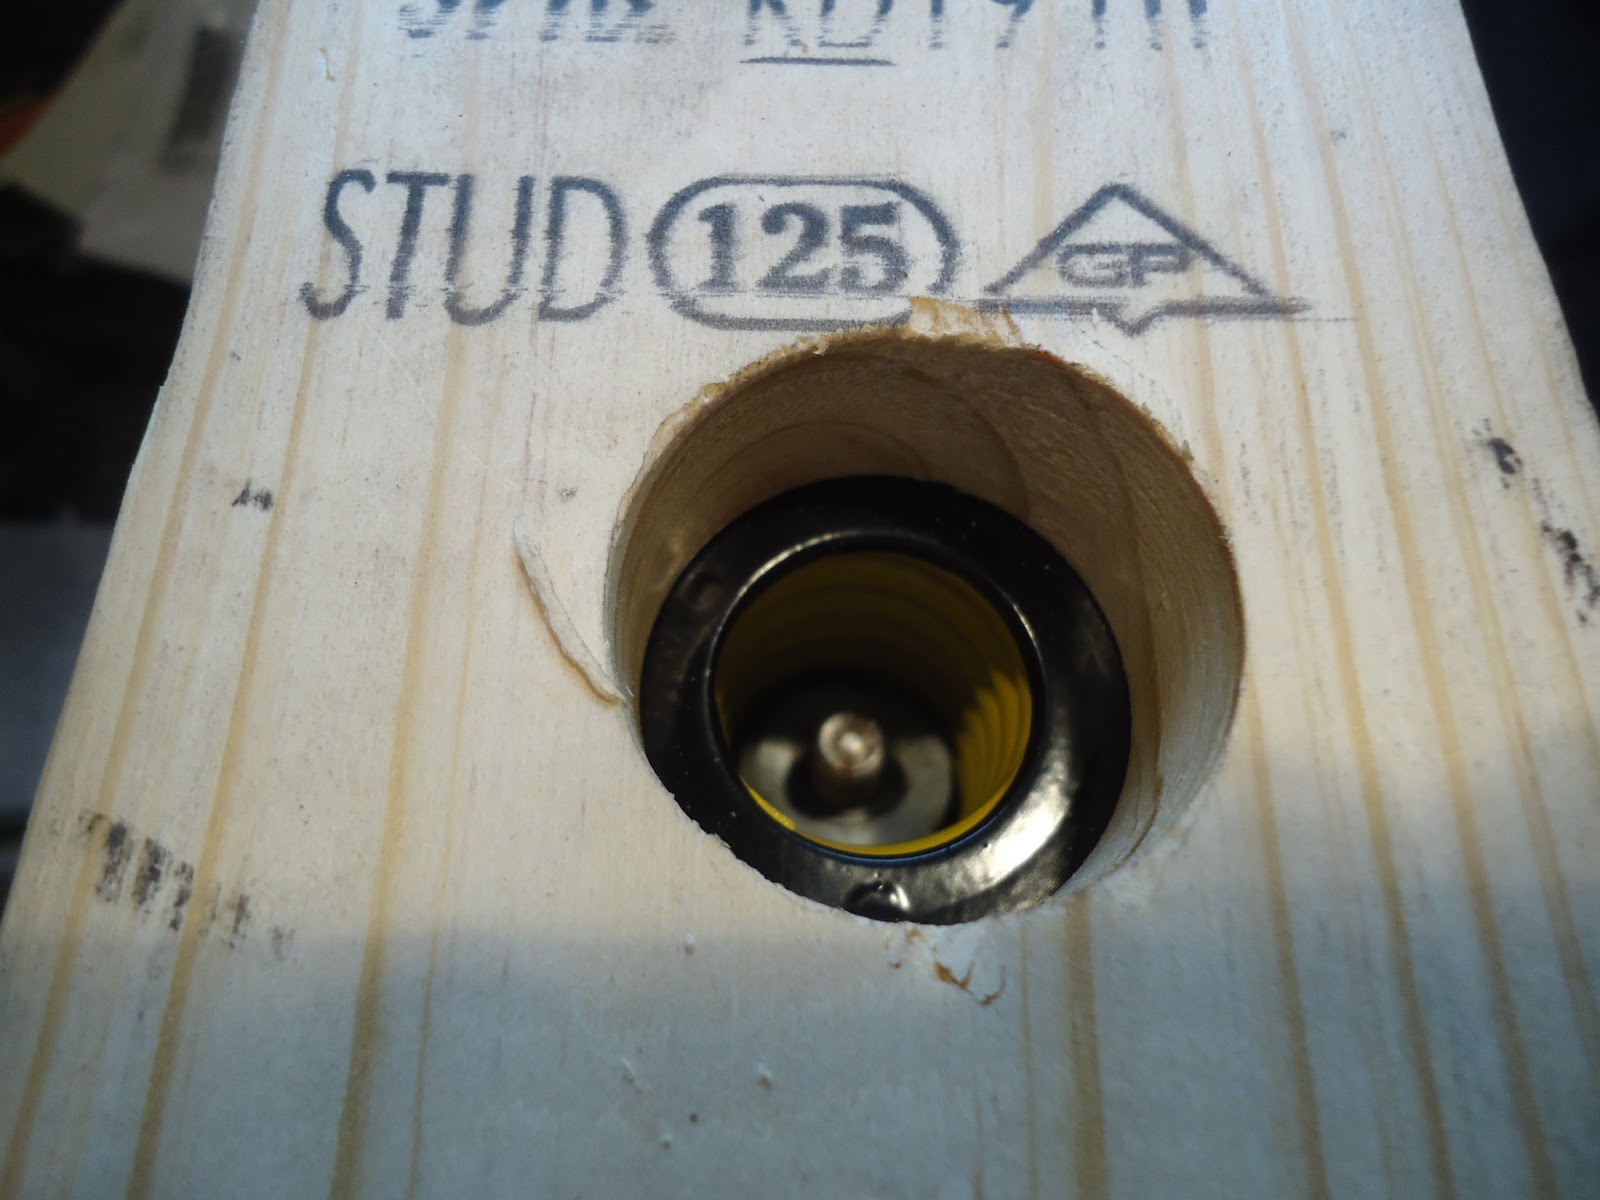
Next check is the key to shaft keyway. The key is not square so make sure it you figure out which direction is correct.

Pull the key back out and stack the spring and starter gear.

Install and hold in place.

Install key.

Install clutch gear on key and shaft.

Install tabwasher.

Install nut.

Slide both shift forks into a gear and the transmission will lock up. Torque nut to spec. You might to need someone to hold the hole transmission still.

A razor blade is the trick to getting a tab started.

Then the screwdriver.

Finally the punch.

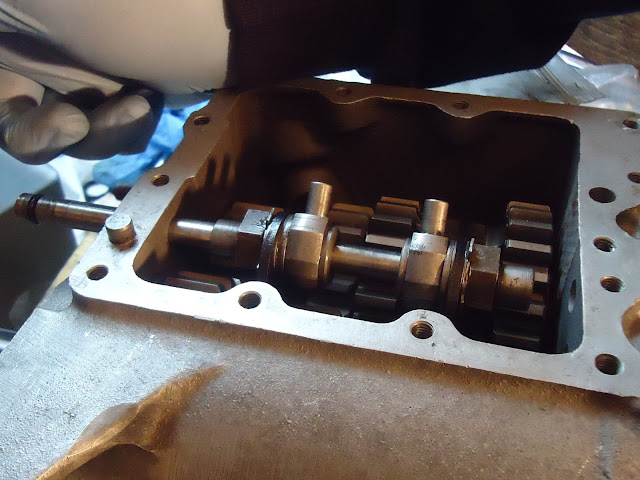
On to the shift forks.

The old fork assemblies need to be torn down.

Unbend the tabwasher(22).


Put the old assemblies back into the case with the rod(14).
Break torque on the both of the special hollow nuts(20). Then remove the shaft and shift fork assemblies.

New countershaft shift fork and tabwasher on left. Old fork assembly on the right.

Remove nut and carefully unstack the assembly.

The location and thickness of the shims(3) is very important. The shims may stick to the old fork. The shims may need to be moved from one side to the other, but the old set-up should be a good place to start. The nuts are partially hollow so the shims that are not need to properly space the fork can be stored on the fork assembly for future use if needed.

Restack.

New fork. Note the alignment tab and groove to set the proper position.

Last shims.

Tabwasher.

Nut.

Tighten the nut just snug and do not bend the tabwasher at this point

Drop the fork assembly in the case.

Carefully unstack the old mainshaft fork assembly in the same matter as the countershaft fork assembly.

Restack with the new shift fork. Snug nut, but don't bend tabwasher.

Drop the mainshaft fork assembly into the case.

Add the top hat bushings(8).

Now you need the special tool and the ratchet lid you're going to run.

The tool dowel pins fit into the lid's dowel pin hole.


Ratchet the shift drum find either of the nice straight grooves in the drum is showing. Then loosen the thumbscrew and align the groove.

Drop the dowel pin into the grooves fully align the tool slider and shift drum groove. Tighten thumbscrew and set the location.

Ratchet the shiftdrum and find the other long groove. Align slider.

Set position of the other slider with the dowel and thumbscrew.

Put the tool on the transmission. The dowel pins from the transmission case fit into holes on the tool. The top hat bushing and pins of the fork assemblies should find the grooves of the tool's sliders.

Check the shifter clutch position compared to the gears and gear clusters. Usually you need a feeler gauge and a manual to verify whether it's in spec, but this gap is obviously too small compared to the other side.

Remove tool, pull the shift fork, and move a shim from one side to the other accordingly. Reassemble the fork assembly, reinstall fork assembly and tool.

Much better, but verify with a feeler gauge that it meets repair manual specifications.

The mainshaft fork position is tougher to get a picture of, but it's within spec.

When you're sure the forks are spaced correctly, then tighten up nuts real snug, but don't get crazy with it. there is a torque spec in the book, but it's not much and you'll need a crowfoot to do that.

Remove the fork assemblies again.

Bag the top hats so you don't loose them.

Bend a tabwasher on both fork assemblies.

New o-ring for shift fork shaft.

Find the shift fork shaft set screw(9).

Oil o-ring and install shift fork shaft.

The shaft has a notch on the set screw end. Get that in the area you need. Like this.

Tap the shaft in to seat it.

Verify that the notch is where you need it.

Install set screw.

That's a bit odd the case did shave the o-ring a bit.

More black silicone.

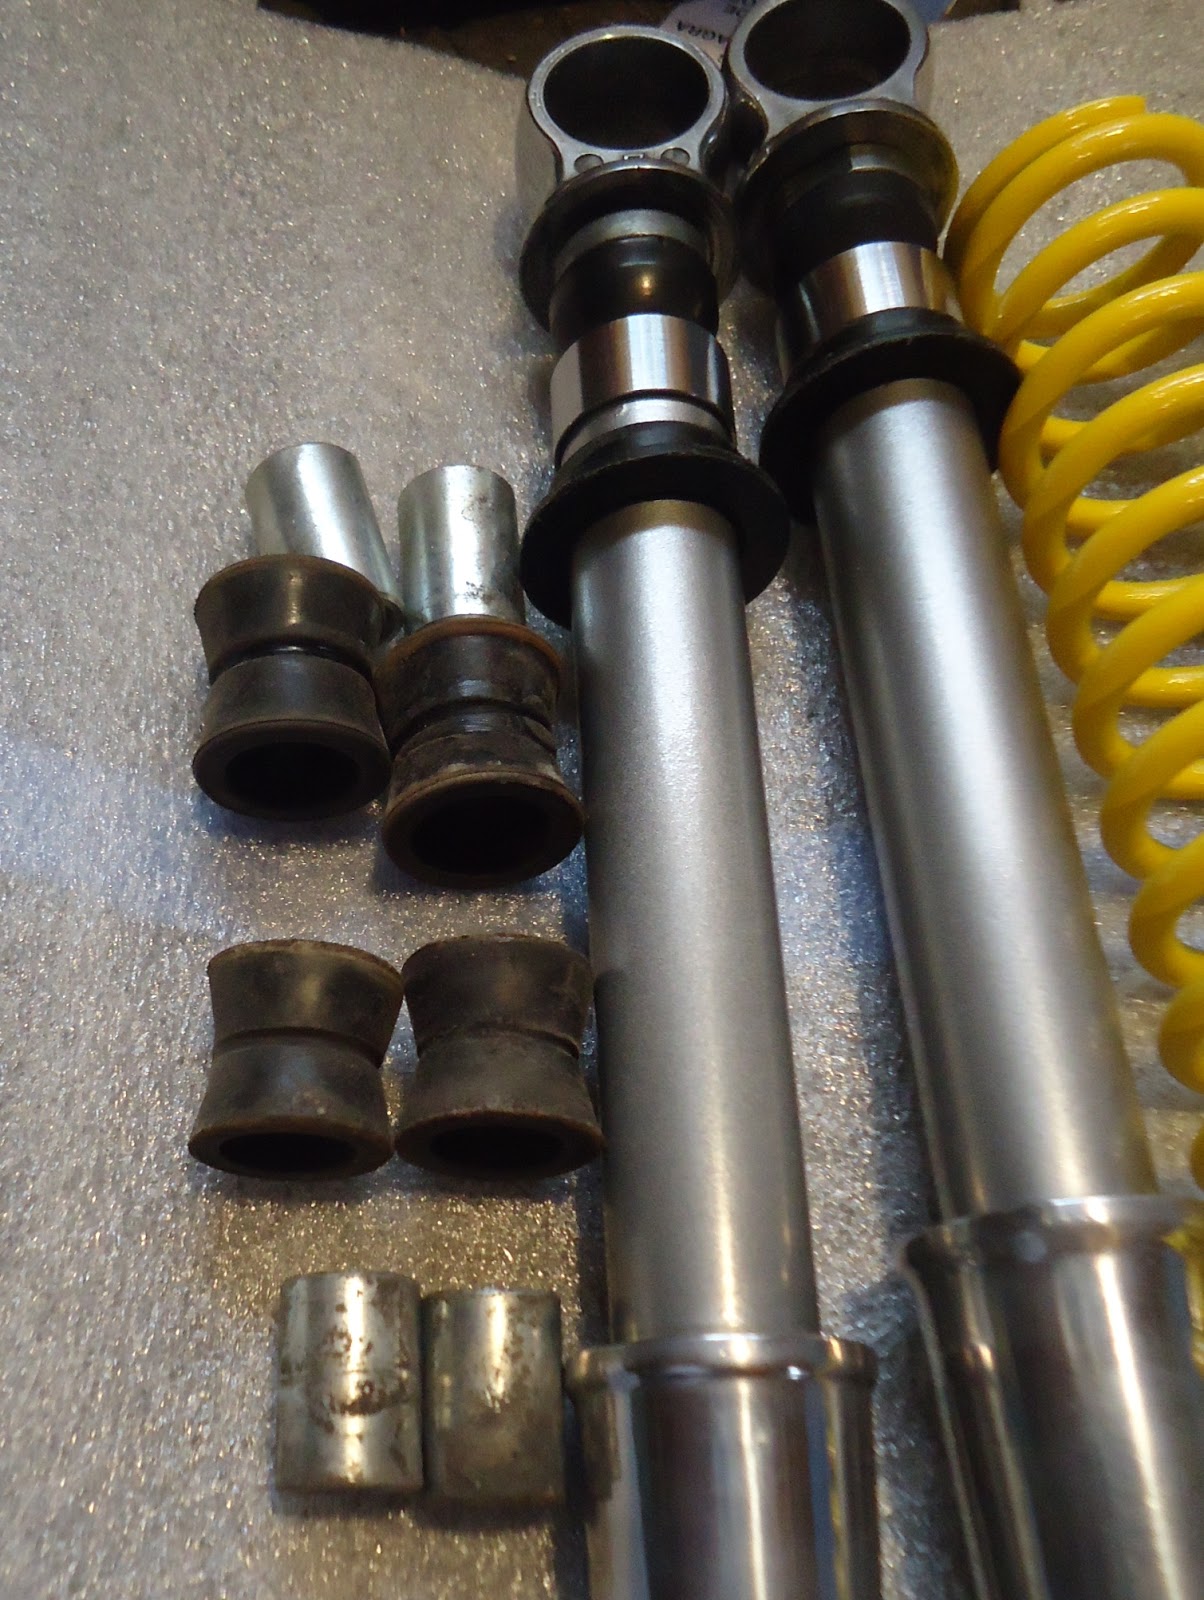
Cork and mainseal time.

Cork goes in like this.

Just by luck the hole in the stand I built allows me to put the transmission on end.

The mainseal is a press fit for sure.

Getting this started straight is the main trick.

Another lucky coincidence, the chain sprocket socket works well as a seal driver.

Getting the seal past the slot is the spacer is the main goal. Pat swears you can run a later spacer without the tab cut in any year four speed, but Ray would not sell me an o-ring spacer that was not to correct book specification for a transmission with loose roller bearings.

This looks set deep enough now.

Here's the key for the spacer.

There is a right and wrong way to install these. The long side on the seal, like this is the wrong way.

The long in down the into the splines is the correct installation.

We are going to use just a touch of silicon when we install it. The goal is not seal if for leaks, hopefully Ray's o-ring has that covered. The goal is just to hold the key in place if I need to remove just the sprocket later.


Drop the sprocket on.

Another tabwasher.

Add the nut. LEFT HANDED THREADS!

Lock the transmission and have some help to torque that sucker to as close to 110 ft*lbs as possible.

Bend the tabwasher.


Bend a second one.

Double check fork spacing.

Install speedo drive. The cable threads on this one are rough, but I'm using as a plug so that's fine.


Add ratchtop gasket(38).

Find and note position of the vent screw.

Add the top hat bushings.If they aren't they already from the last spacing check.

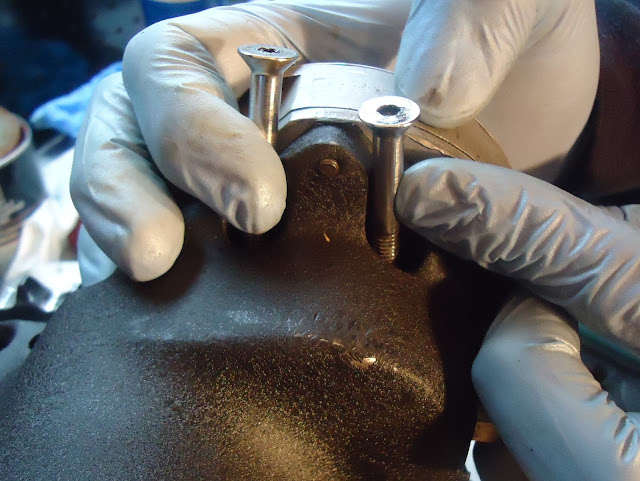
Locate rachet top hardware. Nine short bolts, two long bolts, and one vent screw.

Put the lid neutral. It should look like this.

Install top onto case dowel pins.

Long bolts go here.
Vent screw finds its special spot.

The short bolts go into the remaining spots.

Criss-cross pattern and torque to spec.

Verify this tab is bent out 90 degrees to the case.(Mine wasn't for some reason.)

Well poop. The oil slinger is completely rounded out. There was some discussion about this the other day, but I didn't think it was a major issue. The new slinger will be permanetly attached to pushrod.

You can see the witness marks of this thing sliding around in there, too. As usual another $5 part puts me at work stoppage.


.jpg)