Search

Search all blog posts here.

Search This Blog

Tuesday, July 30, 2013

Memphis Shades Fairing with Jardine Lightbar on a 1500 Vulcan

This is another one those projects that "shouldn't" fit together, but bolt on parts generally don't bolt on easily any way.

Here's our starting point 1500 Vulcan Classic with a Memphis Shades quick release fairing. The turnsignals aren't stock, but basically in the stock location.


First the fairing needs to come off.


Then this extra french style headlight nacelle.


Now the headlight.


Two long bolts go through the headlight bucket mounts, the fairing hardware, and bottom tree and its chrome cover.


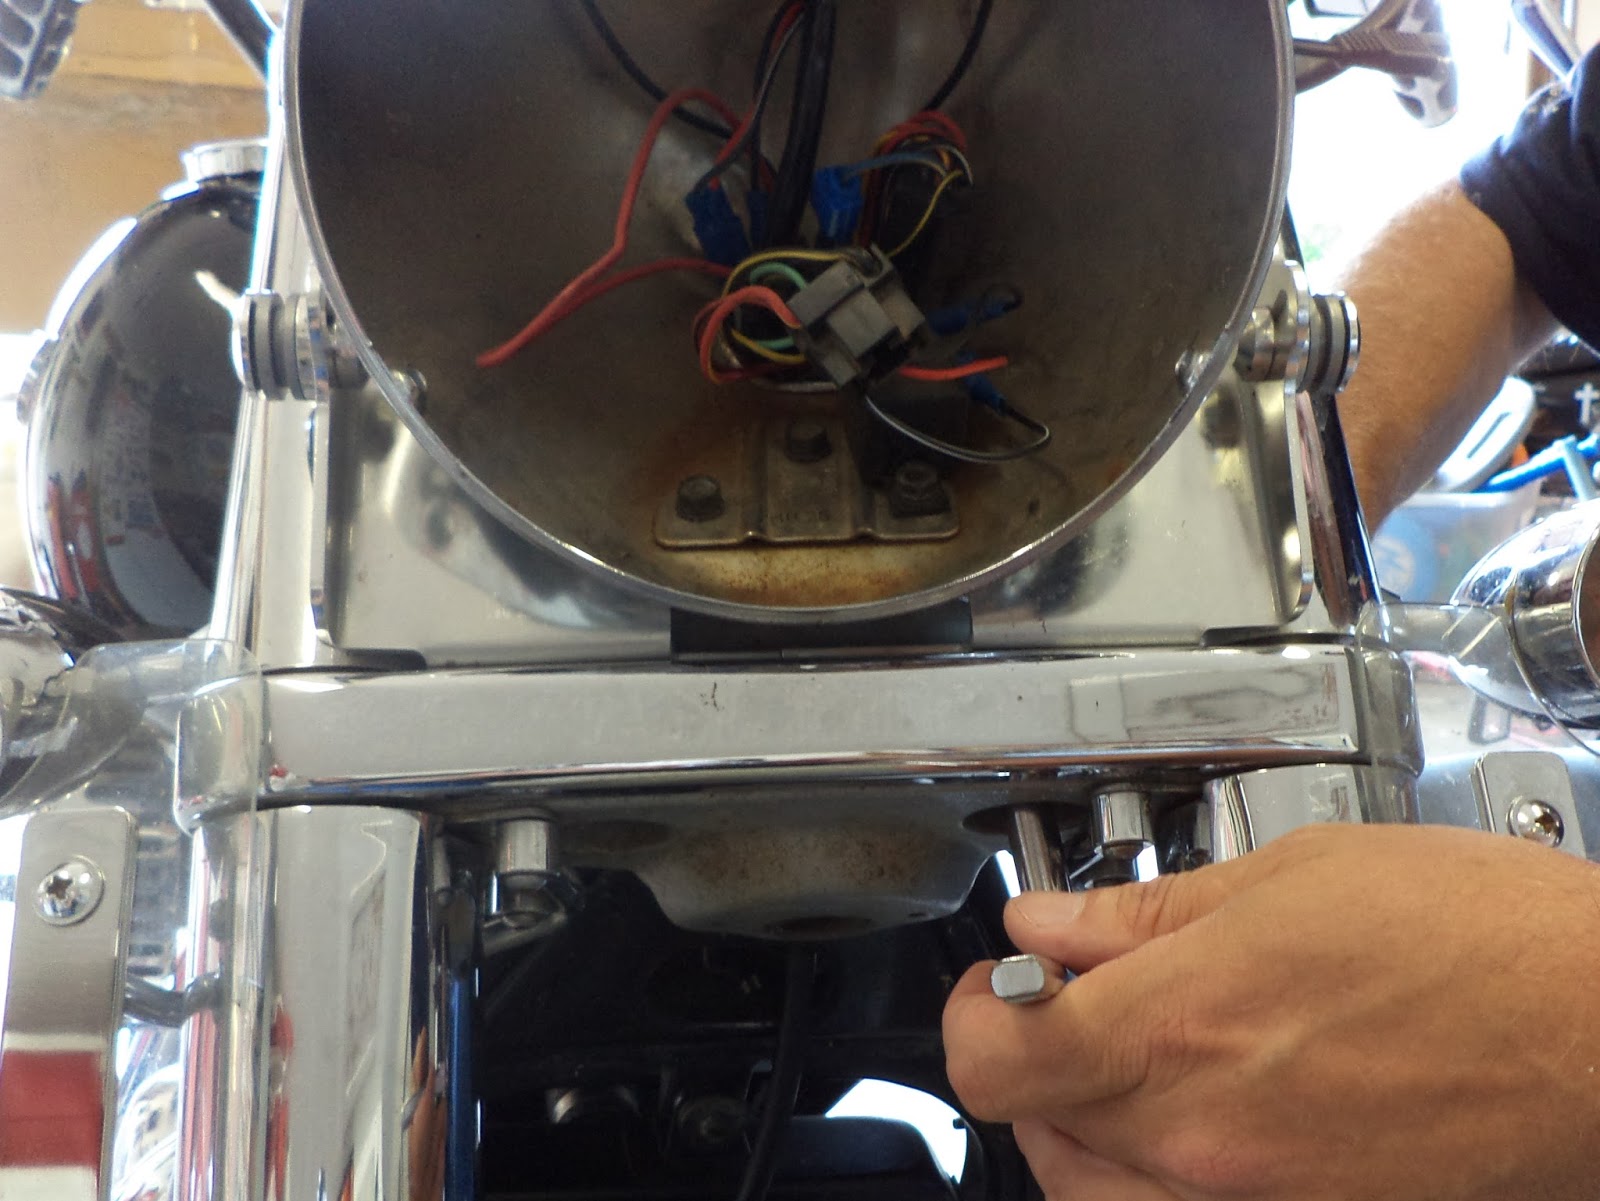
The headbucket should come free except we had run a spotlight bar previously and this relay needs to be unbolted to get the bucket out of the way.


These top bolts are the last thing holding the fairing hardware


To get the turnsignals off, the covers between the top and bottom tree have to come off. That means the top tree has to come off. So the top nut comes off.


The top pinch bolts get loosened. Put a blanket on the tank and rest the bars and top tree there.


One tiny bolt holds the cover in place.


Now the turnsignals can come off. I do not recall if you can pull the stock rubber booted turnsignals out of the cover without removing the tube cover.


Time to test fit the spotlight bar. And the lowers were in the way.


So we pulled the plastic off the lowers for now. We'll either need shorter bolt to dump the mounts or make plastics to a new shape that will fit with the turnsignals of the lightbar.


I missed a few pictures in here, but We were able to swap the monstrous turnsignals from the lightbar for the smaller duece style lights that we had been running.

We also discovered that someone had tried to wire this thing up before and we had to undo all that mess.


Again I missed a few pictures here, but you have raise the bike on jack to get the top tree back on and adjust the tubes.

With the top tree back it's time to run the bolts into through everything, but the headlight bucket. Keep in mind that the fairing hardware is raised about and 1/8 to 1/4 inch from being on top of the spotlight mount. So the top bolts of the fairing don't fit yet.


Pop the fairing on and check clearances. Everything looks fine, however I would not attempt to run full size windshield with this lightbar. The Cobra lightbar can be made to work with a windshield, but the lights on this Jardine are way too far back.


Off with the fairing and back getting the top bolts of the hardware together. The top of the hardware doesn't fit in under the top tree like it should.


Die grind it until it fits. (Use gloves, ear plugs, safety glasses.)


A couple check fits and more grinding and you'll get there.


This hole doesn't line up either so more grinding.


Perfect fit!! Do the other side and you're good to go.


I didn't get all the details of the fun with solder, but basically I had to wire it from scratch other than the relay and the leads from the accesorry circuit already run from under the tank into the headlight bucket.


Do a quick function of the turnsignals and lightbar, then come up with headlight.


Pop on the fairing and go ride. The project is straight forward, but it took embarrassingly too long to complete.


Sunday, July 28, 2013

Two blown headgaskets and Two ruined heads all at One time

Well Ed and Columbus decided they would pull my heads and replace my blown headgaskets.


Yeah it was worse that just headgaskets. This the front head.


This is the rear head. Yes both blew and both heads are ruined.


Saturday, July 20, 2013

Gutting Stock Sportster Pipes

This type of thing has been done a million types, but why wouldn't I take pictures of the efforts. Building decent Sportsters as cheap as possible is as popular as ever. Here's my cousin's 883 Iron. He got it at an insurance auction. Someone else had chopped the rear fender and struts and then wrecked it. My cousin painted it and swapped most of the bent pieces with swapmeet take-off. These pipes are stock off a Sportster 48, I think. Anyway they are too quiet and he didn't want to drop five bills on new aftermarket pipes, so gutting the baffle seemed worth a shot.


The inside of the mufflers look like this. Tube in the middle and flatish surface connecting it to the outside of the muffler.


Step one: Drill as many 1/2 inch holes as possible as close together as possible in the flat surface


Wear safety glasses, my cousin refuses to.


It should look something like this.


Step two:  Cut anything left between the holes out with a dremel or die grinder. Seriously, wear gloves and earplugs on this one.


Step three: Pull out the metal tube of the baffle.


Pull out the nasty fiberglass packing, too.


It should look about like this one when you're done. Don't forget to do the other one.


It should sound like this when you're done.

Saturday, July 13, 2013

Shovelhead broke on a shakedown

So we finally got the kicker fixed and foot controls and hand clutch back on it at Columbus' house a little while back. I went to get it last night. It didn't sump a drop after being set for weeks and kick started reasonably well. It may need a timing tweak to be a one kick bike, but it's real close.

We rode to Twin Peaks for dinner. I have to admit that the hand clutch made riding it a lot less stressful at this point in my life. The Andrew gears are nice. It was bogging down WOT throttle, but that should be easy to fix.

After dinner it kicked off reasonable well again and we jacked with the air and idle screws just a bit and I headed home. It was still bogging WOT, but I was getting it home. Then it sounded funny and I flipped to reserve. It then lost power and I felt something hot blowing on my left leg and looked down to see the some fire coming out of something(it was dark already) and got it off the highway as quick as I could.

Rear head gasket. I was already think a rear valve seal was leaking, too.

I'm thinking it was due a re-torque. I was hoping to do that when I got it home from Columbus' house since I had to fix the kicker there. This 93 inch motor still doesn't have much over 100 miles on it. The transmission then kicker has broke on both shake downs. The Andrews geared transmission has about 50 on it.

Bike's back at Columbus' house. ugh

Monday, July 1, 2013

My first heli-coil

The first helicoil(years ago on the left) and the one I'm about to do(on the right) will be on the same part. I have way too much time and energy into this Trail 90 carb.