Back to where I left off.
This straighten this cotter pin to pull off the rear brake stuff.

Another pin to straighten for the brake rod(no picture). Disconnect this cable from the pedal.

The brake hub stuff off.

Broken. The rear brake cable is junk for sure.

I think this brake switch mount should be straight not bent.

This is how the brake shoes come out.

Prying right about here seems to work.

Lever comes off.

Yeah, the brake cam was really tight,

Front brakes.

Same spot to pry.


The front brake cable is junk, too. But I think these parts are keepers and don't come with a new cable.

Weird keeper nut on the this lever.

This one is tight, too. I think this is a safer way to drive one out.

Big speedo related screw here.

Oil seal.

Tiny speedo related brass screw here.

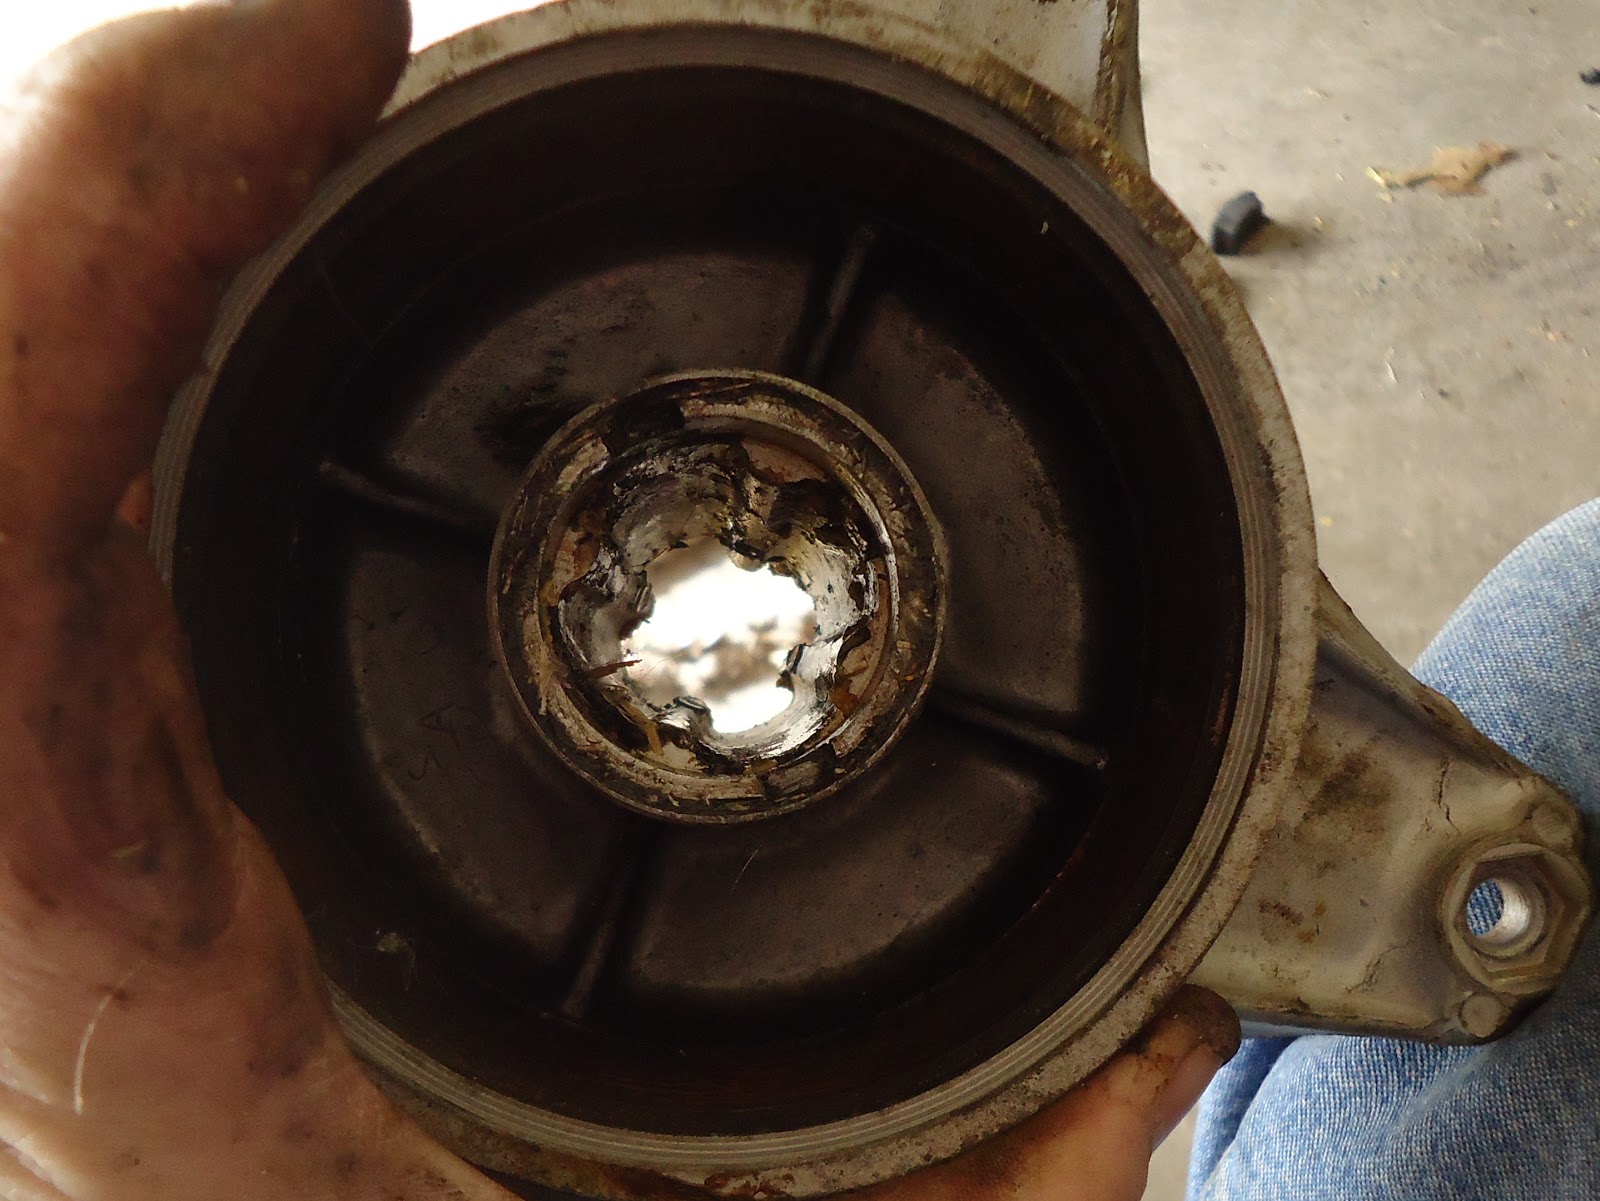
The knurled part is part of the long gone speedo cable.

I removed the brass screw and pulled on the knurled nut as to not hurt the threads, but I can't get this gear out. Not sure what to do, so I will put that down for now. Any ideas are welcome, because I want to powdercoat these hubs.

Back to the wheels. Take off the snap ring that holds the sprocket on.

Add damper to the list of parts I need.

Nasty.

Another seal.

The rear wheel bearing, that was mostly driven out with the rear axle, came out super easy. See where it landed? I was just trying to move the bearing spacer when that happened.

Remove the spacer.

There's the other bearing.

There it is out.

Time to get pneumatic, small ones first.

Now the hub bolts.


This a lot of work. Maybe I was naive. I thought the rim halves would come off easy, because the bead seemed to roll of the rim a bit when I was messing with them. I think I should have broken the bead before I broke down the wheel.

One side off.

This is interesting. A old inner tube cut and put over the real inner tube. I think I did this with BMX tires, but I don't think a sand burr will cut a through a Trail Wing tire, but it does seem weird that not rim strips are used on this bikes.

So I could not get the other rim half at all. So I drug out the homemade bottle jack powered bead breaker. I was too frustrated with the tire and rim at this point to get action pictures.

Not make the same mistake twice, I decided to fully break the bead on the front tire before taking the wheel apart.

With the beads broken and wheel bolts removed, everything comes apart easily. Less rust on this one for sure though.

Dust seal.

Bearings and spacer come out.

Bare hub.

Now to the front forks. This trim ring is a threaded fastener holding everything together. This first was only hand tight.

This is ugly, but not bad, I think.

The other leg was much tighter, but the strap wrench work once I pulled the gaitor off.

The bottom bearing race needs to come off the triple tree. I used my soft jaws that have the V to hold round things and avoided the threaded end of the stem.

MAP gas from my plumber's torch. A little heat and a little pry...

Race off the neck.

More of basket case everyday.