
See all the welded up holes from my original mock-ups?

Trace the shape and basic location of the holes that I know are right. It's a tight tolerance, but a general area. I will probably drill the first hole and then transfer punch second mark with the box on the bike.

Something like this.
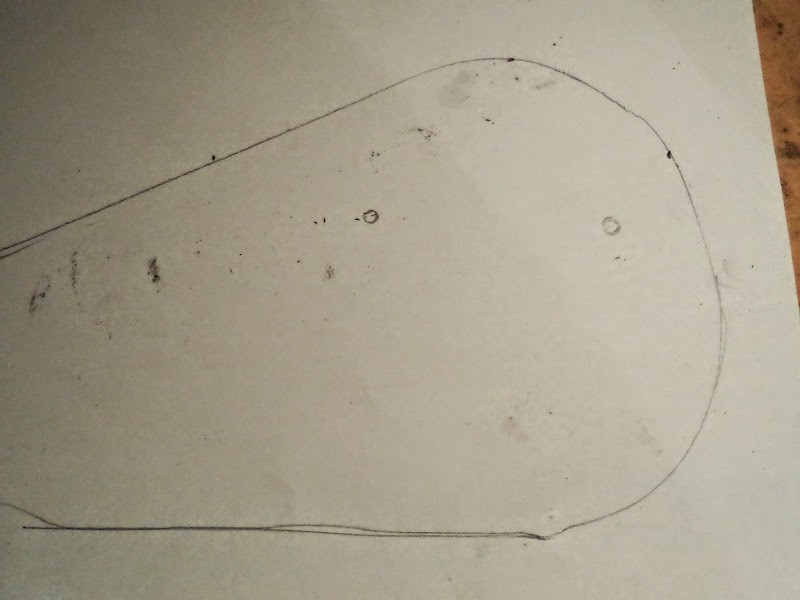
Click the picture below and you should be able to print this at 100% to work from at home.

Now to modify the regulator bracket. "jr(The quiet one)" [VROC #30869] donated this to my efforts. Thank you, sir.

Cut the stand offs off.

Grind off what's left.

Last time I just taped around the bare area and rattlecanned it, but I think I will send this one to be powdercoated. No real reason to, but I still will.

Lets deal with the stock holes on this box. I pick these stupid boxes up everytime I see one at a swap, but I must have traded off all the ones I had. So this one is a Taiwan Ted special from Ebay. The new chrome will look nice on this bike, instead of my usual black paint on nasty old box.

Lummie said he would help with the welding. Clean around the holes a bit.

Cut a blank to cover the hole.

Use a space washer to make the correct size for the plug.

Make it round enough to fit.

Plugs that fit okay.

Spot them in place and then go back and do a full weld.

Holes filled.

A little "Okie Chrome"(silver paint) on the raw metal to stave off the rust for a bit.


I have taken a few days off on this project so it took me a couple of looks to see how this template should work. It was done through the back of the old box.

So put a little hole in the template and flip it to find the spot.

Drill first hole.

Bracket fresh from the powdercoater.

Hung on the bike.

Bolt the box in place.

Double check clearance with the passenger floorboards that I'm planning on running.

Oops, I did get a little crazy with the silver paint, but a little paint thinner will clean off the over spray and runs.

Proving once again that nothing is so simple that can't be screwed up. I transfer punched the second mark through the bracket while all attached to the bike. I guess I drilled at the wrong mark and then tried again. I got a nice snowman holes at the wrong spot. ugh.

Okay so I smoked the first bolt tight and took the bracket back off and onto the bench to find the correct spot.

Finally right, now I need to take it back to Lum to weld up the snowman.

This should be good to go. I need to put the bike back to stock height and I shouldn't have any issues with it.

No comments:
Post a Comment