
Drill out the rivet that holds the strap that holds the hair pin clips. One end of that strap is already broken anyway.

One of the bigger things I wanted to show compared to MarkT's write-up is that I bought some clecos to make the alignment and fit easier and nicer. I'm also going to use 1/8 inch rivets.

Another note of difference between the Valkyrie LL bags is that the Vulcan has another fender strut bolt right here.

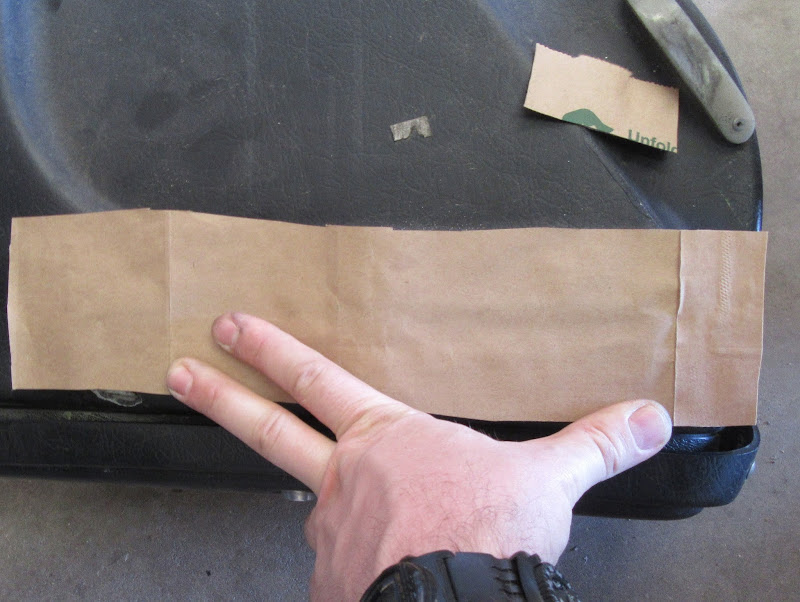
A little brown bag template action.
I hogged out the basic shape from 22 gauge steel. I drilled one hole through the metal and bag and set a cleco. I then drilled a second hole through both and set a cleco. That's when Scott "Hotsauce" really got to work for me.

He marked the shape better and started to shape it up.

I must say if you're going to do any sheet metal work then you need the three piece Wiss snips for sure, not cheap ones.

He's been watching a lot of Full Custom Garage, so now he really knows how to build stuff.

Once the outer piece was shaped up where we liked it, another hole and cleco was placed near the damaged area.

An inner piece was shaped to fit and transfer drilled for the clecos and eventually rivets. The large hole location was marked as well. This piece was only a few inches long. The fender bolt clearance spot limited the length, but it should be enough.

Centerdrill the inner piece.

Now cleco the outer to the inner and transfer drill the center hole of the large hole to the outer piece.

We used the biggest bit we had on hand to drill the large hole. It was not big enough of course, but we can fix that too.

Carefully dremel out the large hole to match the bag.

Repeat those steps for the inner piece.

Take apart, rework, again, and again until the grommet fits.

And make sure the holder and bolt fit, too.

Lay out the rest of the rivets.

I had to adjust the pitch and offset a bit because of the fender bolt clearance spot. I was thinking that I would omit that bolt and not need a hole in the sheetmetal to clear it.

I drilled and dremeled the front hole to size.

A little black paint to keep the rust away.

Oops, I thought I could omit this bolt, but it does help with the sissy bar.

The trick is locating it correctly. I put the clecos, grommets, and holders in place.

Then I removed the clecos. I figure the grommets had things close enough.

Luckily I had a spare (blacked-out) fender strut on hand.

I put the bolts through the bag and fender strut then transfer punched the center location of the last hole.

This hole doesn't need to be as large as the mounting holes it just needs to clear the head of the bolt.

Finally getting down to the rivets. I figured I wanted to use some black silicon to seal around the rivets.

The high temp isn't needed, but the black will blend in.

Fit one cleco.

Pack the broken area with silicon.


Place several clecos and start with the rivets.


For the rivets without the inner piece I used the rivet washers to avoid pulling through the plastic.

Looking great. I will let the silicon set up over night though.

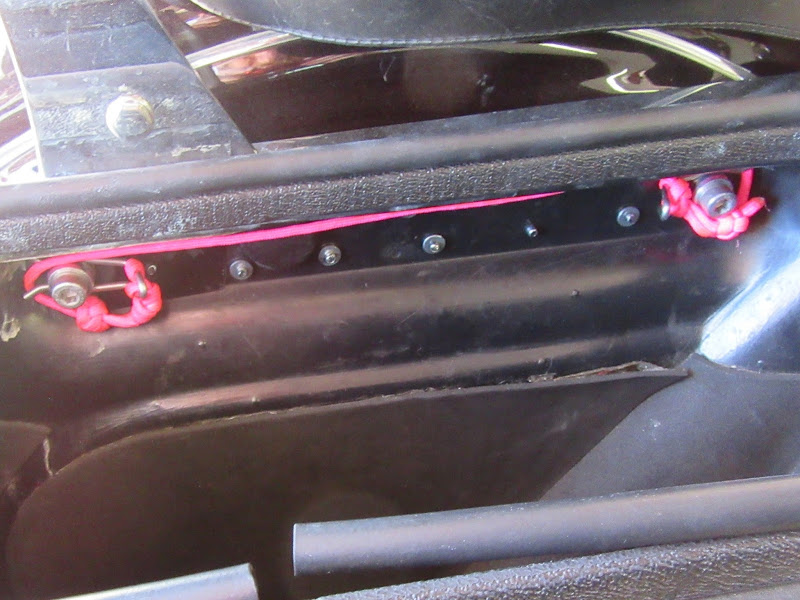
Two standard 5/16 washers are perfect for pushing the holders out just enough to clear the rivet heads.

Paracord, it's the new duct tape or something like that. I made a new lanyard for the hair pin clips.

I routed the lanyard like this so that I wouldn't pull the pins accidentally while loading the bags.
Good to go. Hopefully I can get about 70,000 miles out of this fix, too.

No comments:
Post a Comment