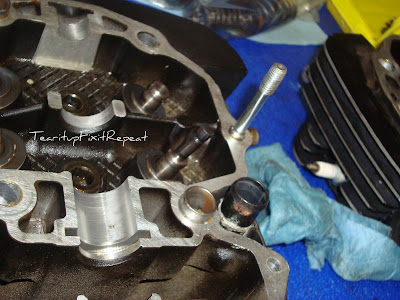
Remember me writing that the heads needed to washed after the valve lapping? Well here you go. I would normally do this outside, but it was rainy and I did it inside. I washed my little gas can too, because I want put in the back of the van just in case.

The cylinders are back from the machine shop and they need washed, too.

Do you see the different surface finish? These were still a touch out of round even after the oversize. You can see, but not feel it. It is under where the rings will run so hopefully everything will be okay.

After washing the cylinders, all of the steel parts need to be oiled to keep them from rusting until I get the motor together.


Wash the heads.

Rinse the heads.

This was something I hadn't noticed yet. The rear head has a basketweave in the casting...

the front cylinder is smooth.

Blow dry the heads to get the water out of the crevices.

Wash the valves.

Don't put those back in the bag wet or things will get ugly.
Now let's put the valves back in. Oil it up.

Put it in the head.


No comments:
Post a Comment