
So I decided to buy two regular bulb small cateyes from J&P and hoped they would bolt on and I could use a trailer light module to keep the brake and turnsignal functions.
Well the small cateyes are too big for the bracket.


So I think I will build a bracket and set the lights to something like this to be more custom.

First trace the shape on heavy paper.


Cut another piece to get the size of the bracket needed.

Roughly lay everything out.


Trace the lights onto the bracket template.

Figure out the where to put the break in the bracket.

I had a sheet metal friend shear and break the bracket.

Now to layout the holes.

Mark down the middle.

Mark the plate holes.

I'm using one of these rubbers to mount the bracket to the fender so I need those holes, too.

Center punch.
Drill.

Check the holes.

I have these funny elevator bolts to use under the tag to the fender.

Another rough lay out of the lights.

Pick a point for the first holes from center line.


Now from the top.

Center punch.

Figure out the center-to-center on the light studs.

Scribe an arc for the second hole.

Center to verify the marks and light housing spacing.

Figure out the height for the second hole.


Center punch, drill, check. This is where I realized I need a big hole in the middle, too.

Scribe out where the big hole should be.

Figure out the center of the small holes.


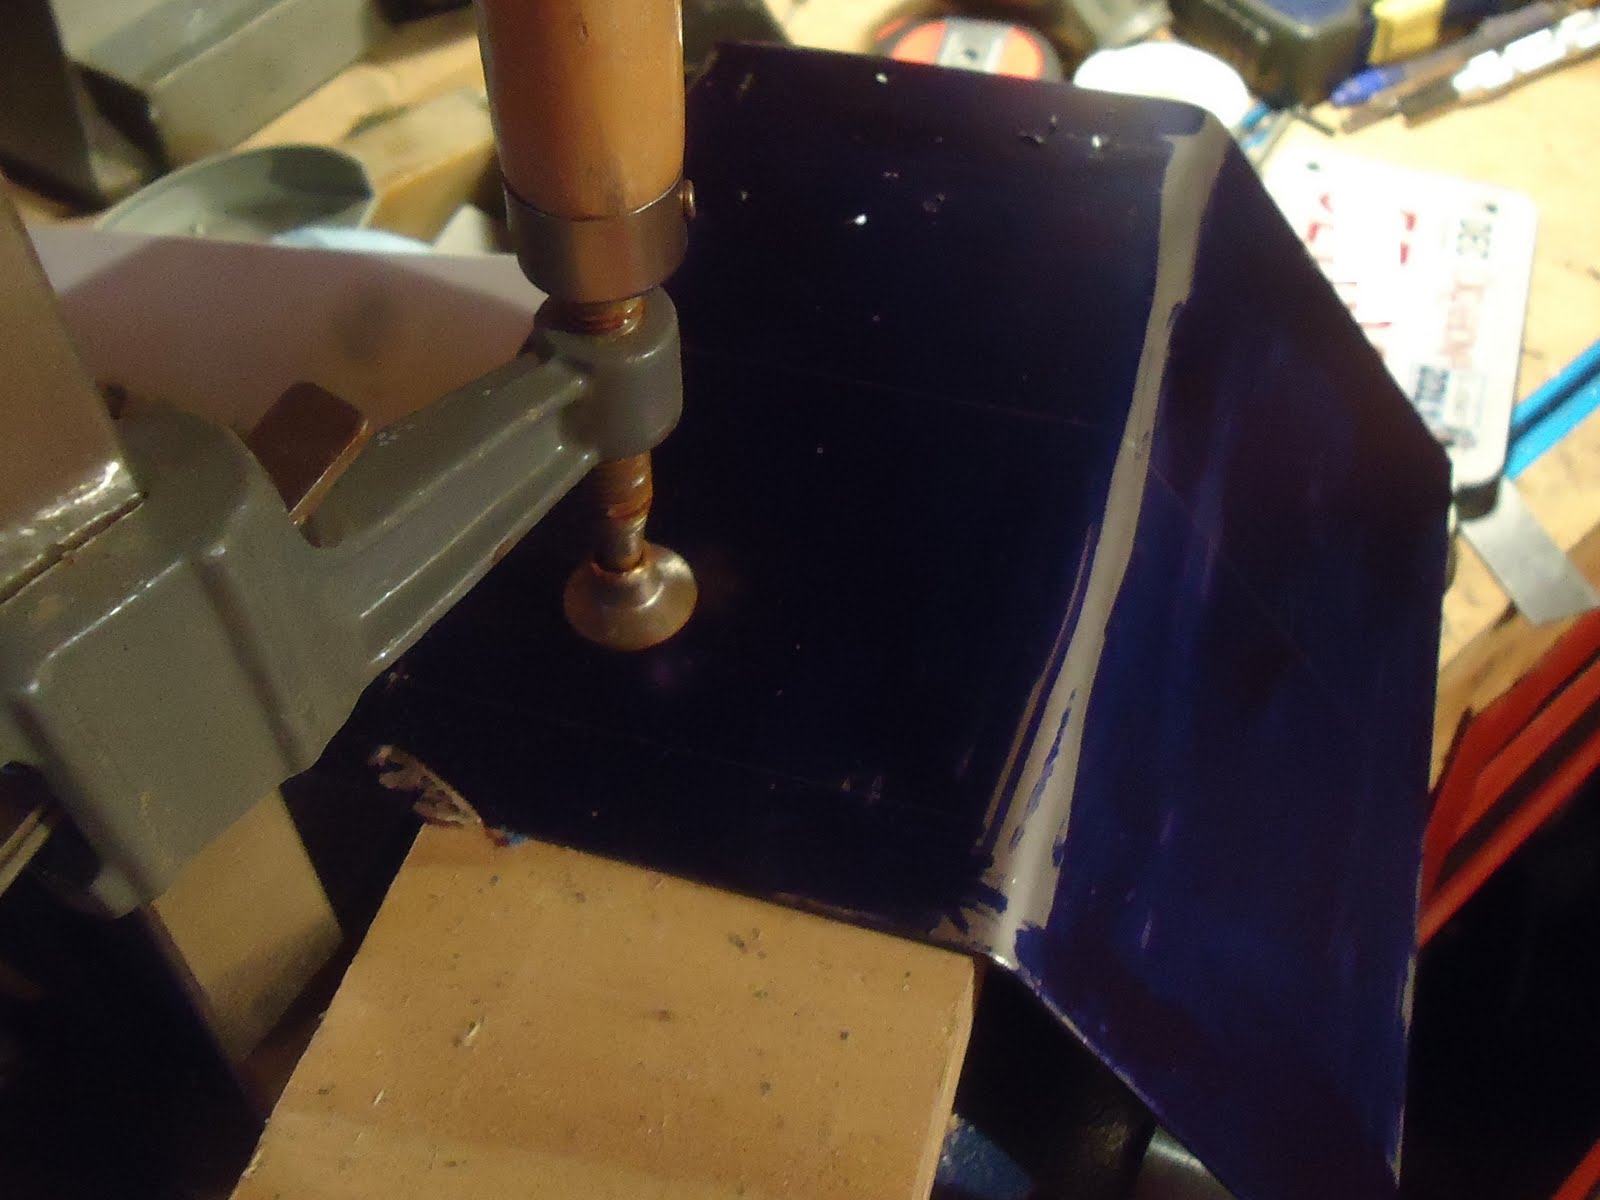
I don't have a bit big enough to make my hole so I made the biggest hole I could with a uni-bit.

Then used a big counter sink from both directions to enlarge the hole.


Fits good.


Basic build done.

Mark and drill the fender.


I scribbed out the taillight shapes in the lay out fluid with taillights installed.(I had a picture, but I lost my whole camera, and the rest of the blog is done with my son's toy camera, sorry worse pictures than normal.)
Now to rough out the shape with a jig saw.

I used a drill in the middle.


Another fit check.

It still needs worked over.


Looking good now.


Now to put the bolts in.

Okay, I broke that one.

Back to regular countersunk screws.


Now to clean it up. You don't need lay dye cleaner, carb cleaner does just fine.

Black paint of course.

Now to the wiring. I'm using a trailer light module that converts independant turnsignal to common bulbs. That way we will have to turnsignals and brakes on only two lights.

I'll mount this under the tank. (If I knew for sure that I was going to dump the fuel pump, I would mount it there.)

Light wires aren't longer enough. The wire colors are weird too. Yellow is ground, red is bright filament, and black is low filament.

Solder up extensions and add shrink wrap.

Taillight mounted and its wires run.

Module shrink wrapped and wires routed.

What a mess.

I did the taillight to module wires first. I labeled the taillight wires and soldered them to the module wires. It might have been better to not hard wire all of those, but space was limited.

Now the bike to module wiring.

I used plugs because there were plugs there already.

It turned out good, but I may need to figure out how to clean up the back a bit.

If you do run only the front turn signals and a trailer light module for the rear on 1500 or 1600 Vulcan, when a front turn signal bulb burns out it does strange things. You won't have any turn signals on the burn out side, but you will have the indicator still flashing. You will have turn signals on the non-burnt out side, but not the indicator flashing.
ReplyDeleteWe are dealing with New Japanese Truck Spare Parts for taillights, Mitsubishi Trucks, Toyota Dyna, Hino Trucks and Nissan UD Trucks in Australia.
ReplyDelete