Search

Search all blog posts here.

Search This Blog

Sunday, October 9, 2011

The struggles of head building

The heads are ready to go up. The valve springs look useable.


I always buy extra valve guides, because I always seem to use more than four.


I went to put the first seal on the new exhaust valve guide.


It's a press fit, so I thought I would try the smaller attachment for the valve spring tool. It didn't work. Nothing did. These seals just would go on at all.


Then I noticed the difference between the new exhaust valve guides and the old exhaust valves guides and the intake valves, too. There was not chamfer to help the seal on.


I tried to just knock off the sharp corner, but that wasn't enough.


Die grinder and rotary file did the trick.


I lubed the valve stem and seal, then used a socket, extension, and hammer to drive the seals on.


Perfect. I think my final count was 10 seals used to get 4 on correctly.


Now the spring is compressed and keepers installed.


I managed to drop and lose one keeper. Ugh. I had to buy a whole set to get going again.


I decided to swap out all the old keeper for the new keepers. The keepers are a bit thicker than the old ones.


But wait, this new keeper(left) is missing the shelf cut. Ugh again. I'll just leave one set of used keepers in one head.


Seals, valves, and springs installed it the heads.


Now to put the rocker boxes on. This is the gasket I have metal in the middle and gasket stuff on both sides.


I noticed this last time I built these heads. I don't know why, but the gasket doesn't drop onto the head. The cooling fins are in the way.


So I have to cut this part of the gasket off. It doesn't affect the sealing surfaces.


So I'm on to putting the rocker box on the rear head. Put the washers and nuts on studs.


Use the torque wrench tighten things properly.


Okay two of the studs break before the wrench clicks. Ugh, ugh, ugh.


Textbook ductile tension fracture, not metal fatigue. The stress in material made it to the yield strength of the material. Plastic deformation caused the cross section to thin and then break. Fatigue leaves beach erosion marks..


Back to the parts store for new studs. Double nut and set the studs.


The torque wrench still didn't click on only those two studs, but I didn't push my luck this time though.

The rear built.


The front went together without any issues.

Saturday, October 8, 2011

Show Plate

Got this for a buck. It will look sweet on my Trail 90 in a bike show.

Sunday, October 2, 2011

Shovelhead Crankcase Before and After

Here's the crankcase bore before the big bore work. I measured it to 3.685 inches just for reference to compare to the big bore diameter.


Here's the crankcase with the big bore machine work completed and the stroker wheels and rods installed.


Note the extra oil passages at the base of the cylinders.


The "I" portion of the rod is opposite that of the stock rods. I believe there is more rod clearance between the cylinders, but I should have gotten a before picture.


Note the extra rod clearance to the front of front and rear of the rear.


I measured the new bore to be 3.855 inches.

Front Shovelhead Before and After

Here's the front head and it's leaking spark plug insert and it had a previous exhaust stud repair, of course.


Here's it the after the rework. Like the rear head the bore was enlarged. The headgasket surface was resurfaced and the threaded holes were spotfaced.


New valves and fresh sparkplug hole.


Seat, valves, and new exhaust valve guide ready to go.


They fixed this exhaust stud hole, too.


The outside of new sparkplug hole.


Rear Shovelhead Before and After

If I was going to build a stroker, I definately needed to do something about these sad old heads. The rear was in the worst shape. Here's the oversized heli-coil in the rear exhaust stud hole.


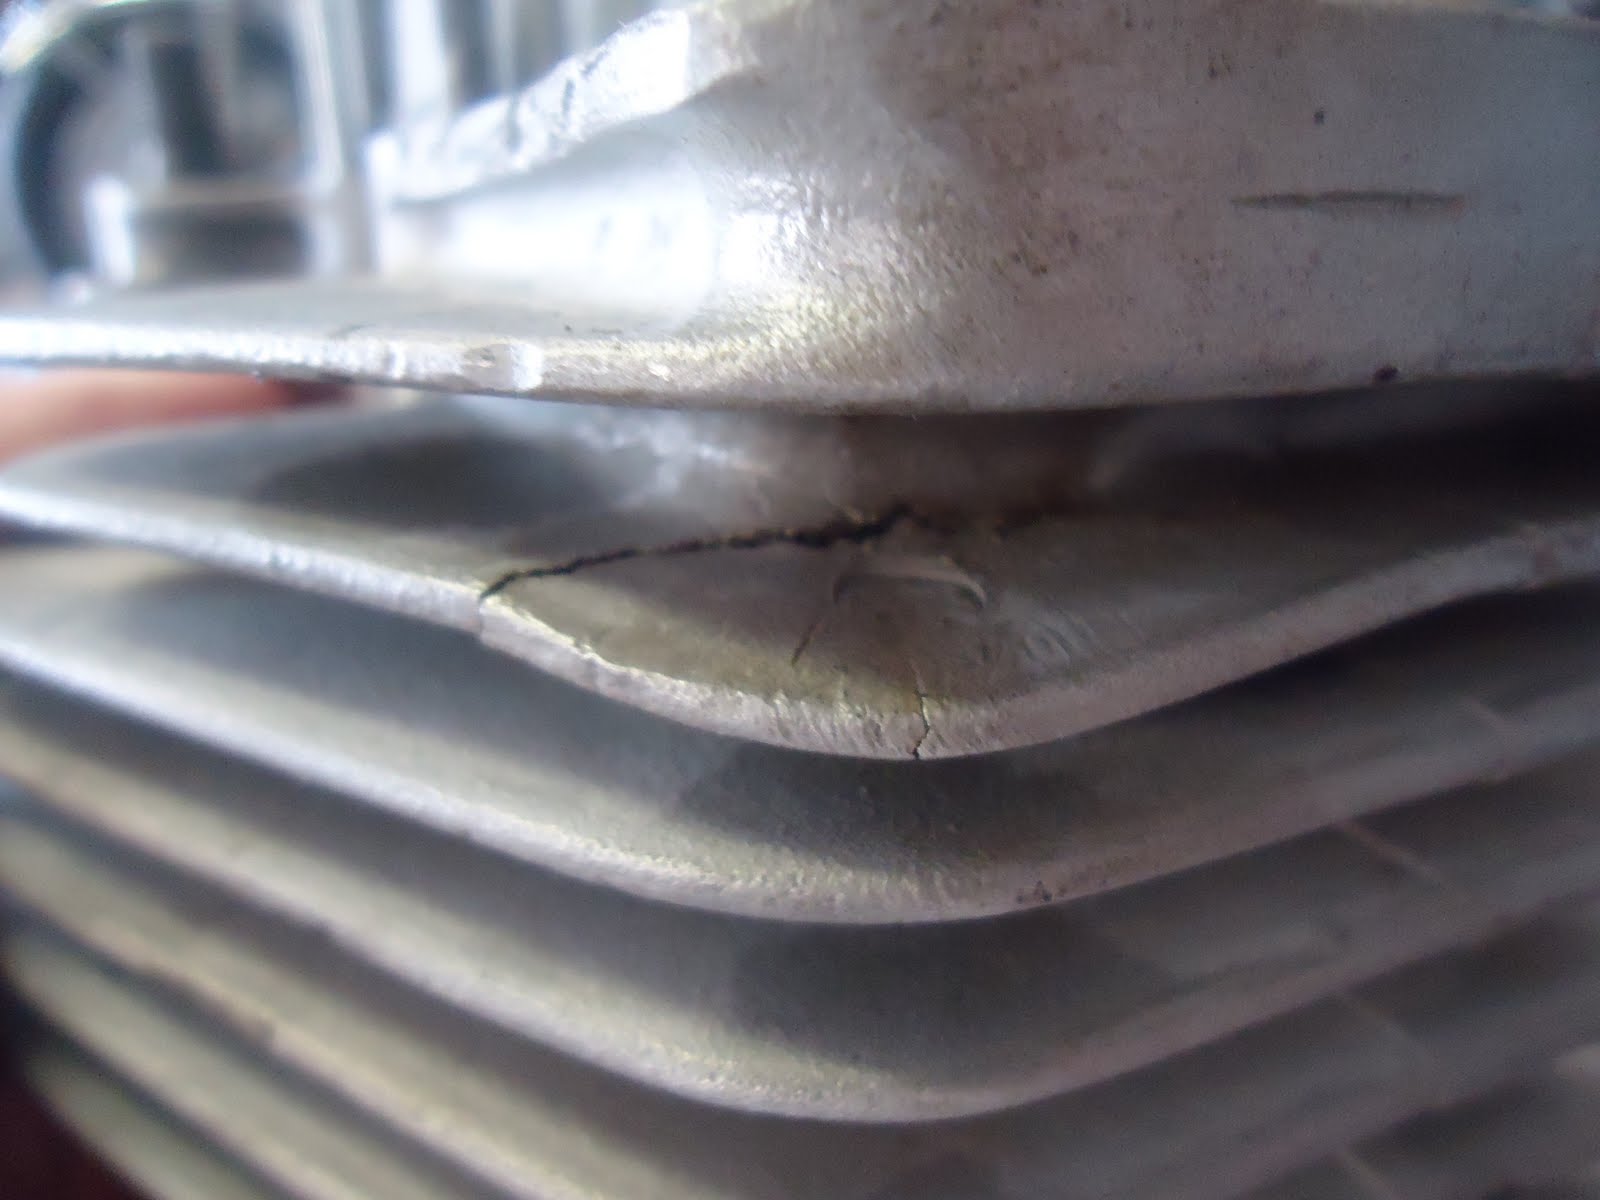
This is the fin I broke working on things earlier.


Leaking sparkplug insert.


I measured the bore to be 3.725 inches. Just for reference to compare to the big bore diameter.


I sent the heads with crankcases to Truett and Osborn to be reworked. They did an excellent job and getting this head into shape.

The bore was enlarged. The headgasket surface was resurfaced and the threaded holes were spotfaced.


Exhaust port repaired.


New intake valve and head cut and lapped to match.


New exhaust valve and guide. Lapped and ready to go.


Sadly a miscommunication and the fin didn't fixed though.


Fresh aluminum and threads in the sparkplug hole.


Nice spot face on the outside, too.


I measure the new bore to be about 3.850 inches.


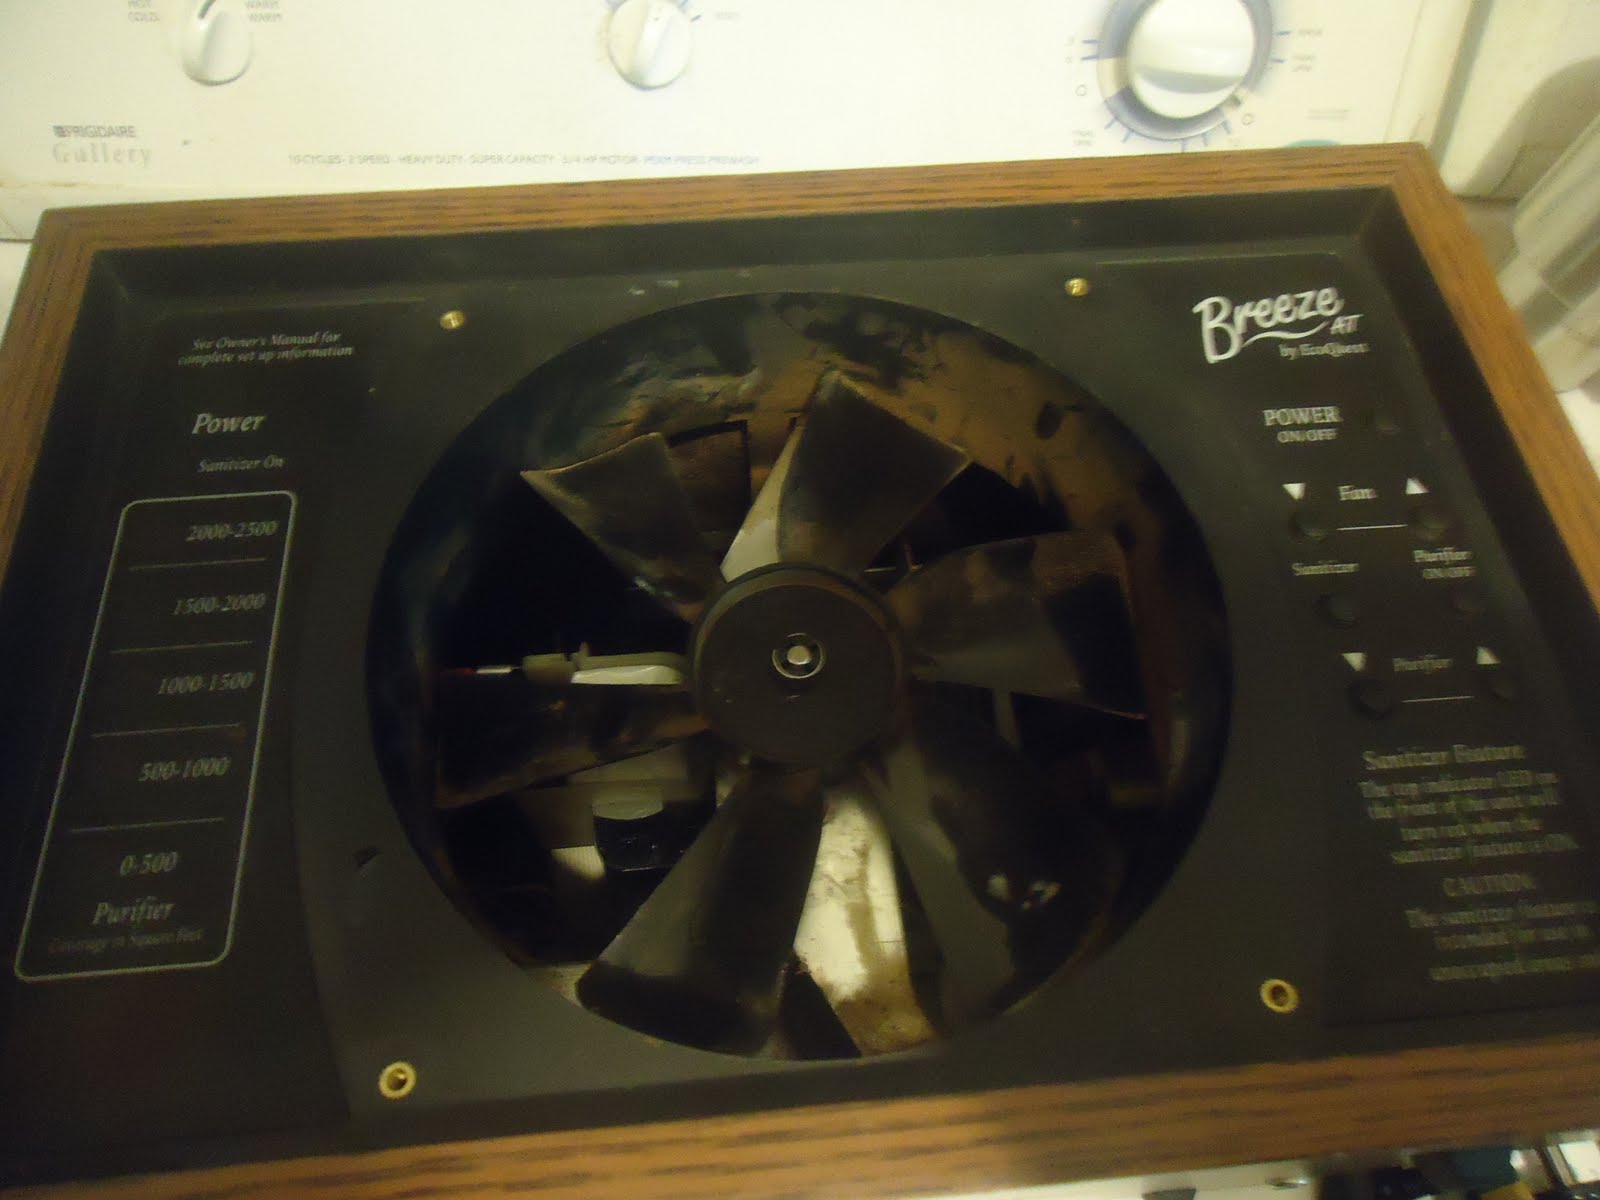
Ecoquest Breeze Fan Motor Replacement

The fan finally quit on the air purifier. I got a replacement unit here.


Four screws hold the guard on.


The blade pulls straight off.


Two little nuts and zip tye hold the motor in.


Unplug in from the back of the unit and pull the motor out.


Okay, comparing the replacement to the original. The original is hard wired to the pull and has longer screws that hold it in place.


Swap the screws for sure.


Cut off the pigtails as long as possible.


Check the wire length to make sure it doesn't need more wire added to reach the new motor connections.


I just crimped these, because I figured they didn't need soldered like motorcycle connections.


Perfect.


Install the motor, plug it in, and replace the blade.


Back to 100% now.