
Draw a plug map. I thought I could get around depinning, but I really can't.


Use a pick to push the tab down and slide out the tab.

A little bit of messing and you have the plug off.

I checked to see if the stock wrap will fit in the hole.

It fits so I want to leave enough to protect the wires in the hole.

Carefully cut the wrap, so you don't have to solder where you hadn't planned.

Ideally I would use the correct colors for the extensions, I didn't have nearly colors in my stash and I did have roll of white in the correct gage so. I that's I used. I cut 8" sections to use.

Pick a point to cut. (Remember to put the next cut about an inch from the last one, so the solder joints don't make a big wad.)

Strip the wires.

Rosin the wires.

Solder the wires in both places. Give the tug check.

Shink wrap.

Do that like five times and the right side is ready to be routed.

What's with the earplug and electrical tape?

Tape the plug string to your wires and put the plug in the hole.

Blow the plug to the other hole.

Pull the plug and push the wires.


Not ultra clean and sexy, but pretty good.

The left side is worse. 11 wires to go through, and actually 13 wires to start with at the housing. Three ground wires(Black with yellow) junction together inside the harness.

It's pretty much the same steps, but if I had a do over I would get rid of the factory wrap. It's too big and bulky when it's full of wires. There are three wires from clutch switch one goes to that ground junction, and other two go to the little plug. I would definately break the ground junction and shrink wrap the big bundle of wire together and the little bundle together, then resolder that junction. The tight shrink wrap would have fit into the hole a lot better.
Here the end results of my work, again not super sexy, but acceptable for this build.
Here the end results of my work, again not super sexy, but acceptable for this build.

Time to fix this. I think I put these rubbers on wrong. The big one goes on the bottom.

Yes, much better.

Top tree off the bike and routing the wires.

Windshield bracket, hose guide(that may get worked over yet), bottom clamps, and clamp bolts go on.

Top clamp on.

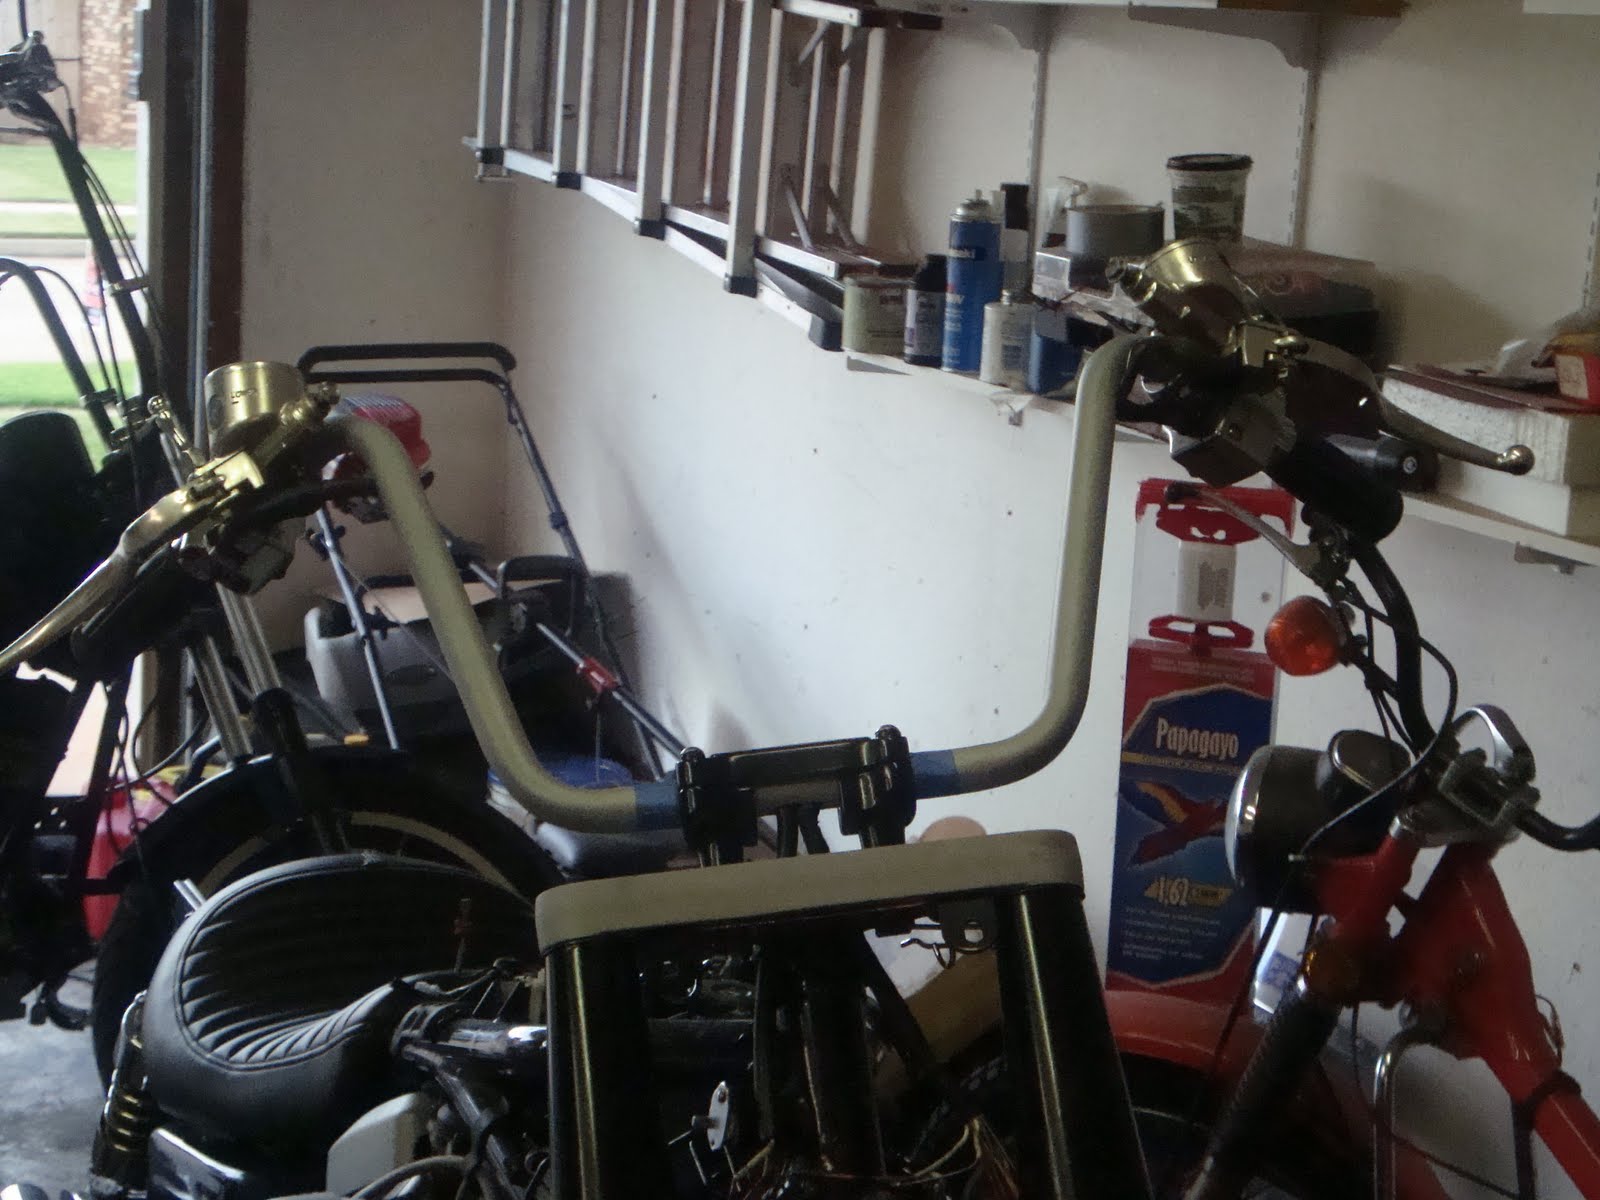
Bars, controls, and top tree back on the bike.

Pretty clean. It's a shame that I have to add a brake line, clutch line, and throttle cables.
This looks okay.

Fits good with the new seat.

All I need to do now is finish it.

No comments:
Post a Comment