Search

Search all blog posts here.

Search This Blog

Showing posts with label Vulcan. Show all posts

Thursday, January 31, 2013

1500 Classic Dual Piston Rear Brakes 2001-up

Here's the deal. I didn't think I would write this one up, but again I found the Kawasaki and Clymer manuals lacking. The 1500 Classic went from a single piston rear brake caliper to a dual piston rear caliper in 2001(E4). None of the manual for a Carb'ed 1500 Classic even note the change. Hence the need for my post.

Here's a exploded parts view. (Those aren't full part numbers only prefixes.)


Time to get down to business. The manual(s) tell you to take of the exhaust, but I don't think you have to, even with a stock exhaust system. I thought about moving my saddlebag support out of the way for clarity, but it's not hard to work around. If you can get to the two socket head screws then you can do the job.


Take these two bolts out.


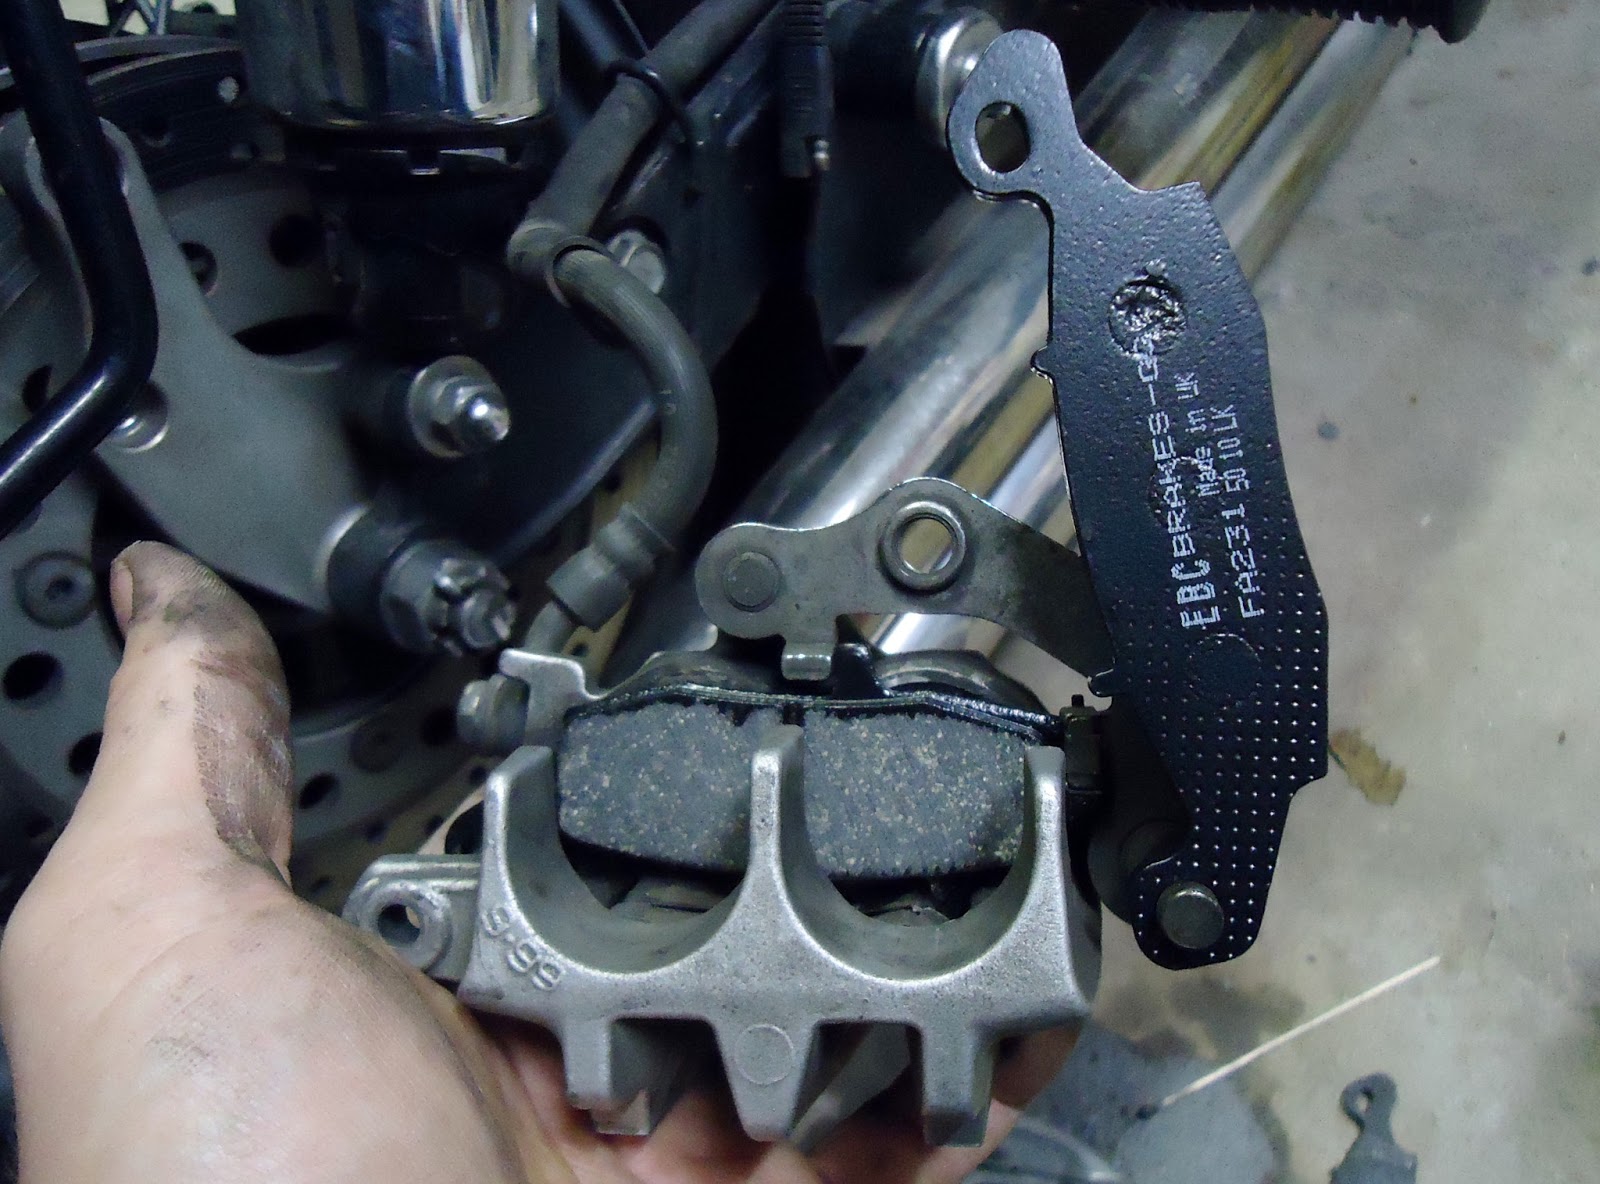
Slide the caliper off the rotor.


Worn out.


I tried to clean everything, but it really didn't do much.


Here's the pin(92043) that hold everything together. This pin had another pin that holds it in place. The stock one is a tiny re-useable cotter pin, but that is long gone. I have been using standard cotter pins. Safety wire would work fine, too.


Whatever you got pull it out.


Then the big pin.


Inboard pad rolls over and slides off the other pin.


Outboard pad pretty much falls out.


If you didn't top off the reservoir when the pad were already worn out, then you should be able to squeeze the pistons back in with a c-clamp with any issues.


That's bottomed out.


Fresh pads. DO NOT BUY THE GOLDEN LOOKING ONES. Those will wear longer, but if you're lightly trail braking they are loud and scary sounding. I took a pair of those off after a like a thousand miles.


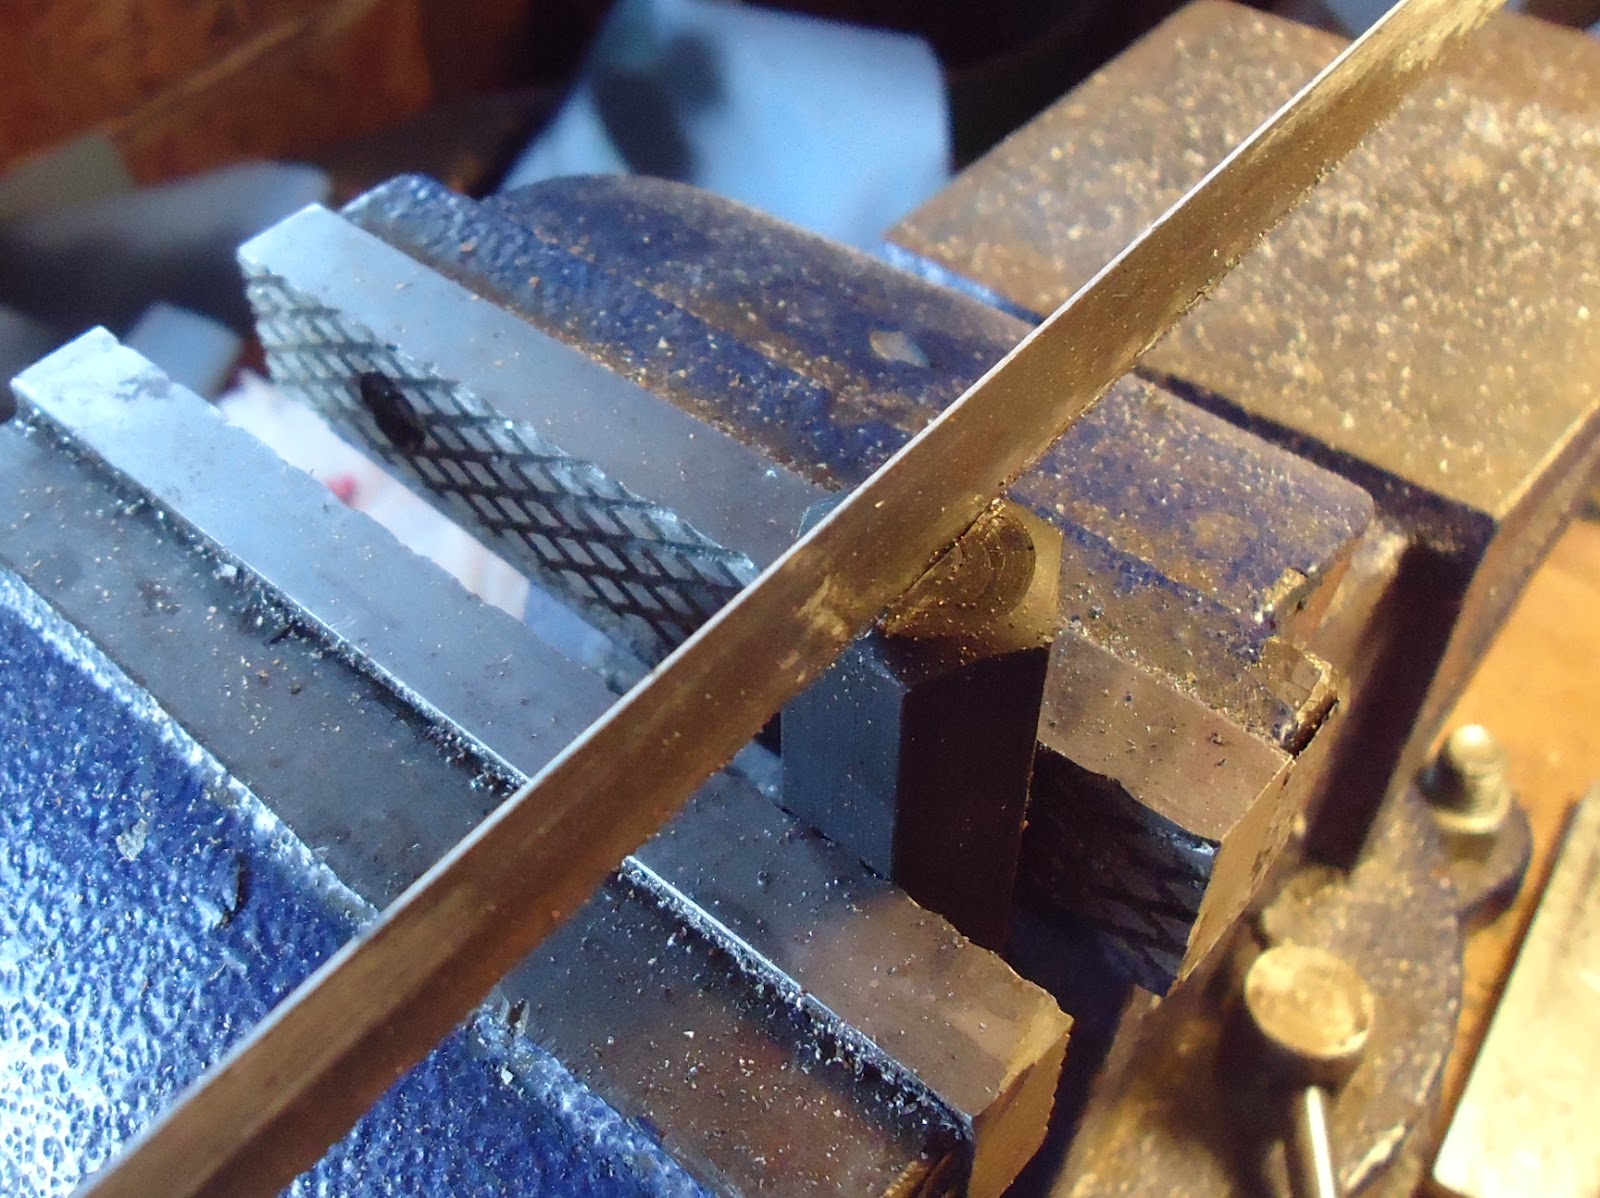
Pick out a new cotter pin.


Cut it to a useable length.


Drop the inboard pad on.


Install the outboard pad. Slide and turn.


Insert pin


Find hole.


Install and bend cotter pin.


Slide caliper onto rotor.


Align and install bolts.


Torque to 25 ft*lb.


Pump up the rear brakes and make sure they work.
 
Put up your tools.

Thursday, December 20, 2012

1500 1600 Vulcan Common Oil Leaks

This post is address the most common and generally easily fixed Vulcan 1500 and 1600 oil leaks. (Vulcan owners seem to take minor leaks more seriously than Shovelhead owners.)

Spark plug tubes. Front cylinder tube is on the left side and rear cylinder tube is on the right side. The camchains get stretched a bit and cut the sparkplug tubes or the tube o-ring seals may be cut. The oil runs out the rain water drain of the tube. The tubes can be replace or repaired with JB Weld or similar. More on camchains extenders and sparkplug tubes; here, here, and here.

The next two pictures were sent to me when I was trying troubleshoot the leaks for other folks.

This is how a rear leaking sparkplug tube looks.


This is how a front leaking sparkplug tube looks. The white stuff is spray deodorant to help track down the leak.


The rear cylinder drain hole is easy to see. Here how to get a good look at the front one.


Camseals. The little black circles have covered by the chrome rocker covers. The front cylinder plug is on the left side and rear cylinder plug is on the right side.The dealer will want to plug the motor to fix this leak. However many people report good results by cleaning the area real well with brake cleaner(careful around paint) and then filling the gap around the camplug with black RTV silicon.

Rear camplug.


Front camplug.


Clutch pushrod seal. This usually manifests itself as leak dripping off the kickstand mount. This how I fixed mine.


Sunday, July 29, 2012

Kawasaki Gas Cap Key


So I use a Harley style key switch on the my Vulcan and then I don't always have my Kawasaki key with me. This is a problem, because at least twice I have gotten out somewhere and not been able to open my gas cap. I decided to fix that. It's not a new idea, but I was having trouble pulling off and with being too kitschy.

Start with a fresh key copy and paint it with dye chem.


Mark it in place.


A second mark for about the height of the knob.


Cut it.


Not a good picture.


Here's my knob. I wanted hex stock and simplest way to get it was a cheap set of jumbo hex L-keys  for about $10. I will use just a little bit of this wrench and still basically have the full set of L-keys if I actually need them.


Start a nice straight groove with a hacksaw.


Do the rest of the work with a cut-off wheel.


Fit it up and check it out.


Once I like the fit, it's time for J-B Weld.


Stuck now.


Cut off what I need.


Sand things down and clean it up. I'll paint it black of course.


It works, but I may try again. It sits a little high and I think I would do a lot more fitting on the bike to get it to sit nice and tight to the cap.


Saturday, July 28, 2012

Kawasaki Vulcan 1500 / 1600 Radiator Cap Pressure Check

I was having problems with the coolant system on my 1500 Vulcan Classic. It boiled over on me twice, so I want to figure out what the problem was. My friend Hotsauce and I had it running in the garage long enough that antifreeze began filling the overflow tank, but the fan just wouldn't quite come on. We figured it was the fan or fan switch. Before that test I had been concerned that I may have had a leaky head gasket and I had already ordered the pressure test equipment to check the radiator cap and system. So the equipment arrived and I decided I would do those checks just to put every possible coolant issue to bed. Here's the equipment I bought. A Mityvac MV4560 about $50 and that seemed a lot better than a $200 testing set-up.


First thing to do is find the cap and system pressure rating from the manual 14 to 18 psi and 18 psi.


Now to test the cap. Uh-oh, it doesn't hold an ounce of pressure.


Off to the auto parts store. Guy Mobbley of Sherm's Cycle Products had told me that a cap for an Asian car will fit and there's not a need to order a Kawasaki cap. (If you need anything that Sherm's sells please spend money with him. I always try to. Heck of a guy that Guy.)

Here's a cap for a 1996 Honda Accord.


Looks about the same and is rated the same.


And it actually holds pressure.


Now to check the system. The deep neck is the one you need, not the shallow neck, trust me.


Put it on the filler neck of the radiator.


Awesome! The system holds pressure. (Don't check it higher than the rated pressure.)


Surprisingly when I released the pressure it sucked antifreeze back up the tube. It drained back into radiator when I cracked open the adapter cap.


So now to put the good new cap on. Guy had said something about needing cut the tab of off the car cap, but I had hoped I would be lucky. Nope. It doesn't quite close all the way with the bleeder screw in the way.


Cutting time.


File down all the sharp edges.


Like a glove...


The best part is that I don't have a blown headgasket and I when I fired it up and got the motor hot again the fan worked perfectly. I can only guess the coolant boiled out before it got hot enough to kick on the fan without being under pressure.