

Check this out, Keenserts or something similar for the headbolts.

New S&S cylinders and pistons, too.

The pistons are already fitted to the cylinders.


Getting everything ready and lined up on the bench.


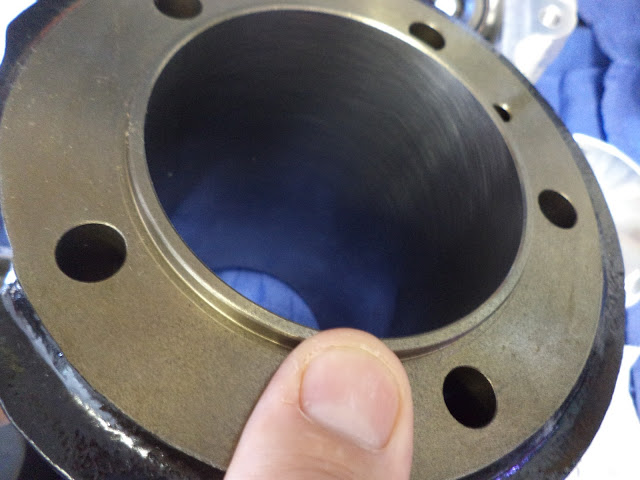
Check out the beautiful crosshatching.
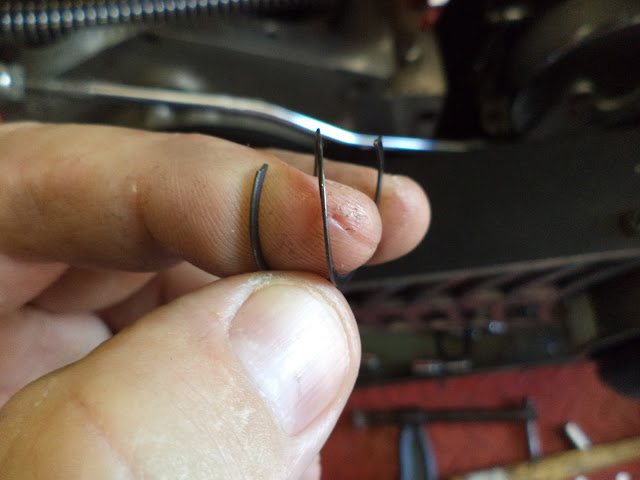
Here are the rings. The top one has the chrome edge.

Both rings have a dot to face up.

Put one ring into the cylinder.

Use the piston to make sure the ring is square.

Check the ring gap with a feeler gauge. The rule of thumb is 0.004 inch gap minimum for every inch of bore. That's 3 5/8 X 0.004 = 0.0145 inch. We actually tried to get 0.018 inch gap. Of course it was too tight to start with.

So we worked it over.

Then checked and then reworked until it was good to go. We did this for all 4 rings for each cylinder.

Pull the spiral wrist pin keeper. We had planned on using teflon buttons, but we managed to not get any in hand in time.
Assembly lube and the wrist pin goes through the piston and wrist pin bushing in the rod.

Work the wrist pin keepers into place.

Get both pistons on and all four wrist pin keepers in place.

Oil down the pistons real well.

Expander ring goes in first. Gap to the back.

Oil ring rails go in with the gaps offset toward the back. (Gaps at my thumb and fore finger.)

Second and top rings go in with gaps offset to the front. (Gaps at my thumb and fore finger.)
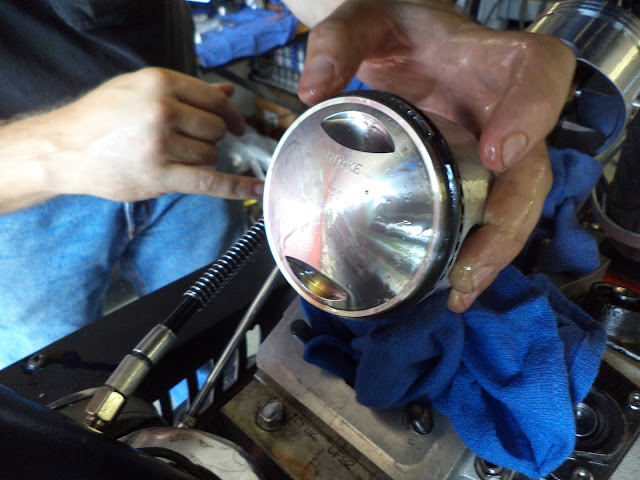
Front rings go on the same way.


Base gasket time. S&S did the poka-yoke on these gasket by printing CYL SIDE on them. Otherwise just make sure the hole in the gasket lines up with the oil return hole in the case.

We're going to use copper head gaskets this time. They need to be coated with Gasgacinch sealant and that needs a bit of time to dry. So do this now.

Compress the rings.

Install the cylinder and remove ring compressor.


This is interesting. For a big bore engine you need these funny nuts for the base nuts. The Colony version is taller(right) than the S&S version.

The S&S head bolt hardware is a bit different, too. The S&S washers have a chamfer on one side.

The chamfer goes toward the head of the head bolt like this.

This rear cylinder right rear head bolt needs to be put in before you put the base nut on. Trust me. Lightly seat all the base nuts at this time.

Oil the inside of the cylinder real well for start up purpose.

You the ring compressor and install the front piston into the front cylinder.


This front cylinder right front head bolt needs to be put in before you put the base nut on. Trust me. Lightly seat all the base nuts at this time.

Head gaskets. There is poka-yoke on these gaskets so be sure the hole in the gasket is lined up with the hole in the cylinder.


Now on to getting the rocker boxes onto the heads.
Isn't this interesting.

Yes. The valve has kissed this one here a bit.

Dremel out some clearance.

Should be enough.

Another kiss spot here.

More clearance now, Clarence.

Thoroughly wash out all the aluminum chips.

Blow dry.

The rockerbox hardware for the S&S heads is different, too. Instead of studs and nuts, the S&S set-up uses standard bolts. You can at least pull the front rocker without pulling the head with the engine still in the frame, maybe the rear, too.

The use of bolts means you have to build the rockerboxes and heads upside down.


Flip.

Long and short bolts.

Short ones go here. Long ones go everywhere else.


Criss-cross pattern to 20 ft*lbs torque.

Drop the heads onto the cylinders.

A 12 point universal socket really helps run these headbolts down, but just barely tight for now.

With both heads mostly attached...

Check fit the intake.

Now tighten the bolts. I'm going with the tried and true calibrated elbow method and not a torque wrench. Torque adaptor, 3/8 to 1/2 drive adaptor, and a big 1/2 inch breakover. Go evenly and progressively on every other bolt around the cylinder. 5 bolts per head means you'll get the ones you skipped next time around. When you feel the bar want to bend instead of turn then it's good.

This is the trick to intake O-ring installation. Put them on here like this.

Lube up the O-rings and the O-ring grooves with petroleum jelly.
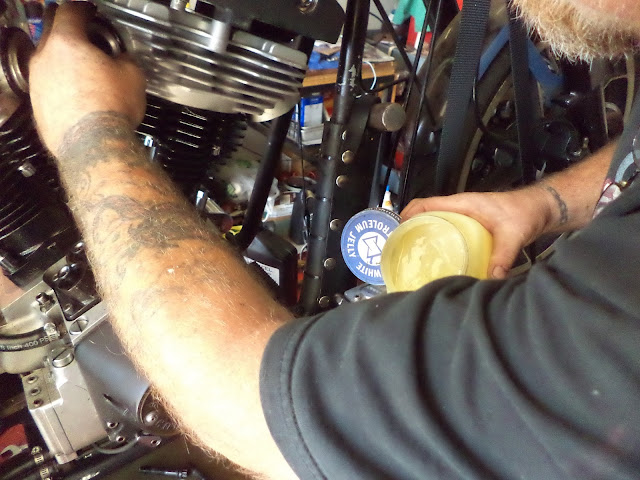
Lube up the clamps with petroleum jelly.

Hold the intake in place and roll the O-rings home.

Have someone hold the intake in place and slip the clamps on.

Put the pinch bolt of the rear clamp toward the left side of the engine and the pinch bolt of the front clamp toward the right side of the engine. More on why later. Tighten both clamps.

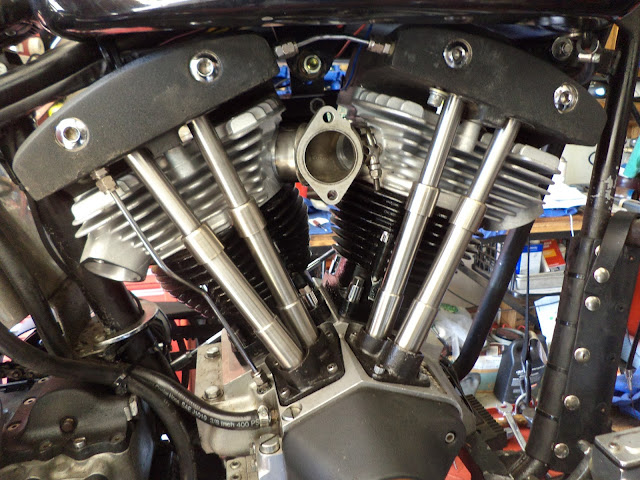
Install the pushrods and pushrod tubes.
I took a picture of my jets for future reference. Turns out the 70 main is too lean for a stroker per S&S guidelines.
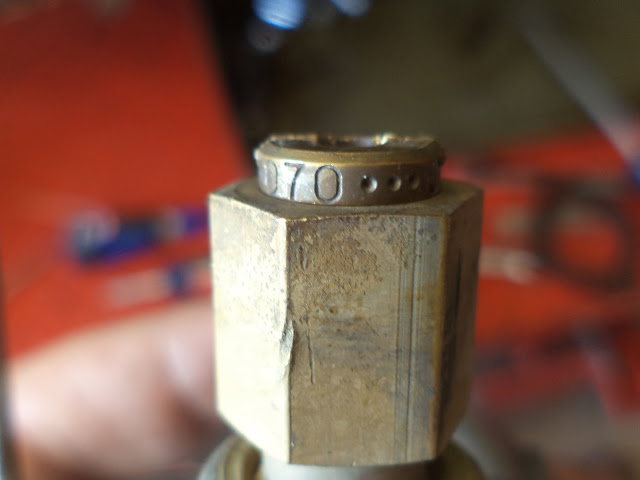
And a 31 intermediate is at the lean end for stroker. I can fix both of those easy enough later though.

Bolt the carb to the intake.
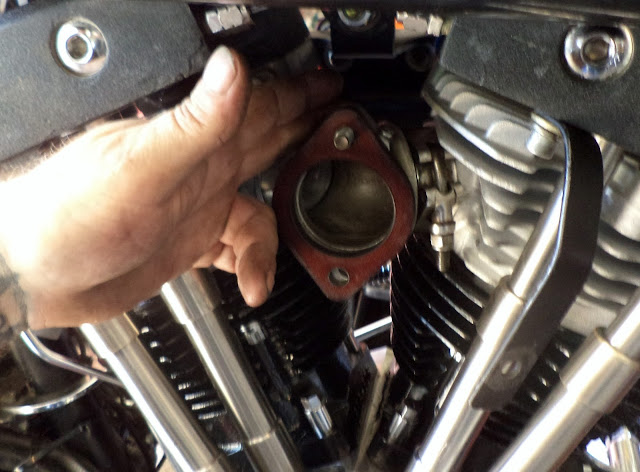

See, you wanted that pinch bolt away from the throttle cables.

This side doesn't matter though.

Looking good.

Loosen adjuster, install, and re-adjust throttle cables.

The pipes don't want to fit into there new home.

Tighten, worry the pipe, tighten, and you can get there.


The front was worse. It needed some shaving to fit.

It's a bike again.

Hear it run. Ed says I shouldn't have blimped the throttle like that. Oops, too late. (Sorry Columbus shot the video sideways.)
This fender is more jacked up than ever. Too many four men pick ups into a pick-up bed have taken their toll, but I guess it matches the tank.


EXCELLENT write up!
ReplyDelete