I have the tank off already so now I can get down to business. Four bolts hold this cover.

Disconnect the vacuum line that operates the butterflies.

Three bolts hold the hypercharger on the Thunder Mfg adapter plate and backing plate.

Here's the trick to the situation. Thunder Mfg makes several airboxes for 1500 Vulcan. The backing plate on the right works for most of those. The adapter plate on the left lets you mount a Kuryakyn Hyper charger to the thunder stuff. That plate has three holes are the same a Harley Keihin CV40. So if you have these parts, you can easily add any HD airbox to a 1500 Vulcan.

So my plan is to run an airbox that most folks haven't ever seen on 1500 Vulcan. So I picked up this little Mooneyes number from LowBrow Customs.

It has holes for either a CV or Super E. It's a little confusing so once I found the holes that lined up, I marked them.


I had read one review on this airbox that said the holes needed to be countersunk to fit the filter. But the filter sits on the stand off and works fine with socket bolts I already had.

This should work just fine.

This is the only part of the set-up that I found a bit chintzy. The screw for the cover goes through a clip-on nut. I decided to run the screw through without the cover and filter just once to help it fit the threads. The only good thing about the clip-on nut is that replacements(if needed) are readily available.

Altogether now. It will clear the tank just fine, but I think the backing plate and adapter plate will get some black powdercoat.

Now pull the whole mess to get at the carburetor.

The plate was still attached to the crankcase breather, too.

Undo the choke cable and loosen the clamp on the intake boot, so the carb can swing out a bit.
This is a carb warmer, maybe the silliest idea that Kawasaki ever can up with. A heat exchanger to help with the cold idle. By the time the antifreeze is warm, you shouldn't need the carb warmed, too.

That's the tiny surface area that gets warmed.
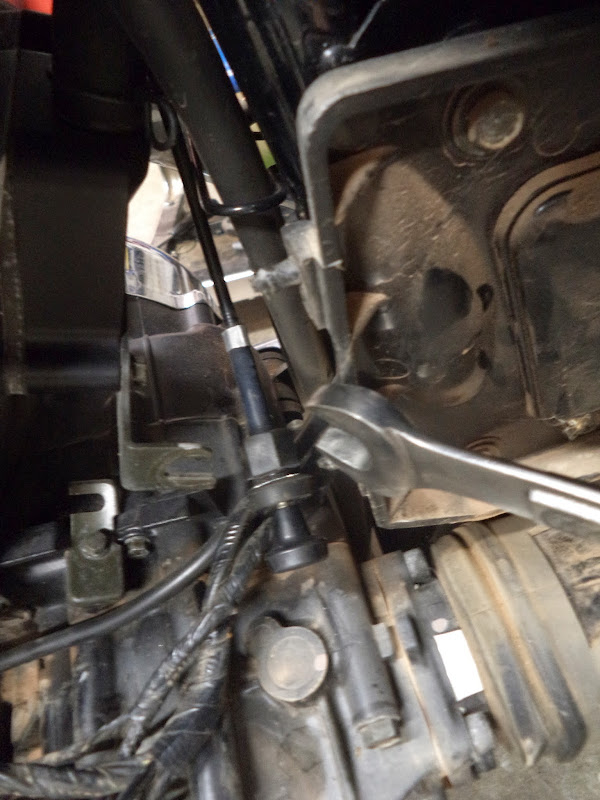
Time bypass that. Here's the bottom hose to the carb warmer.

I pulled the hose, but forgot the last time I did this the engine coolant was already drained. I needed a helper to plug the hole.

I put the hose, with a plug, back on to stop the flow.

Off with the carb bowl. The bowl was clean so I don't think I'll need to really soak and clean the carb. As far as the jets go. 170 main and 45(stock) pilot as I suspected.


So I'll go with the 46 I picked up. Remember Harley CV idle jets fit just fine.

Let's see what needle is in here.

Yep, the adjustable kind.

We want go back to stock here. N2PY

Luckily Nate had donated the correct needle to my jet box already.

On to the rest of the wrong stuff. This is the cold air intake for REED Valves. The hypercharger instruction say plug this. Which effectively eliminates the whole system.

Might as well get rid of the system if you're not going to use it.

Coasters!

Don't forget the choke cable bracket.

Coasters installed on to other things.
Go ahead and drain the anti-freeze. I was thinking about just capping the carb warmer nipples. But I don't have caps on hand and Lummie can weld them up about as fast I will have everything else ready to put back together. Oh yeah, I'm sure this is 12 year old anti-freeze, too.

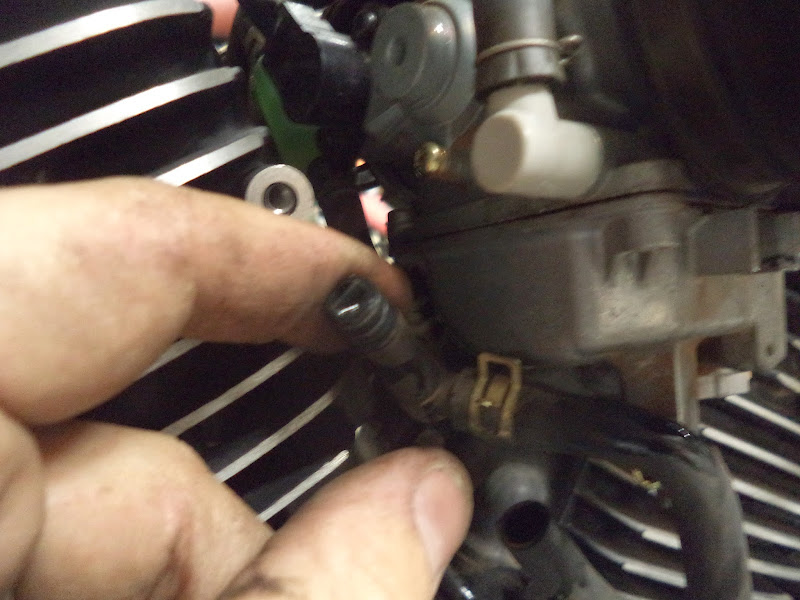
Here's the top carb warmer pipe. It goes to the top of the front head, pull the bolt that holds it.

There's a hidden bolt that holds the lower carb warmer pipe, too.

Pretty much the whole job. Make sure I get the carb air screw to 1 1/2 turns out, put things back together and refill the anti-freeze and it will run again better than new. I need to flush the brake lines, replace the tires and swap the tins and it should be ready to ride in public.
No comments:
Post a Comment