Search

Search all blog posts here.

Search This Blog

Monday, February 21, 2011

Oklahoma City Motorcycle Show

Put the all bikes in the local show, just because. It was fun, and I met a few new people in between chasing my sons and telling not to touch anything.


The Kawasaki "J*Panhead" took third in the Asian bobber class. I'm curious as to how many others were in the class, but the winner was 450 Hardtailed Honda, and it was cool.


The Trail 90 took second in the 300cc and under Asian class. 1st went to a '68 Rokon Trailbreaker.


The Shovelhead "Mama Tried" didn't place, but the Custom Shovelhead class was stacked, and I bet mine was the only one rode into and home from the show. Check out that stupidity in the background, my pile of parts to build "Mama Tried" barely cost more than just the wheel and tire on that geezerglide.


Sunday, February 13, 2011

Wire a Harley or Thunder switch on a Vulcan correctly

This is the original wiring guide for the Thunder Mfg switch which is basically a HD softail switch (there even a how to do it on the cheap.)


DO NOT WIRE YOUR SWITCH THIS WAY!

Here's why.

This is how the stock switch works. Tail1 and Tail2 connect to each other in the ON position not the directly to the Battery(12V+ White Fuse at 30Amp).


Then a plug switches the Blue to Red/Blue and it goes to the fusebox. The Red goes straight the taillight bulb.

The Red/Blue(Blue) wire should be fused(10Amp) and feed the taillight.


So if you wire it like the original Thunder diagram, then white wire will feed the red tail light without the 10Amp fuse for it. Yes, the stock park position works that way, but you're not bouncing down the road in that position.

So if you use a switch a Harley/Thunder switch, then just permanently connect the Red/Blue(Blue) to the Red. The taillight will work fine. You won't have a park position, but you will have a taillight fuse.


Also that resistor on the Gray wire is very important, too.

100 ohm Radio Shack P/N 271-1108 (Card of five).

Saturday, February 5, 2011

Fixing the Vulcan headlight

The Vulcan's headlight is rubbermounted. I'm not sure if the stock style tube covers and stock turnsignals keep it tight normally or what, but this thing is too loose now. The headlight hits the top tree when you hit a bump now. I'm working to the assumption that the memphis shades windshield hardware has kept it tight, too. I haven't really run with the windshield until now.


So I put the windshield hardware in place and sure enough it's nice and tight and won't slap the tree every speed bump.


I'm not wanting a windshield now, but I want to have the option in the future, but these tabs are ugly.


Score! I got this brand new set of windshield hardware for $30 deliveried from eBay.

I had a machinist friend remove the tabs.


I originally had to modify the windshield hardware to work with the lightbar so I'll have to figure out how much I took off the plates.


Another look at the difference between the original tabbed bracket and the tab-less version.


Tranfer the width to the new piece.


Remove this much.


Dremel time.

Use all the PPE for this job. Ear plugs, safety glasses, and gloves.


The newly modified stuff fits and the headlight is tight.


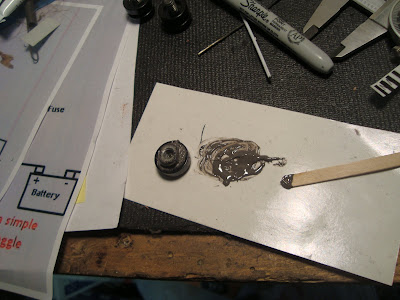
The "nuts" in the cross piece are a real pain. Making swapping these parts a challenge that would require three hands so Bierkan suggested JB Welding those in place. Good call. "Mix equal parts on a disposable surface."


The sent the pieces to the powder coater. Satin Black.


Installed. Looking good with no shaking, tree slapping, and no tabs.


Ceramic Coated Dragpipes

Obviously the high heat paint I used didn't work. The primer stayed put, but the paint came off go figure.


So I sent the pipes out to be ceramic coated. The inside and outside were cermanic coated. The coater said don't clean them hot or it will thermal shock them and the stuff will come off. Also clean them with brake cleaner.


Put the front pipe on. Hang the rear support and come up to the exhaust port.


There are other ways to get a good seal, but the gasket and high temp black silicon has worked so far for me.


Tighten here.


Tighten there.


The rear head has an oversize heli-coil so the gasket needs oversized.


More silicon.


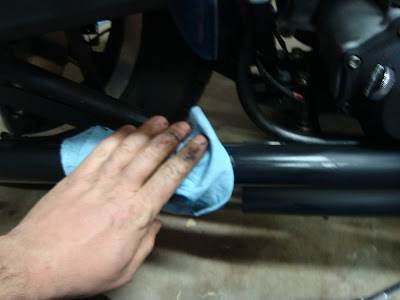
Now tighten the rear pipe and clean the silicon hand prints off the pipes with brake cleaner.


Oh yeah. Kick it off and listen to it run.


Oh poop, a push rod tube is still leaking. I just resealed those, but it didn't work.