Part 2:
Did I tell you Daniel has about every special tool for Harley? This is one of his boxes. It's a double bay with every drawer full of just specialty tools.

Daniel had already pulled the wristpin bushings and discover that the Truett & Osborn rods take a larger OD bushing than stock. So he had to get those directly from Truett & Osborn. So here he is installing the bushings with the proper tool. These bushing do not a have an oil hole in them. So instead of lining up the holes during the install, the holes will be match drilled after installation.
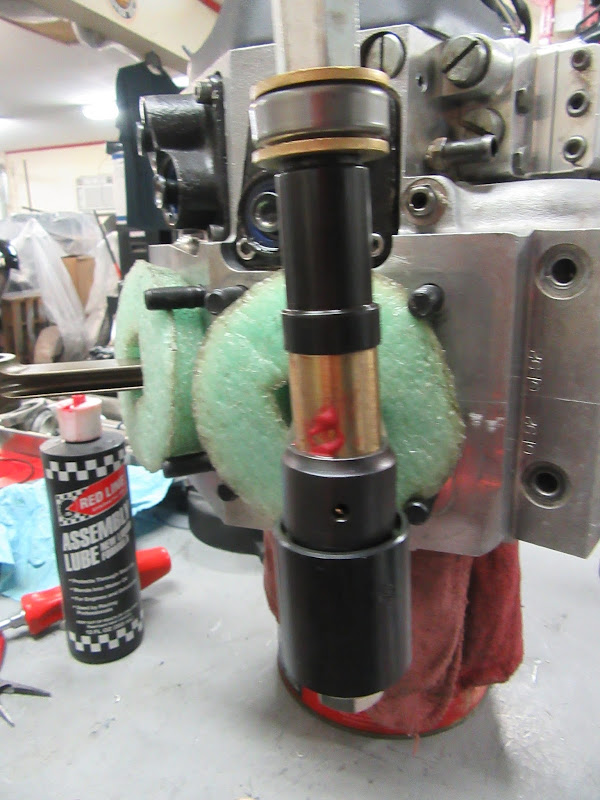
Presses right on in.

By the book you ream the bushings and then hone them to final fit.

These bushing were crazy tight and Daniel had pre-hone them just to get the reamer to start.

The fit with the ream was still too tight. Daniel says usually you can ream the bushing without supporting the rod. He said these were too tight and he didn't like the sideways force he was going to have to use on the rod. So back into the toolbox for another specialty tool. The two set screws on this support the rod while you ream.

It was still a lot tougher than it usually is.

Daniel is a man of extreme feats of strength.(more on that later)

Finally time to hone it to the finished size.

Looking good.

A little on wristpin fit.
Hindsight being what it is, the holes should have been drilled before the reaming and honing. The burrs got removed just fine with a little more work on the backside.

Finally time to make real progress today. All that work was progress, but things that were not planned for in the original timetable for sure. But there's always something.

Wristpin going in.

Keepers going in.

Oil up the rings and make sure the gaps are not aligned.
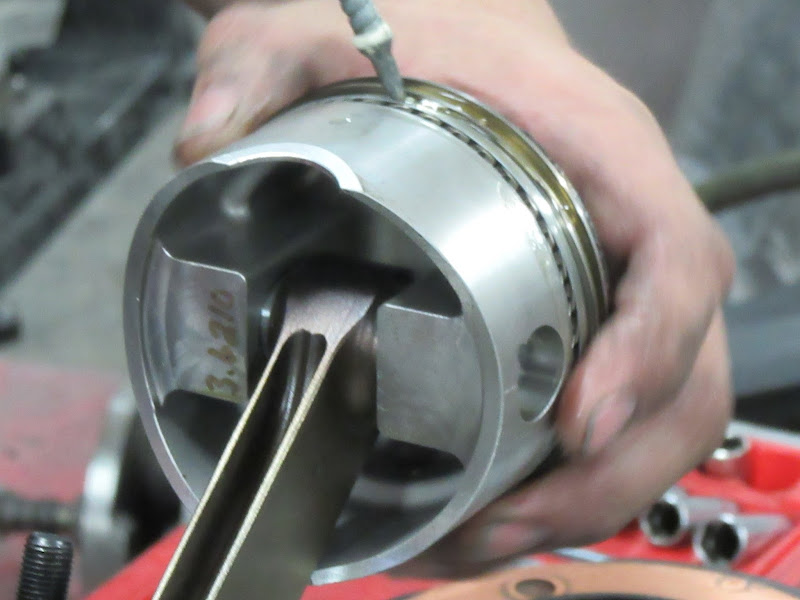
Daniel had the proper tool. I usually use a big hose clamp.

Jug going on. Notice his special ratcheting wrench that fits the crank. He used it to hold everything still while he fought the piston, rings, and jug. I would like to find a similar tool, but this one didn't have a mark on it and Daniel doesn't remember where he got it from.

Tool coming off.

On the stroker there is one headbolt on each cylinder that has to be slipped in before the base nut goes on.

Torque base nuts.

This is the front cylinder headbolt that goes in before the base nut.

Annealing my copper headgaskets for reuse.

He put the gasket sealant on both sides, but I was quick enough to get the pictures.

On with the heads!


Daniel torqued both heads to spec and pattern. I just missed another picture, either because I was talking too much or because he was working that quick. Something that Daniel didn't do, that I have always heard to do, is matching the intake to the heads before torqueing the heads down. In his experience when using S&S jugs, the heads will go to their happy place when torqued regardless of what you may try to adjust. You just need to make sure your intake fits properly. Stay tuned and we will finish this up.
No comments:
Post a Comment