
Basically you could easily do any 7 1/2 or 8 inch fender you wanted any of these ways.


I am wanting to keep a spot that could still hold a pillion or rack. So I want mine to look more like a hinged fender with the hinged section of the fender gone. Like these...


So here's my good fender, it's going in to the attic in case I want to run the stock sheetmetal later.

Here's my fender to get cut.(Man those colors are ugly.)

First I wanted to mock up my new light. I put my pillion on a sissy bar on to make sure it would all fit together. I'm not wanting to run either, but I have them and my four year old son may need those on to ride a little next spring.

Put I so tape on, not to save paint, but to be able to mark things.


First marks, for reference only.

Make sure everything is square and even. There are two holes for the stock tag mount and those will be our datums for everything.

Center marked.


Now to really mark the light's position.


Now to really mark the light's position.

The marks are wierd, because the chinese taillight bracket holes are wierd.

The light is placed. Now to cut the fender.

We found a nice reference point, where the fender flares to meet the struts.

With both sides marked, we ran a kite string across the fender.

Check that everthing is as even as possible.

Back off and make sure it looks right.

Mark the line along the string.

TAKE THE FENDER OFF THE BIKE OR THE REAR WHEEL OFF BEFORE YOU START CUTTING!
Put the cutting wheel on the angle grinder and get to it.

Cut to the outside of the line.

Cut to the outside of the line.
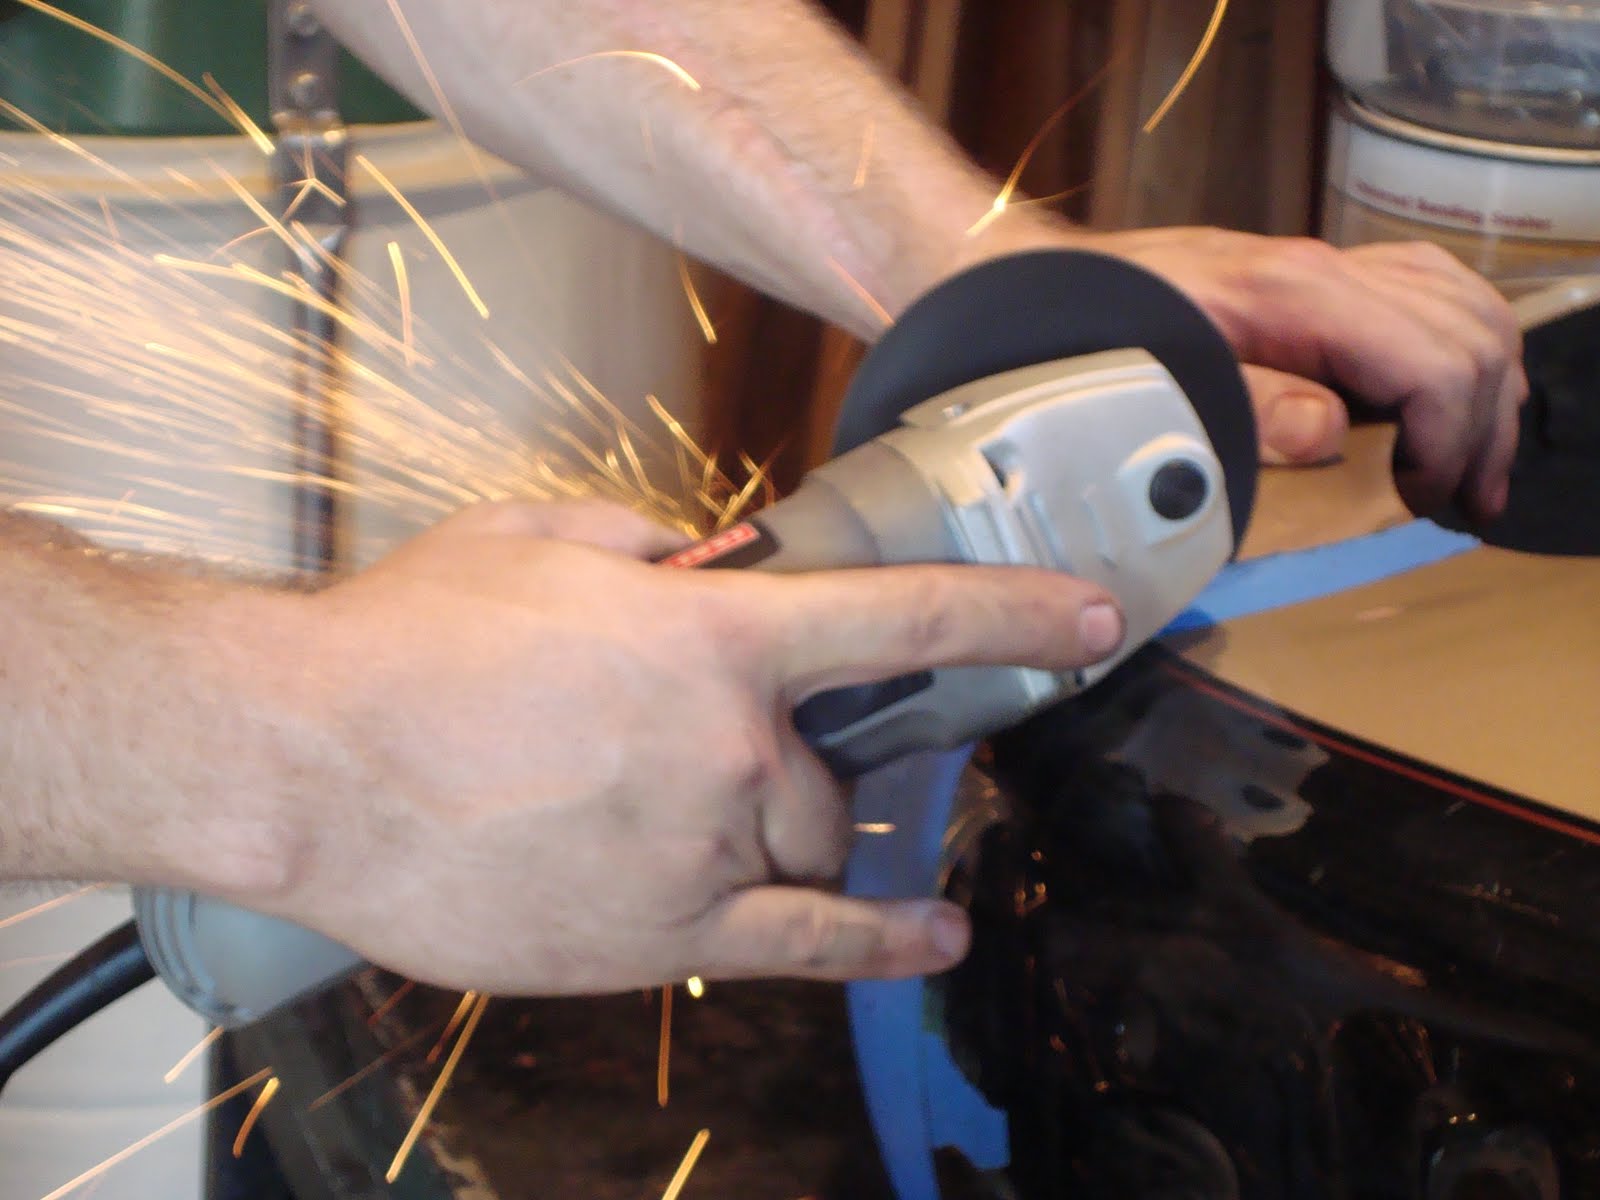

Almost there.

Now get the grinding wheel and finish it up.


Hammer these end edges flat.

Mock up the "new" fender.

I would normally say take the fender off before you drill holes, but with the bike on the jack the tire is a mile away from the area to be drilled.


Hammer these end edges flat.

Mock up the "new" fender.

I would normally say take the fender off before you drill holes, but with the bike on the jack the tire is a mile away from the area to be drilled.
Center punch my marks from earlier.

Uni-bit, just like OCC.

De-burr the holes.

Uni-bit, just like OCC.

De-burr the holes.

Bolt the taillight on, and some put some tape on to mark a hole for the wiring.

Mark the center again.

I have a grommet that needs a 1/2 inch hole, so centerpunch, drill, and deburr again.

Route the wires and put the grommet in.

Perfect! It's sitting a little high, because it's on a jack. I would put it down off of the jack, but the front end is still with the powdercoater.


No comments:
Post a Comment