
Here's the same thing on the side with the knob that's still good.

The way the knobs work is slick. A lock washer to hold the knob tight.

There's an e-clip on the inside keeping you from loosing the knob by accident, too.

Back to getting the rest of the frame bare. The two nuts for the coil.

Two wires for the brake light pedal switch go through the frame and need to unplugged from the main harness.

This 40 year old wrap is not flexible at all.

The wrap is all busted up, but as long as the switch is still good, then fresh shrink wrap will be better anyway.

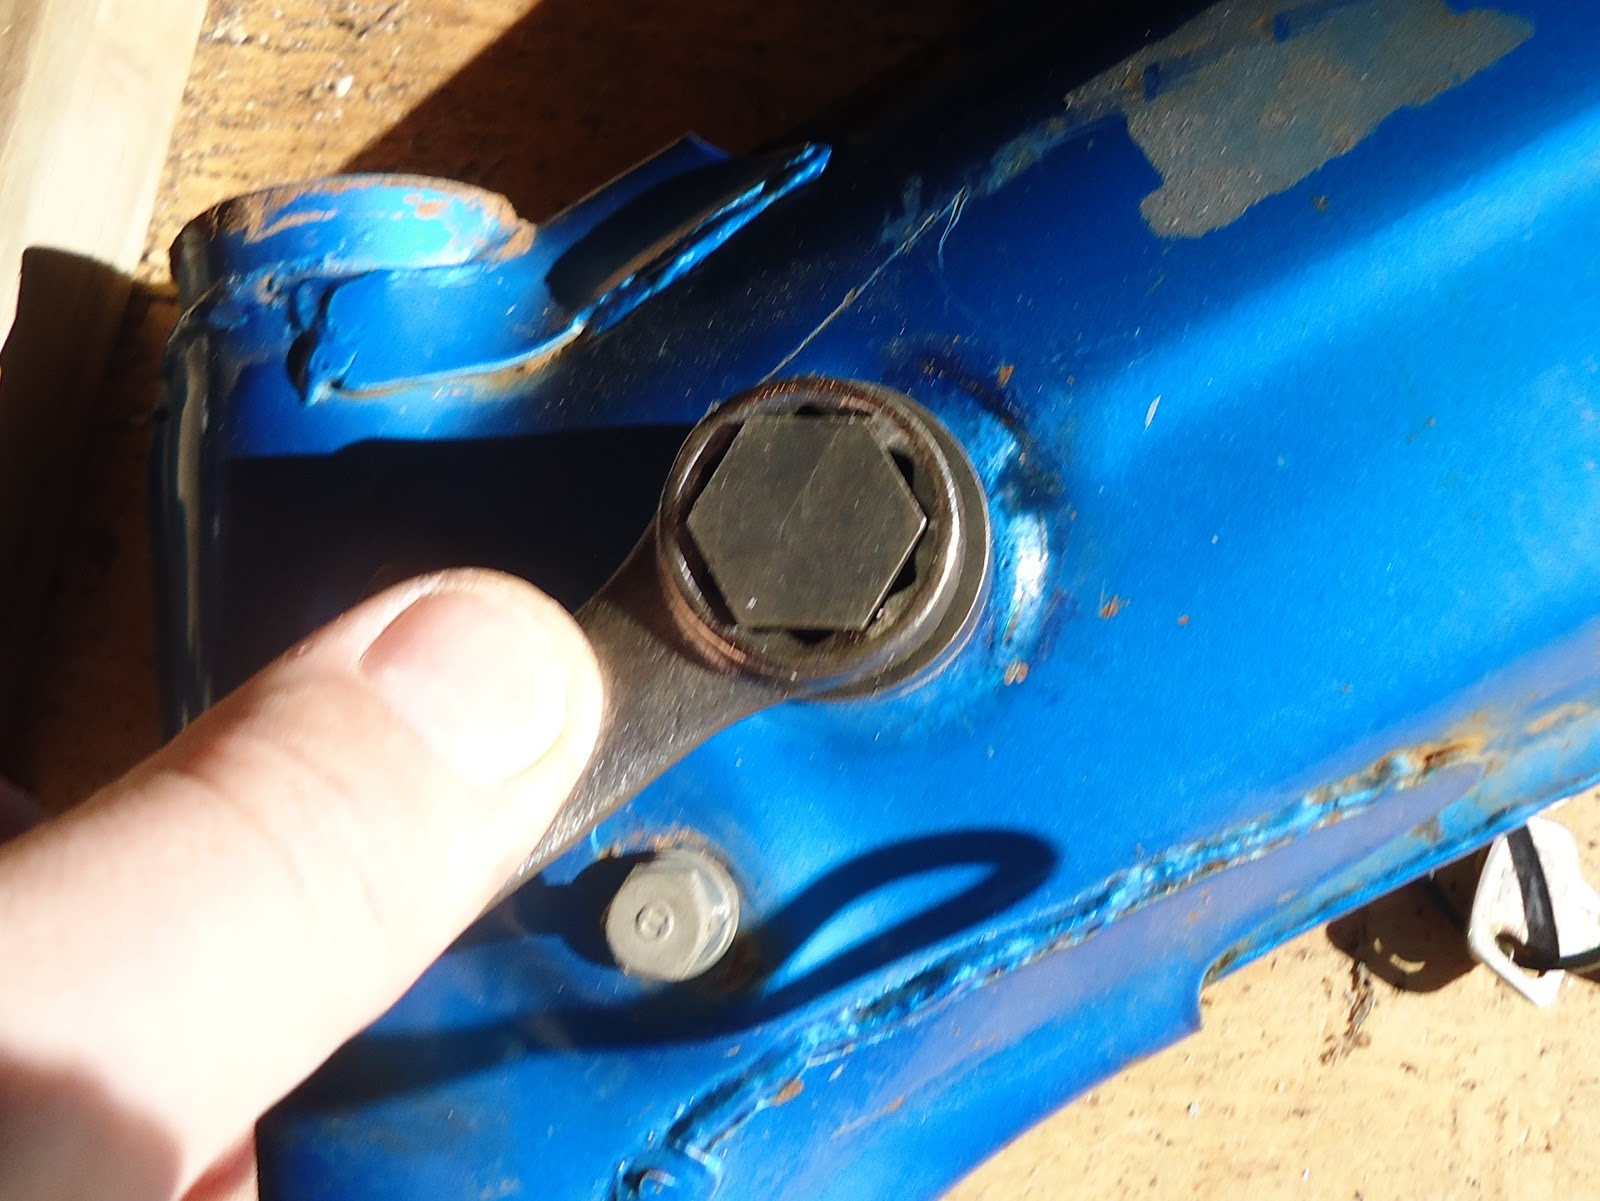
The key switch is all that is left holding the main harness to the frame.

Special socket again.
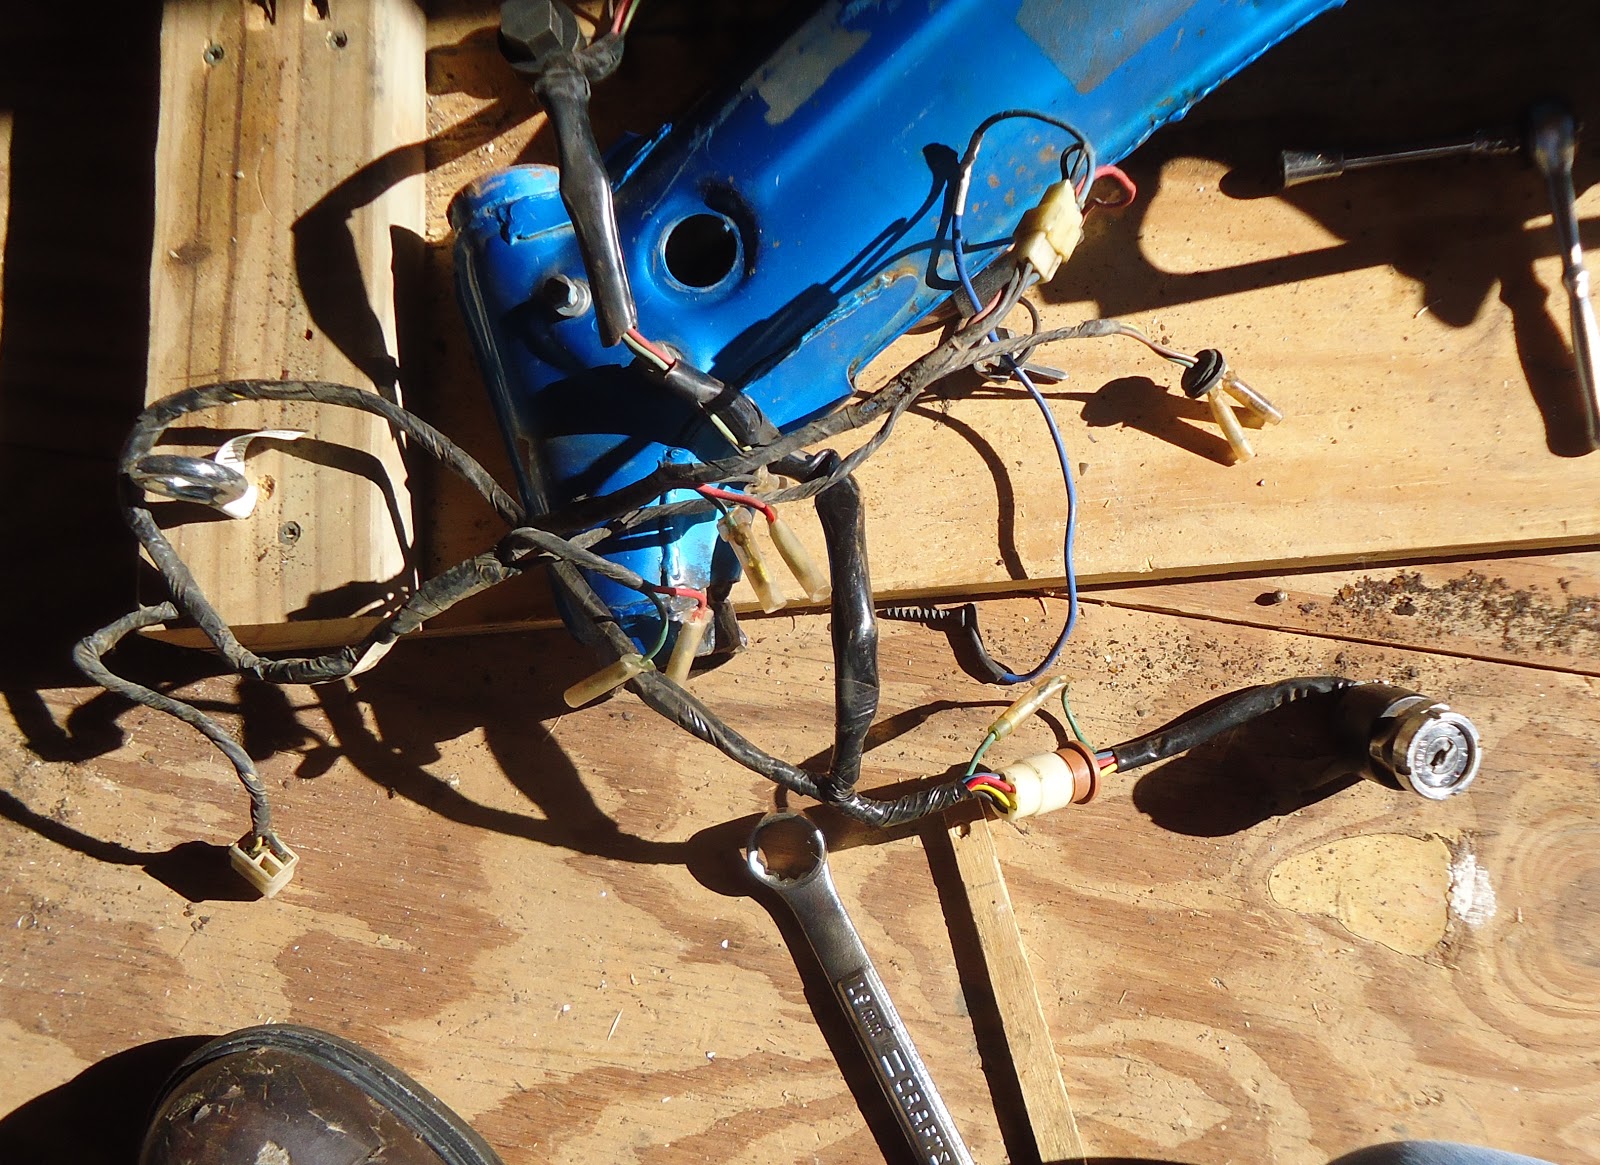
Main Harness is out.
Frame bolt pictures for memory sake


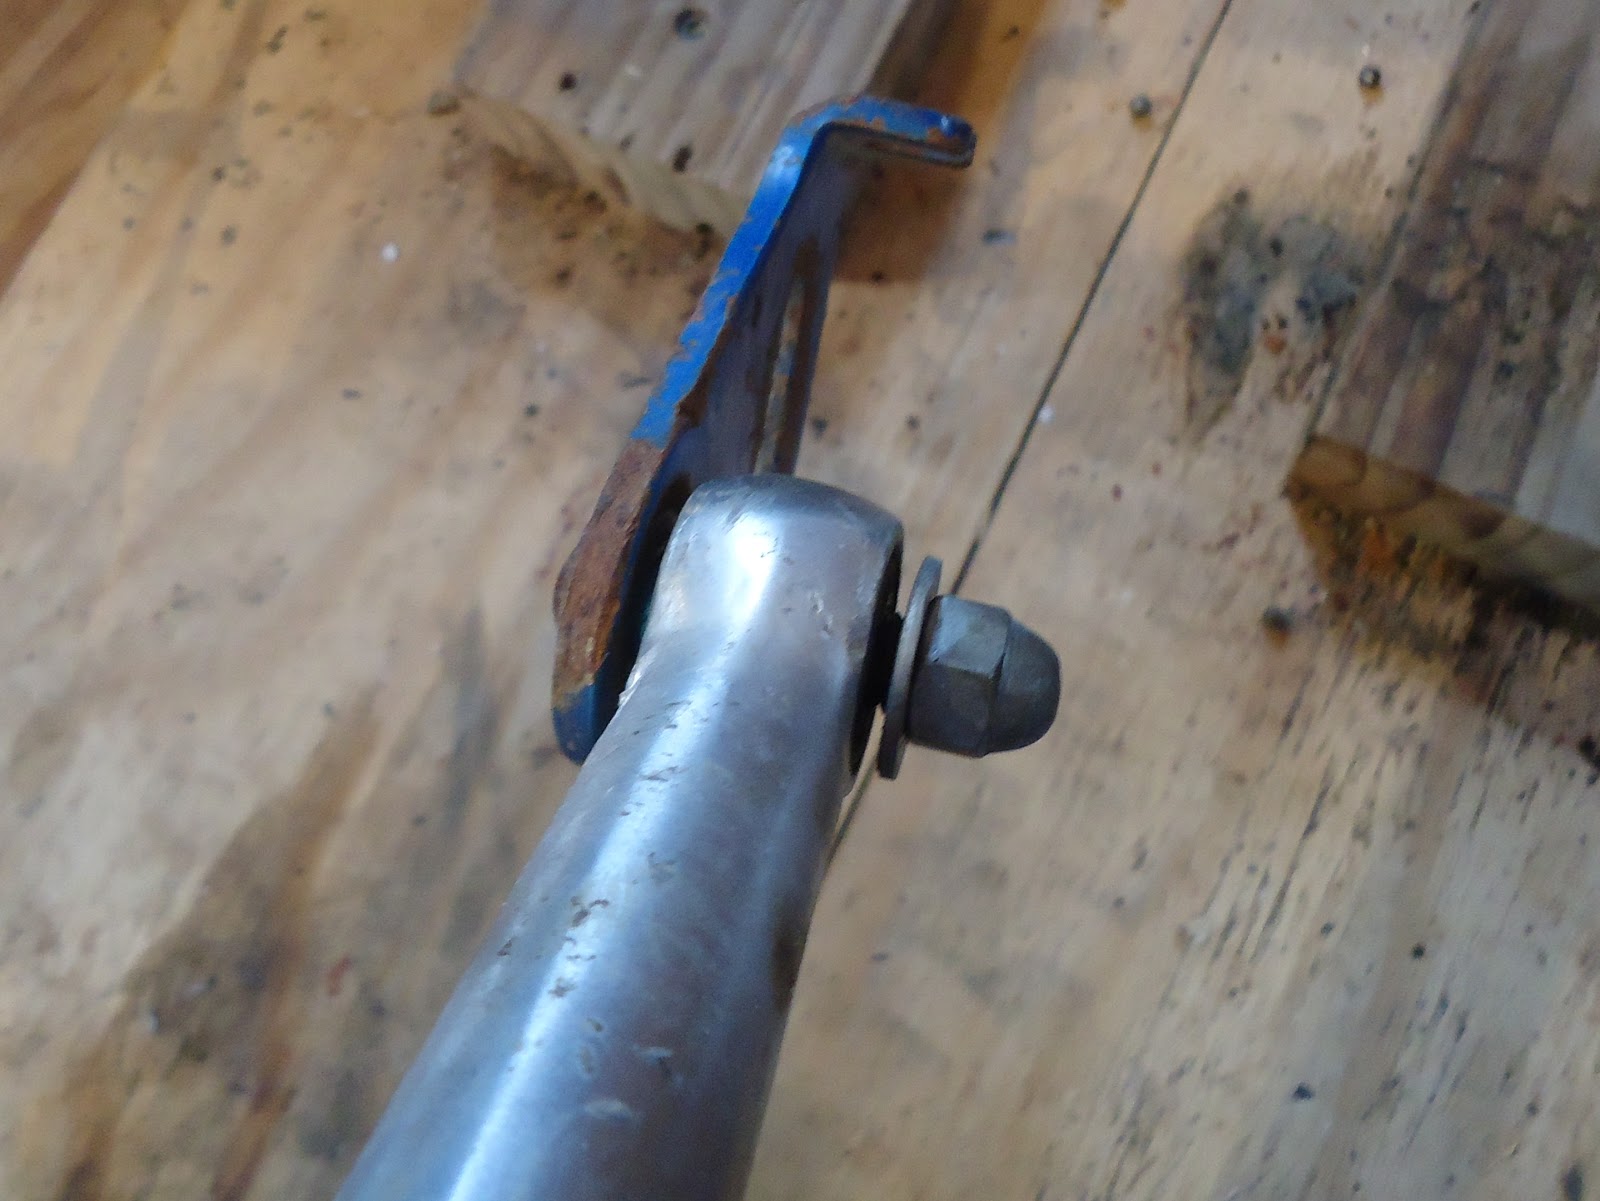
Right shock hardware.


Left shock still on, but coming off.

The left shock will meet the same fate as the right shock soon enough.

This seems odd to me. I would have figure that the swingarm would fall without the shock attached.

Okay once you break torque on the swingarm pivot bolt is does drop like a rock.

Swingarm pivot bolt coming out.
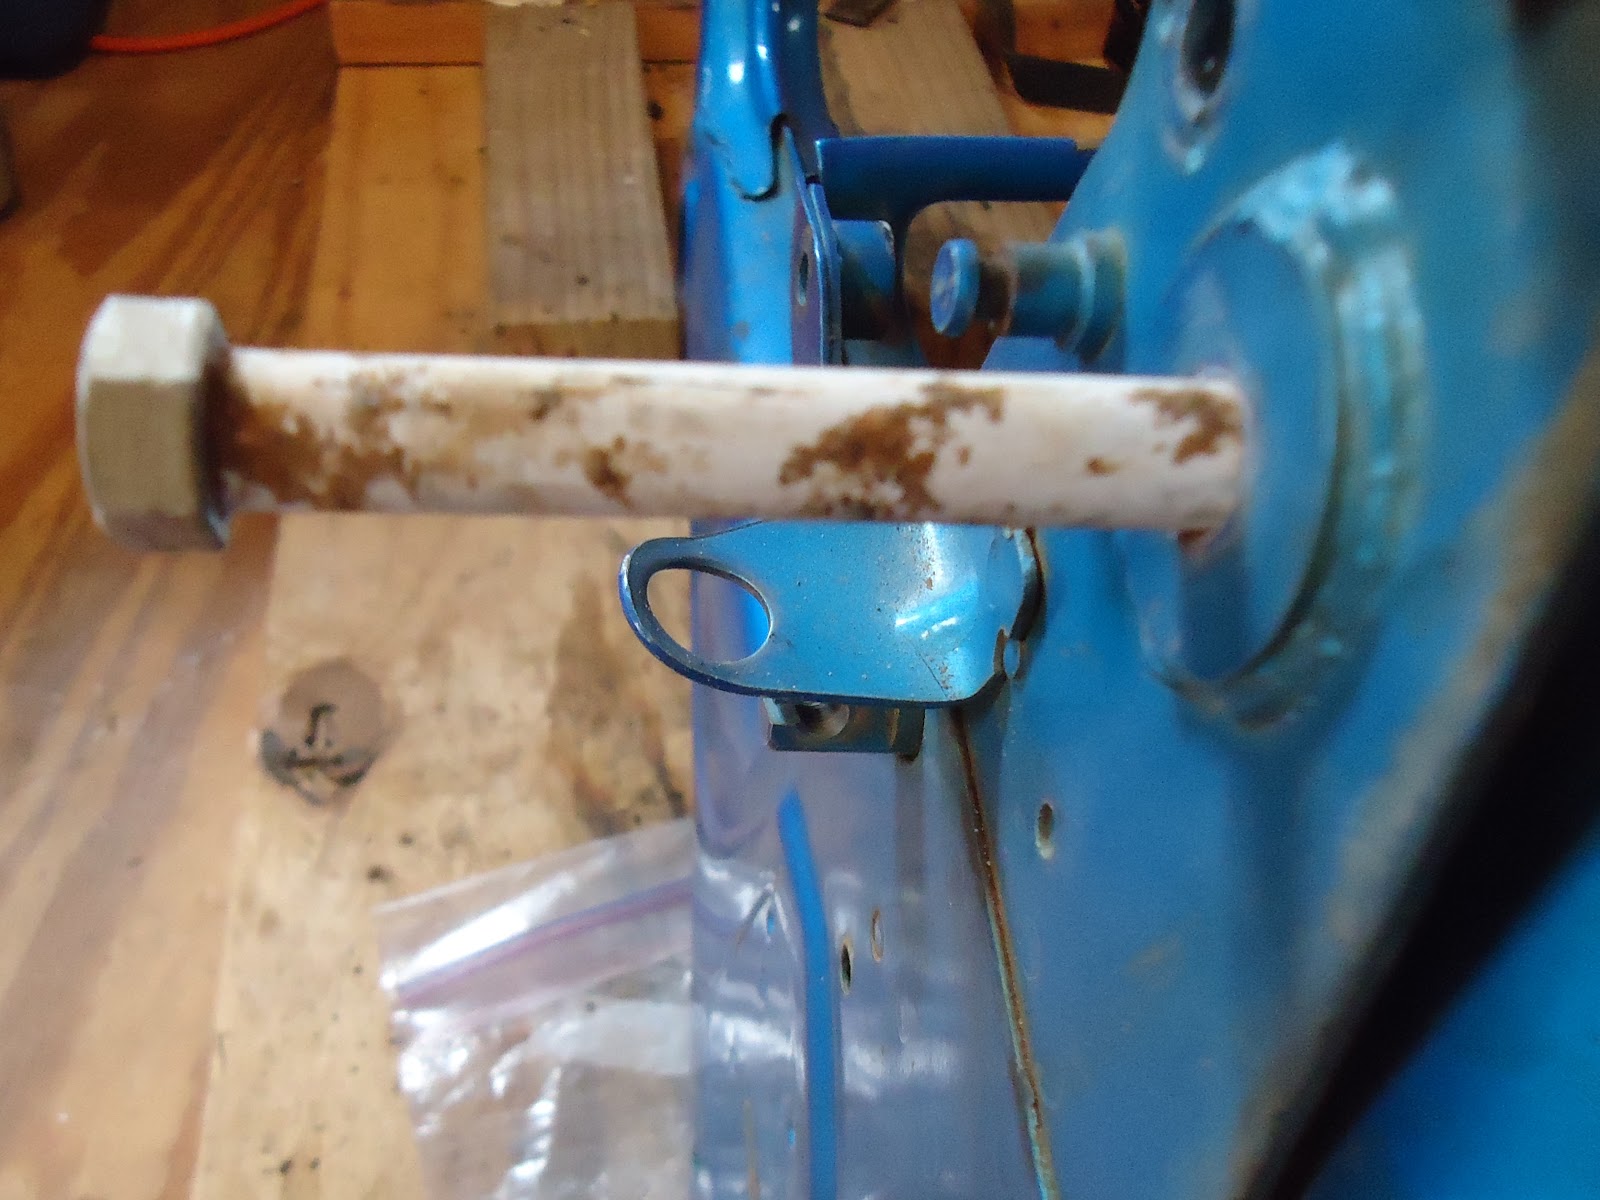
Swingarm on the ground.

Gas tank pads need to come out.

Just a tug and they come out.

I want to powdercoat the battery box so the regulator needs to come off.

I took the rubber pads out, too. This should be good to go.

Hold on. Does this thing need to ground through the battery box to work? Nah, it looks insulated for the frame.

I need to clean to pull the better internal throttle tube stuff of the right bar that I tore up the thread bung in. So the top set, needle and slide need to come of the throttle cable first. Push the spring down and work the cable end out.

The top set and boot slide off the cable next.
The throttle cable and horn wire run into and out of the bar through grommets. This gommet looks reuseable. Pull it off.

Pull the horn button wire out. I'll set the bar aside for now and go back to it when I get the set of bars off the red bike in a bit.

Save all this for later.

Bare frame, triple tree, and the DOM pipe. I'm going to take this over to a friends house and will build a new steering stop from the pipe and weld it to the frame.

Swingarm teardown. These buddy pegs are totally beat up.


This brake stay is kind of important. Cotter pin for safety sake.

Remember how that stacks up.

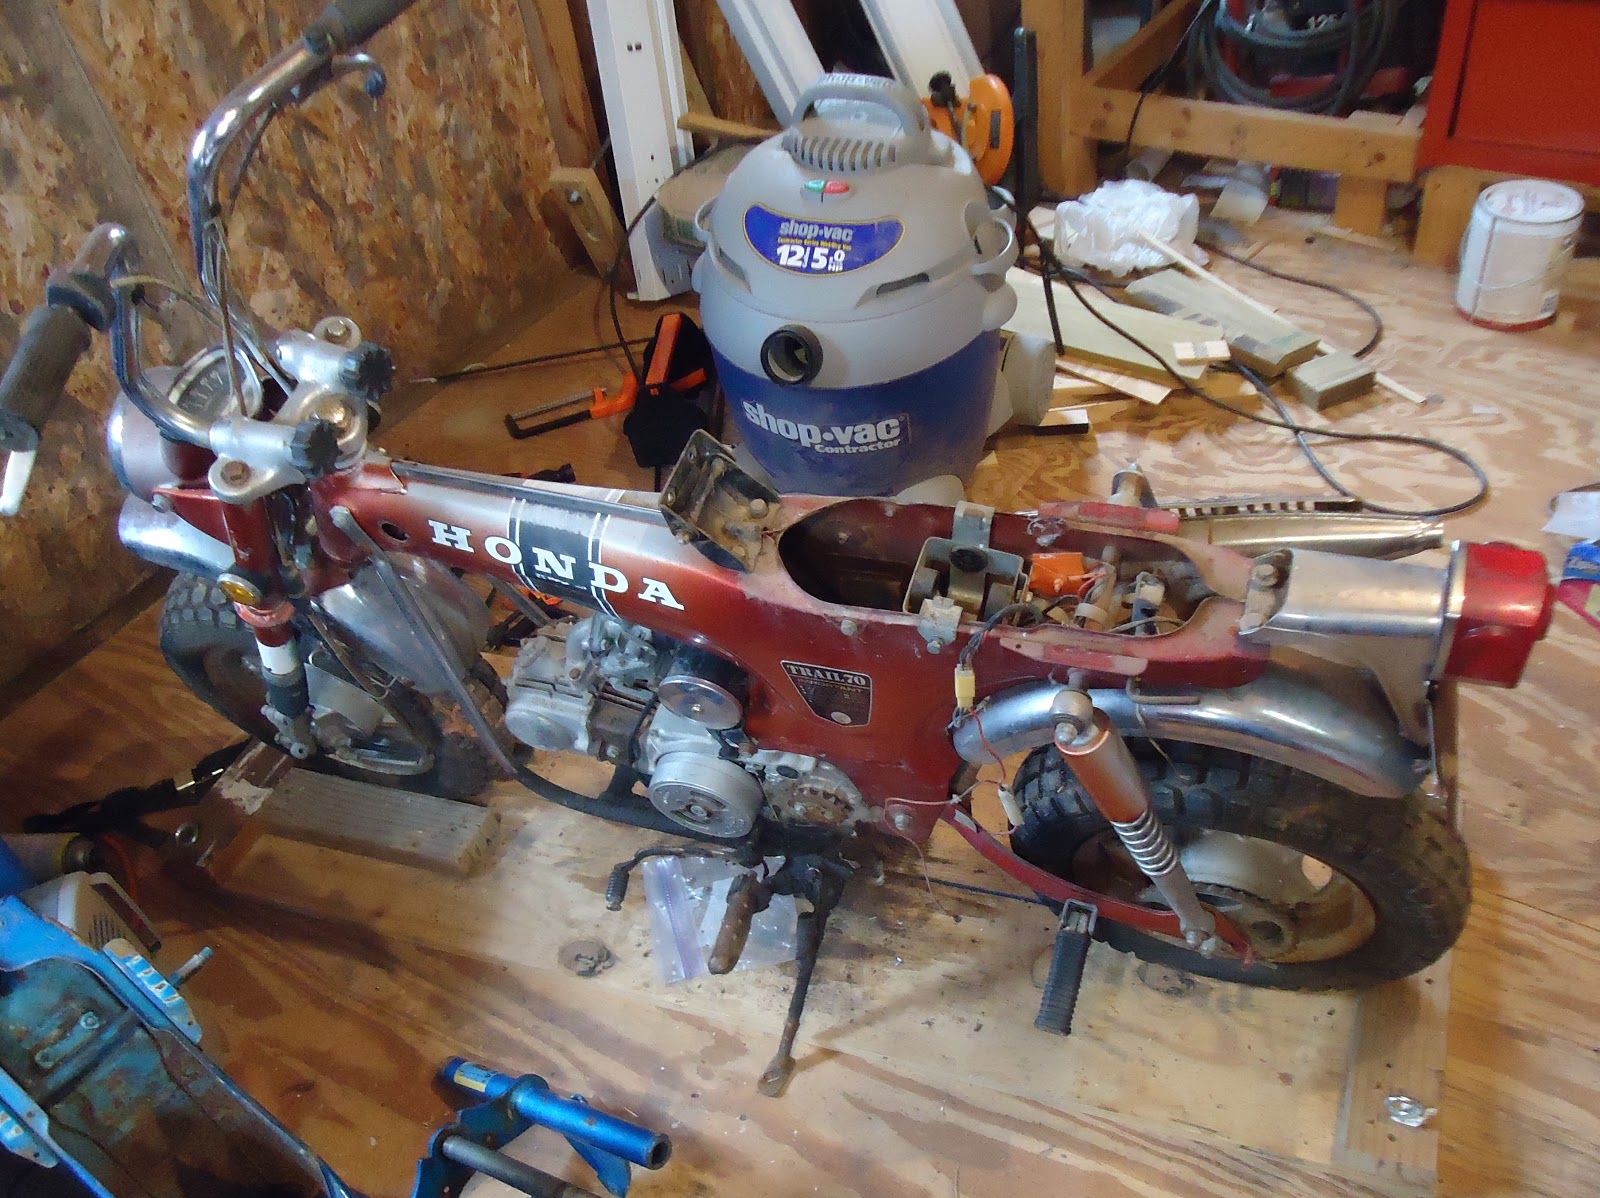
Time to seriously cannibalize the red bike. I hate to do it, but I have title for the blue one and I can always redo the red one later.
Man, I so wish these vintage reflectors still had some color. Look how nasty that 1971 tag is.

The tag and taillight holder on this bike is much straighter and still has a red lens compared to the one from the blue bike. I am going to make the head and tail light useable and pretty, but promptly remove them before I hand the bike over to my kid to drive. He can have those back when he's 14 and can legally ride this on the street. Anyhow a bolt, sleeve, and grommet here to the fender.

Two bolts, sleeves, grommets, and a ground wire here.

Unplugs here.

Two bolts for the light here.

Taillight on the bench.

These grommet are too hard and I won't be able to save them.

I need the seat hinge too. The blue bike's is bent.

This screw doesn't help you take the headlight and trim. It's an adjuster. DOH!

So the big screw on the bottom of the trim holds everything together, but alas the plastic around the nut plate is busted and the whole thing spins. Great another part that I thought I could use from the red bike that is junk. So I pulled the bolts from the sides of the bucket to see if I could access to the bottom and get things apart. This was challenging because the square nuts on the inside of the bucket will spin if you don't pull out on the bolts the whole time you're turning and loosening the bolts.

The white spot is busted and no matter how I try to hold it together that square nut won't hold still and act right.

I was so hoping to reuse this bucket, and still might, but it's less likely by the minute. I used a fine tooth pull saw to cut threw most of the good site.

Pop the rest off.

I'll save it in case I get bored enough to try and put it back together.

Inside the bucket.

Headlight out, but no bulb inside.

Hairpin cotter pins and screws on both sides hold the reflector to the trim ring.

Here's that adjuster screw again.

Dang more bad news. The trim piece is a little goofed, but may be straighten able.

This screw is seriously rusted to that square nut. I p-oiled it and used my JIS driver and the head still stripped out.

Still trying to save a questionable trim ring. Luckily there is a washer between the screw head and trim ring to protect the trim from the saw blade.

The bars from the red bike need stripped for powdercoat. The pivot bolt for the front brake. It actually has threads in the back of the perch and then a nut to lock it on the back.

This cable is so stuck. I am just going to cut it to get the lever off. That task is easier said than done. It has a heavy metal housing and a heavy cable, too.

Rear brake lever on the left comes off.

Left bar comes off.

Nasty screw holds the switch. Let that soak a bit.

The throttle cable is the last thing keeping the right bar on. That top set is tight, but manageable.

Wow. I guess that cable wasn't keeping the bar. It's broke already.

Top set goes back on to keep things out.

Right bar off.

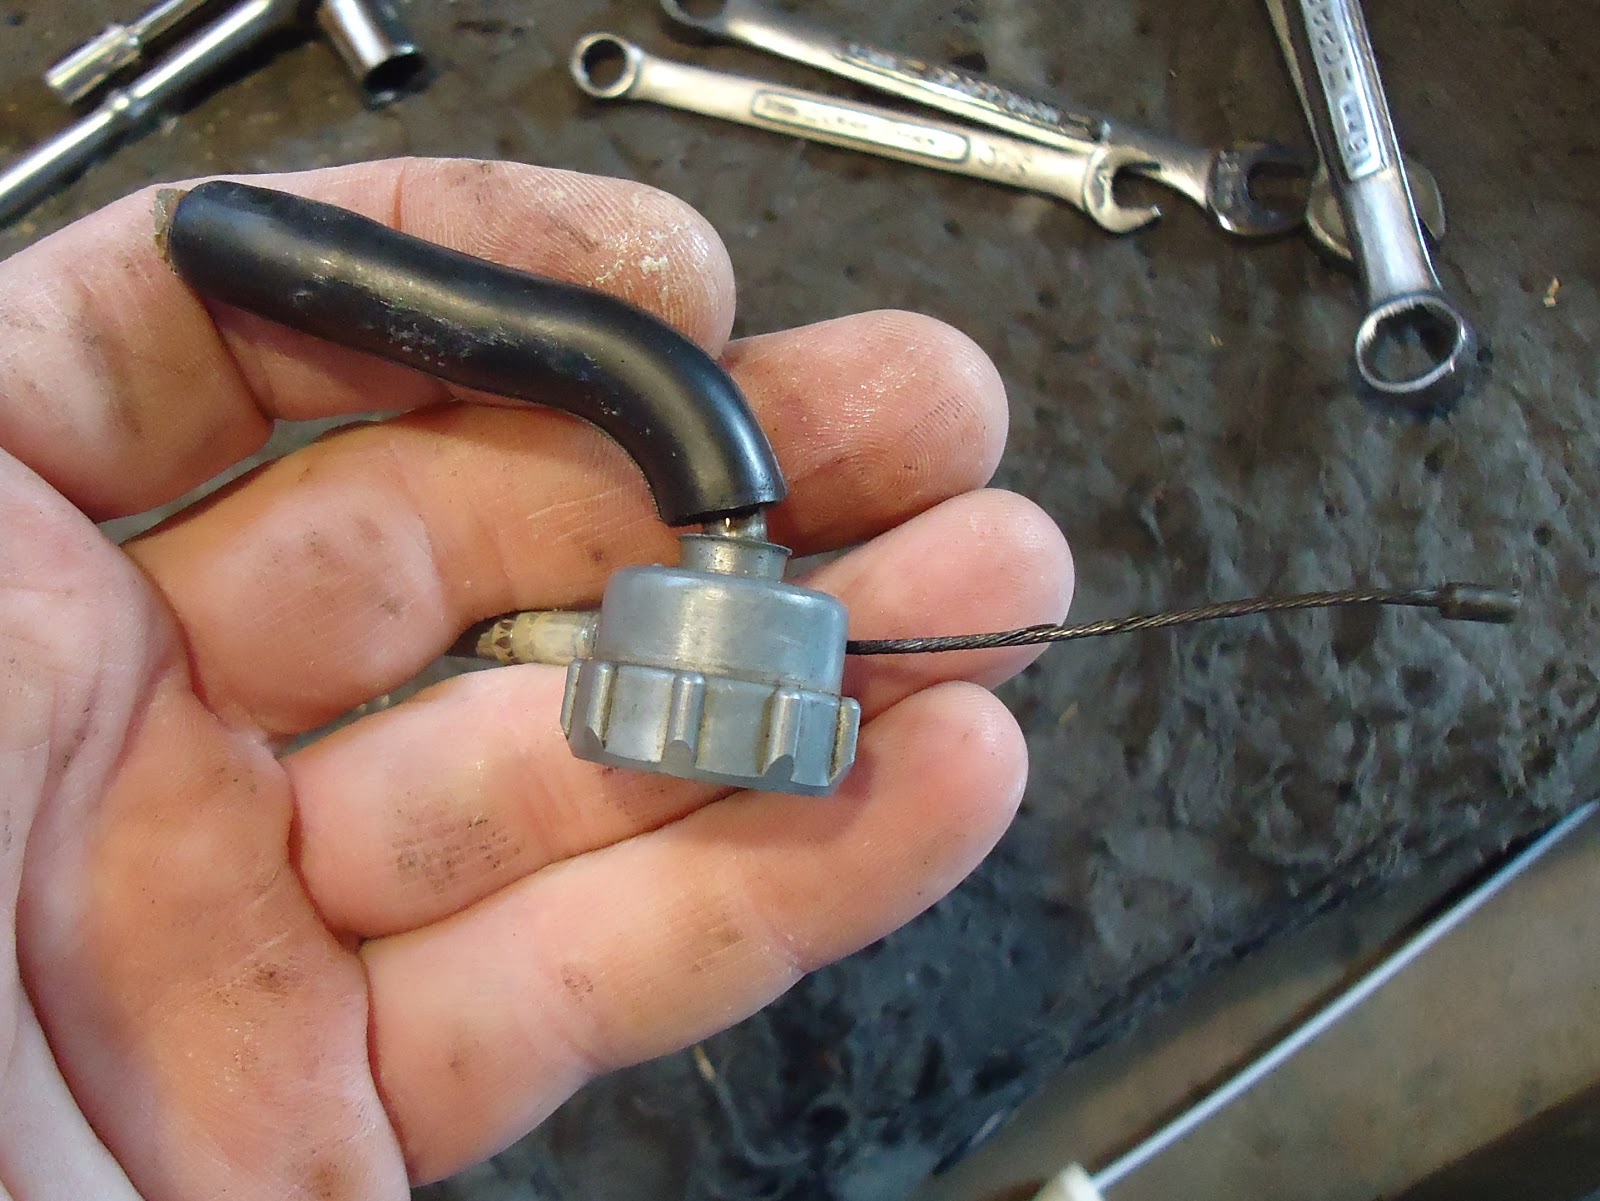
Time to tackle the throttle stuff. This screw comes off. Normally I think the grip hides it.

Pull the screw and the throttle tubes slides off to reveal the cable pull.

The spiral part of the throttle tube rides in the pull and so you twist and it pulls the cable.

The throttle cable is so jammed up that I can get any slack to pull the rest of the throttle apart. So I cut it, too. It cuts a lot easier than the brake cables.

Now it moves.

Out of the bar and the cable end comes out.

This part comes out next. I thought this was part of the cable, but...

It's not the cable threads into it. So you need to save it.


The right bar is done except for the horn button. That screw is nasty rusty so I let it soak some too.
Back the left bar. That screw came out easy enough.


Save the grommet and pull the wires.

This wrap is drier and stiffer than anything else on these bike so far. All of this came off like peeling crab legs in order to it get out of the bars.

Switch and throttle stuff. Save all for later.

Right bar switch screw. Another success story.

Switch out.

Bar right bar into the powder coat tube.

I heard heat would help get the grips off the left bars.

I don't think that helped. I just grabbed the grip with channel locks and worked them off.

I just cut the grips off the throttle tubes. They were not as hard to cut as I thought.

This is the less rusty set of throttle stuff.

I tried to pull the pipe so I could get at the rear shock.

Midpoint mount.

Top nut.

Well poop. This pipe is broke in the middle. ugh. Another part that I can't use without a major rework. That's a good stopping point.

No comments:
Post a Comment