Search

Search all blog posts here.

Search This Blog

Thursday, December 20, 2012

1500 1600 Vulcan Common Oil Leaks

This post is address the most common and generally easily fixed Vulcan 1500 and 1600 oil leaks. (Vulcan owners seem to take minor leaks more seriously than Shovelhead owners.)

Spark plug tubes. Front cylinder tube is on the left side and rear cylinder tube is on the right side. The camchains get stretched a bit and cut the sparkplug tubes or the tube o-ring seals may be cut. The oil runs out the rain water drain of the tube. The tubes can be replace or repaired with JB Weld or similar. More on camchains extenders and sparkplug tubes; here, here, and here.

The next two pictures were sent to me when I was trying troubleshoot the leaks for other folks.

This is how a rear leaking sparkplug tube looks.


This is how a front leaking sparkplug tube looks. The white stuff is spray deodorant to help track down the leak.


The rear cylinder drain hole is easy to see. Here how to get a good look at the front one.


Camseals. The little black circles have covered by the chrome rocker covers. The front cylinder plug is on the left side and rear cylinder plug is on the right side.The dealer will want to plug the motor to fix this leak. However many people report good results by cleaning the area real well with brake cleaner(careful around paint) and then filling the gap around the camplug with black RTV silicon.

Rear camplug.


Front camplug.


Clutch pushrod seal. This usually manifests itself as leak dripping off the kickstand mount. This how I fixed mine.


Sunday, December 9, 2012

CT70 Runs

Crock Pot - Pine Sol - Carb Parts

This is hardly an original idea instructions and pictures of this have been on the innerwebs for quite sometime and I had been looking for a garage sale crock pot for awhile without any luck. This year on Black Friday this simple 6 quart model was only $9.99. So the wife picked one up for me.


Big jug of Pine Sol.


Really nasty CT70 Carb. I bought this nasty thing for $10 and shipping was $15 and yeah I paid too much. All I need really was a good bowl. This thing is nasty rusty and crusty sand on the outside, almost like it was buried at some point.


Crusty on the inside, too. I knocked out the loose parts of this with a pick.


Another gross "before' picture.


I needed the bowl, but I wanted to save everything I could, but the sand or something in the airscrew threads means that most likely this top is now junk for sure.

I needed some dip baskets for the little parts, so a spare permanent coffee filter and a tea diffuser seemed like good ideas.


Put the parts in the pot.


Cover with Pine Sol.


Set it and forget it. Low only for this experiment.


Pretty cool to watch the oil rainbows bubble up.


Start.


Finish about 4 hrs later.


Foamy mess.


The worst is still not great. This stuff was softer and a little pick work and washing helped, but the bowl and top will go back in the pot.


The intake cleaned up very nicely. All the gasket material wiped right off.


I didn't even notice the gasket on the insulator because it was stuck so tight, but the heat and Pine Sol softened things and it came right apart. Sadly the insulator was already cracked an it's not reusable.


This looks good.


Mostly good, some crude in the filter cover. That cover will go back in the pot, too.


Pretty.


The tea diffuser wasn't meant for that kind of heat and duration.


Needle got stuck.


The coffee filter did fine though.


The top, bowl, and filter cover went back in the pot for another hour. The aluminum was getting soft so this is the final results. These were pretty nasty, and I don't have enough experience to gauge if a Chem-tool soak would have given better results.


I was surprised how the Pine Sol knocked the nasty rust on the steel parts. There was still nasty sand stuck on the outside of the carb, time for more pick work.


Saturday, December 1, 2012

CT70 Tried to run, but carb issues

The plan is to make sure the engine runs and then take it back out and do everything else that needs to be done.
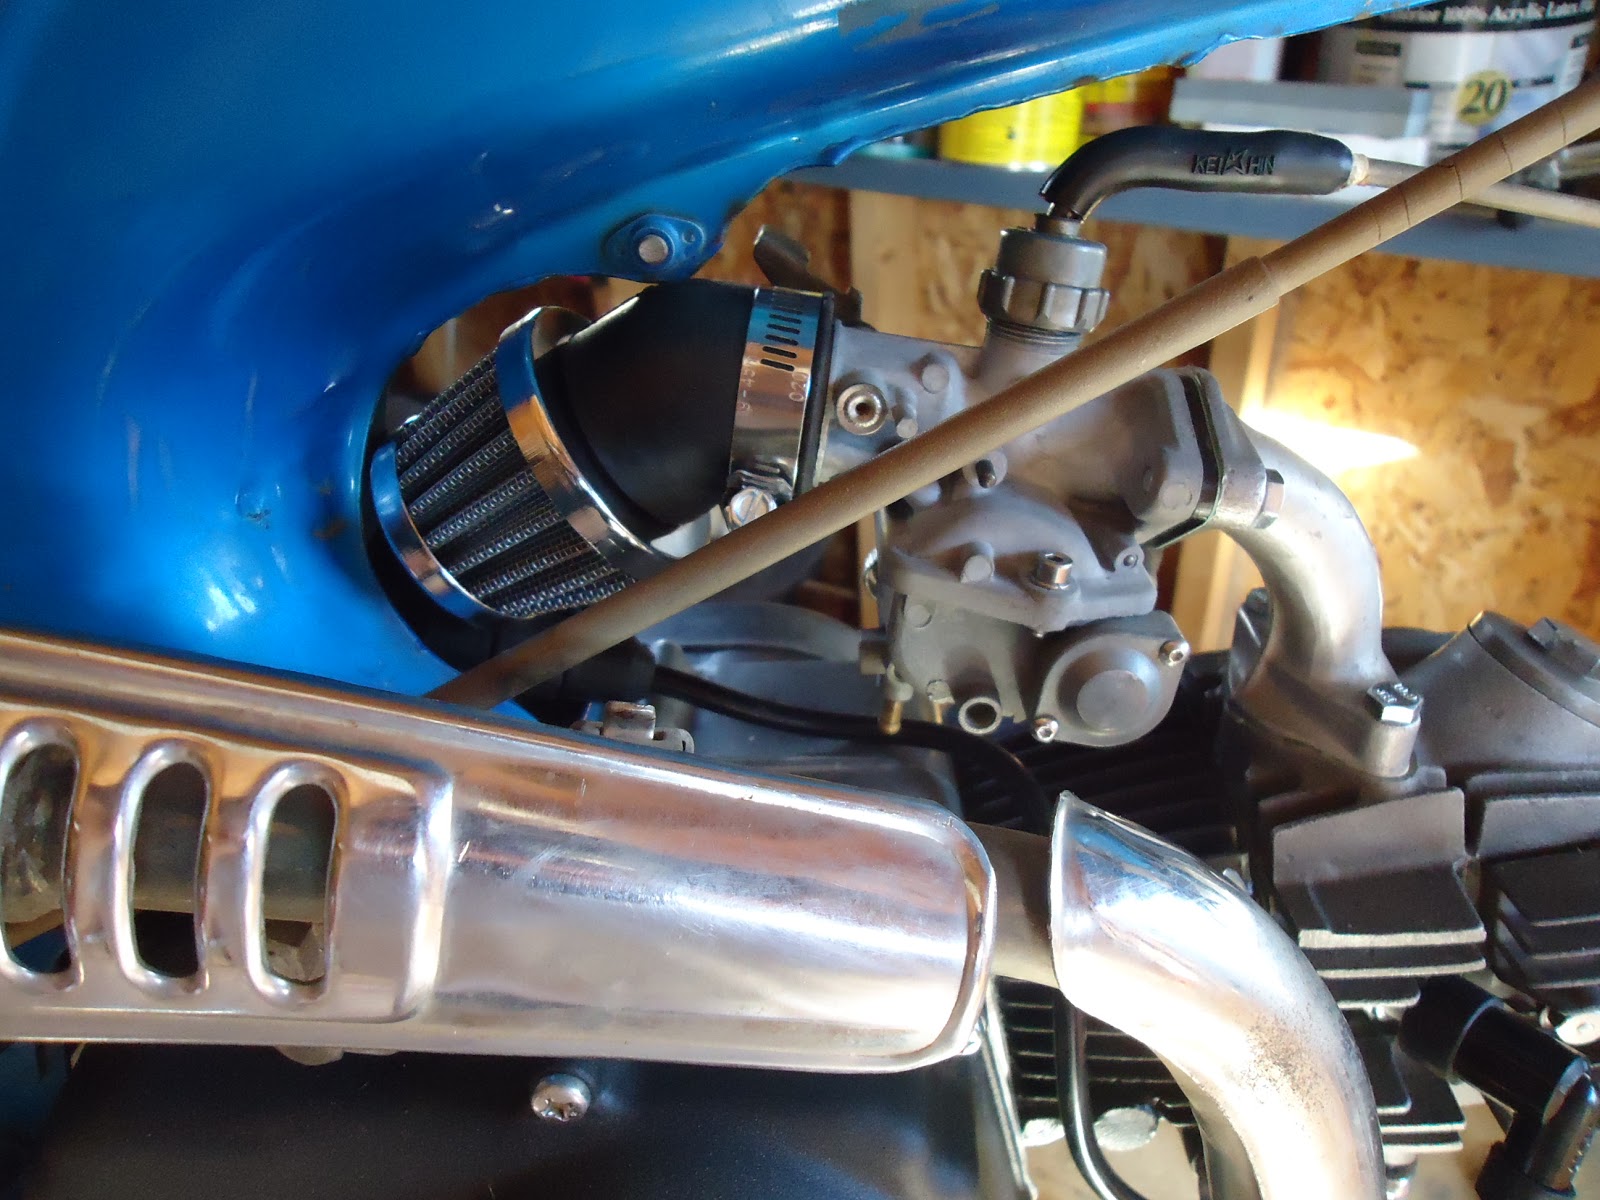
I got the 45° neck pod for DrATV. It fits the carb but the frame tab is still a problem. A wedge shaped insulator at the head, a CT90 kick-out intake manifold, or cutting the tab off are options, but at this point I'm going back stock. I has only doing a pod for simplicity sake and buying/modding stuff is silly when I have most of the stock stuff around.


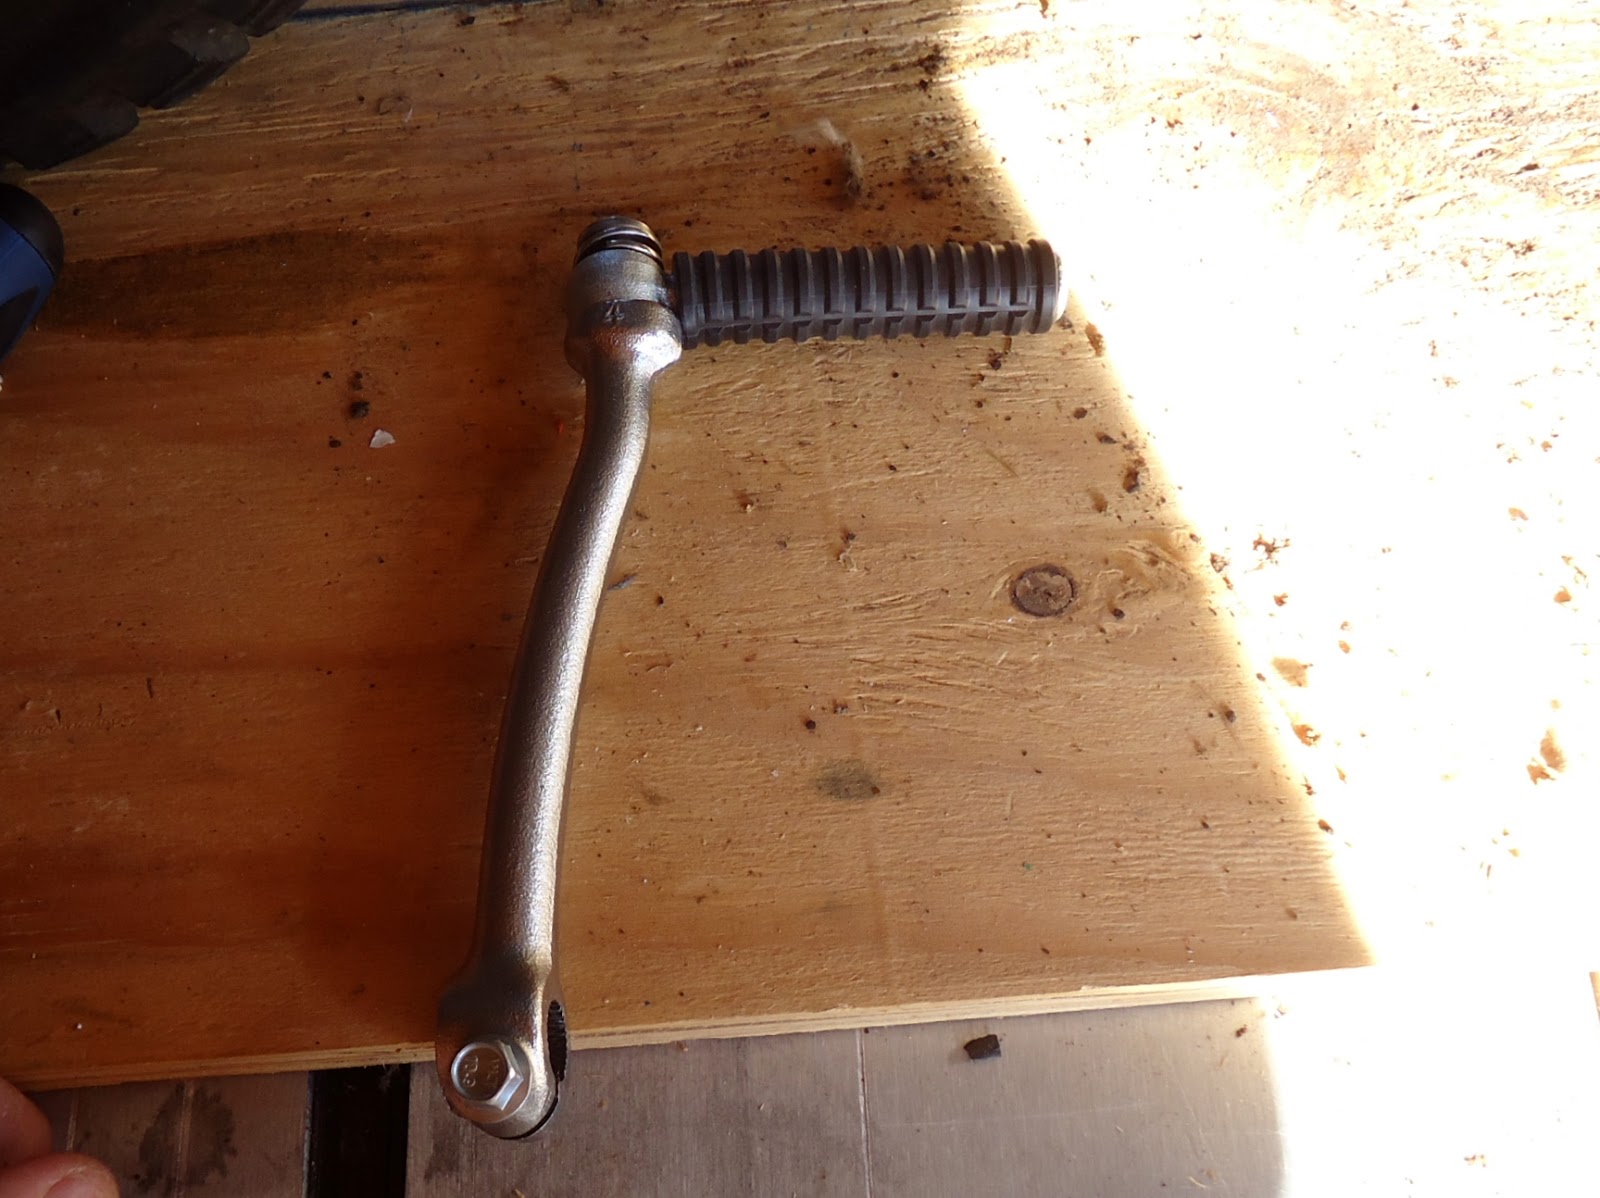
Just about there. I need a way to start it. New kicker arm and rubber. Both brand new Honda parts.


That's really tough to work on.


One the shaft and bolted on.


It took me a few days after my accident, and some help from my buddy Columbus to get things going and the little bike down from it's stand.

After looking at the wiring diagram I realized that the key switch needs to be bolted in for the chassis ground. So this key way...


lines up with this tab.


There is a special castlelated nut and I have the tool to put it back.


The rotor and ignition wires need plugged into the main harness.


Columbus puts gas into the IV bottle.


Gas tank ready to go.


Fuel line to the carb.


Valve from the IV bottle.


Battery goes into place.


There should be a video of me kicking off this bike and it running but no. It wasn't getting gas to carb bowl. We did get it to run putting gas into the carb intake. Off-On-Res no luck at all. We had gas just about anywhere, but the carb bowl.

So I went to take out the drain screw and investigate what was up. It was tight, pliers were used of course. Then the drain screw broke clean off.


ugh. Something wasn't right with it. I don't think it was cross-threaded and I know I only put it in finger tight. I had even noted that threads were tight when I rebuilt it a long time ago.


Parts on the way.