
Oil up the bearing.

Spring the spiral holder open a bit. I hope these hold.

There tough to get in.

I ain't going to lie. Pat put these in for me, because I was already too tired to practice the technique.

One keeper goes into the piston on the bench and the other one goes into piston after the wristpen is installed.


This wristpen is dang tight.


Time for rings.


Spacer first.


Both rails. Stagger the gaps.


Bottom ring. Dot up. The gap is at the end of my index finger.


Top ring. No upside or downside. Gap at the end of my index finger.


Oil the cylinder inside.


Hose clamp ring compressor. I need to buy a real one someday.


Slide it all together and pull out the hose clamp. Easier said than done.


Base nuts and washers on.

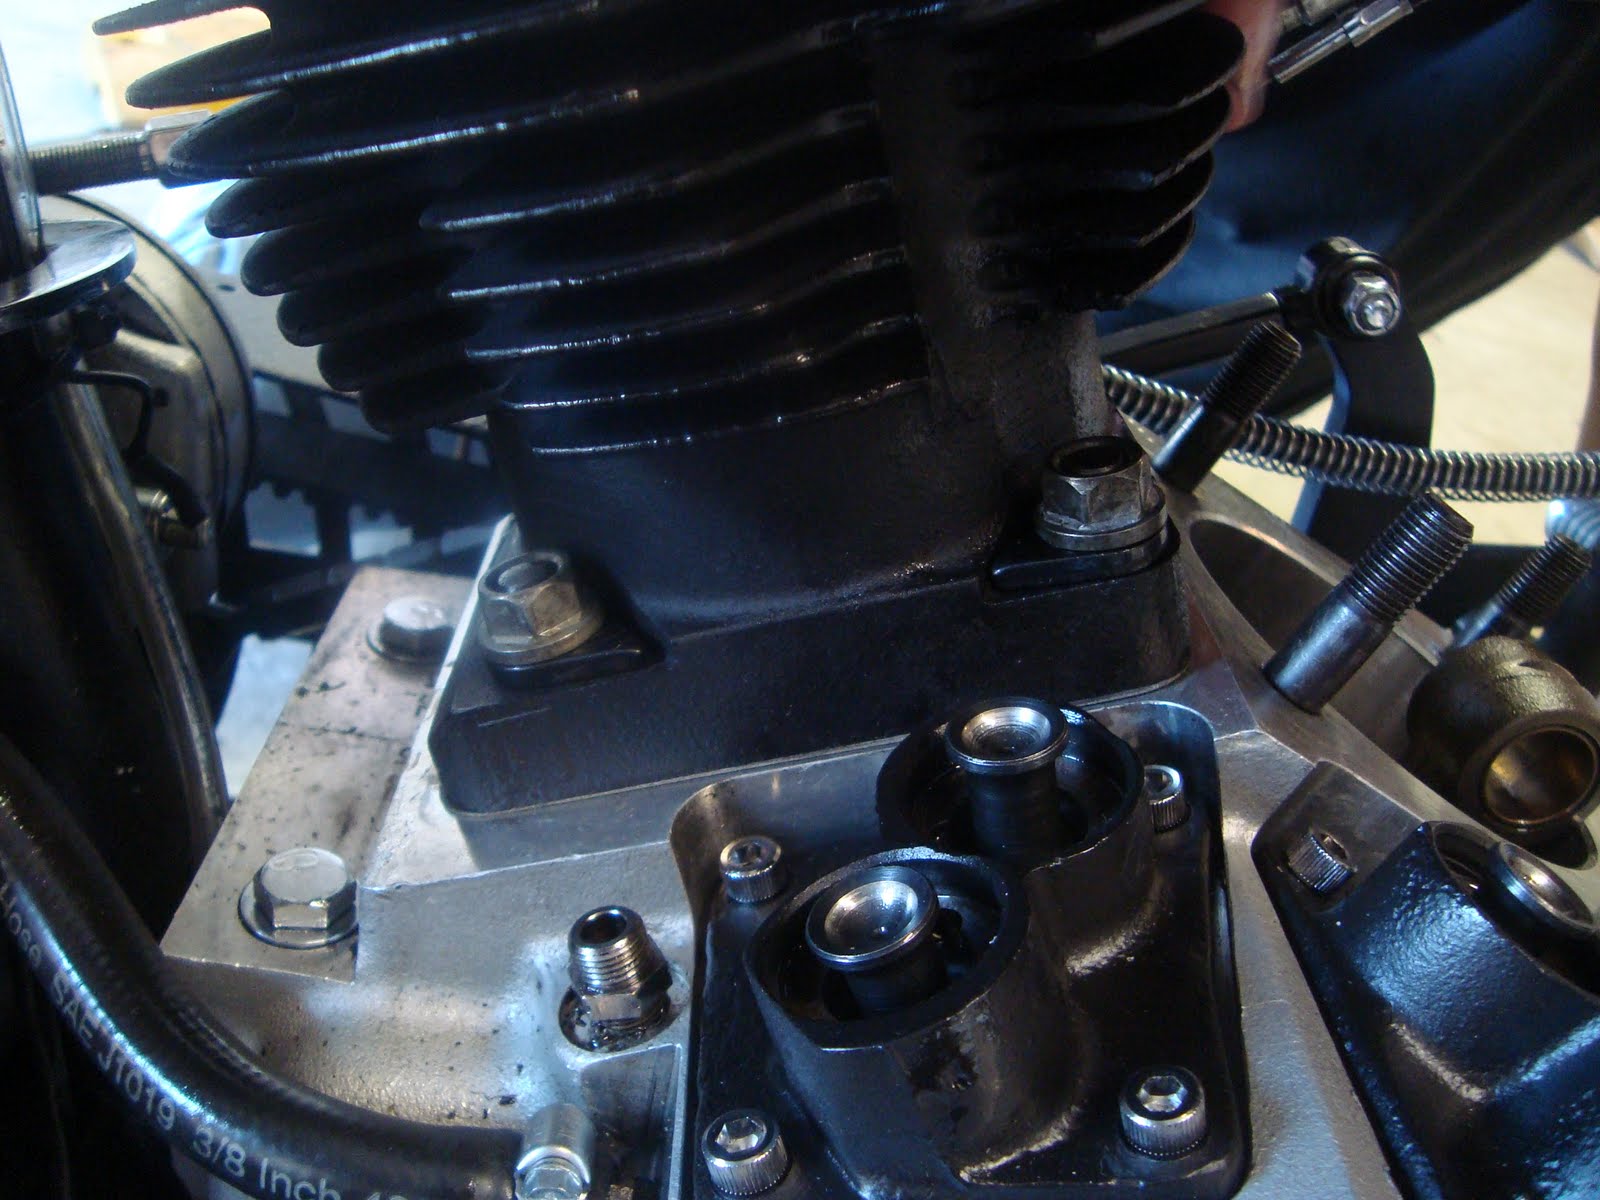
Pat decided to bevel the edge of the front cylinder to make it easier going on. The machinist didn't leave us one.


This bearing was even tighter than the rear.


Pat said I wasn't supposed to admit to this, but we "re-honed" the bearing a bit.


Still tight, but it went together this time.


Same rings and placement as the rear.


Base nuts on.


The torque adapter fits and works! Crisscross pattern, touching first, half torque second, then final torque.


Headgasket on.


Head on.

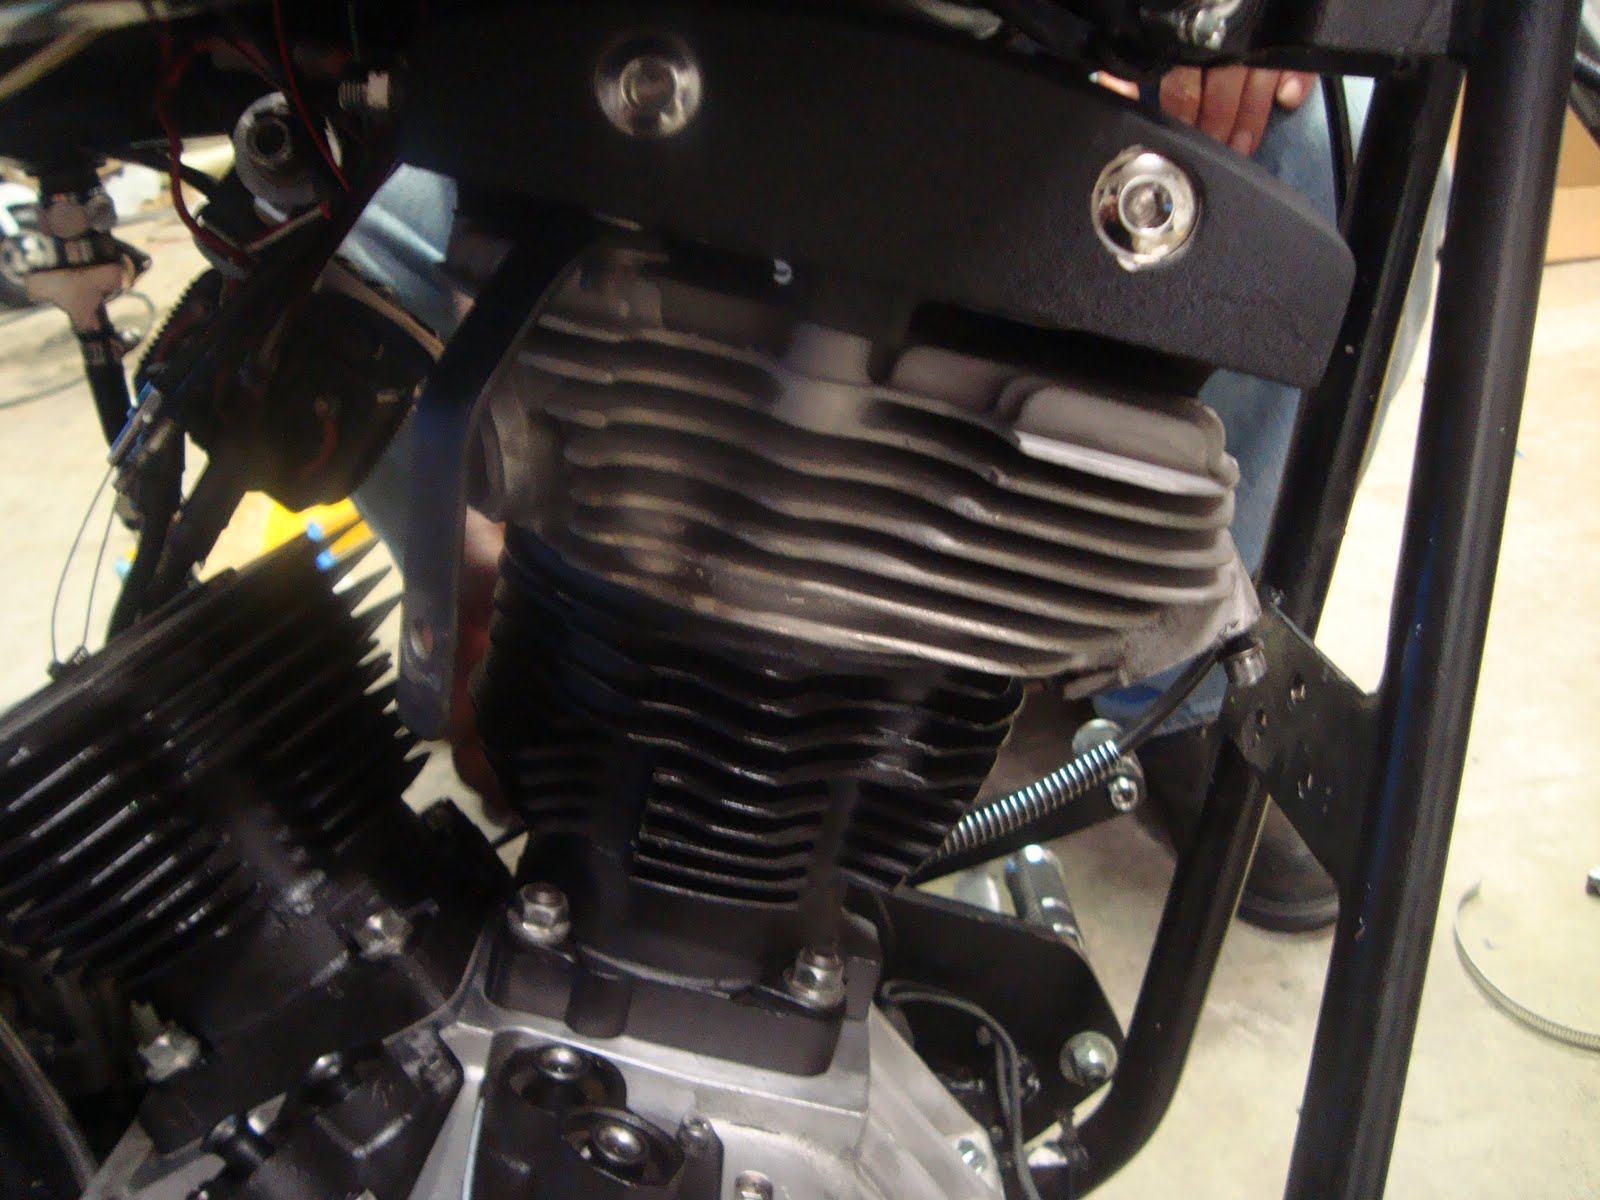
Head bolts.


I specifically bought 12 point head bolts last time so I could fit a 7/16 ratcheting wrench in there. Don't tighten these yet.


I chipped the paint getting the rear head on. I'm glad I don't have 8 grand invested in a paint job.


Align the intake and head intake ports.


Now tighten the head bolts. Crisscross pattern, touching first, half torque second, then final torque. 65 ft-lbs is enough to more the whole bike.


Looks like a bike again.


No comments:
Post a Comment