
Air the tires up, then deflate, then air them up.

Time to remove the bike from the engine cradle stand.

My wife helped out on this one. Yeah buddy, now it's a roller!

Now to pick a set of pegs and engine guard. I haven't sent either of these to a powdercoater because I made the mistake of sending a set of badly bent CT90 pegs to the powdercoater once. I want to mock-up the engine guard and pegs first. The cleaner set seems to the best choice.

Longer bolts and washers with the lock washer up from on the peg mounts.Those bolts go through the engine guard, too.

Hmmmm... Another extra bolt in the bag.

I couldn't remember if the guard or footpegs mount up first. The pegs go on first then the guard.

The next question, that I ought to know the answer to, is does the brake pedal slap the footpegs like a CT90? Yes, hard to get a picture of it, but clearly there is a witness mark on the pedal.

Back bolts, first.

Where it slaps.

Now to get to the guard. It should be four 6 X 16 mm bolts,

I thought this was the right bag, but I don't have four bolts that long, but we'll work with what I have.

Two bolts here.

Two bolts there.

Last two bolts underneath.

The guard bolted up straight and true enough.

The pegs look straight and true as well.

Ugh, this is the only spark plug guard I have and it's dented. My powdercoat can probably make that presentable again.

Pretty easy to see how that dent got there.

I am very tempted to not use that guard and even cut the tabs off the engine guard, but this bike is for my son to wreck and that guard will save the sparkplug.

Take all that off and send it to the powdercoater.

The pegs need to come apart.

This may not be the best way to get the kickstand spring, but it did work out. Kickstand nut comes off.

Hold the stand and mount so that the shoulder bolt is not bond up. It's still tight, so I have turned it out even though there are no threads.


It came apart with no pinched fingers or swear words. That's better than I hoped.

The pegs should fold up all the way like this for wrecking/storaging/hauling sake.

The left side does not fold up properly. The detent ball is jamming up.

WD-40 and more force help, but there's still a mid point catch spot I don't like. I have seen this before with pegs. That shiny high spot of raised metal is the problem.

I considered robbing the other left peg, but it was just as jammed and really nasty dirty.

So I will fix the one I have. Remove cotter pin and lynchpin.

That's not quite straight.

Blend to remove high metal.

Rattail file the contact area.

Useable. I'm glad I didn't need to do that to fresh powdercoat.

Functional again.

The ball comes out, but I don't think the spring does. I couldn't get it and it's not on the parts diagram.


Now the pile can go to the powdercoater.

In a bid to install a part that I won't immediately take back off. I will install the handlebar knobs.

These things are notorious for rusting up and sticking. I will clean off most of the old rust first.

Better.

I'm going to use some anti-seize on these threads to avoid future problems.

Castellated nut threads in here.

You have to have an adjustable hook spanner to work on these little Hondas.

Snug that down good.

Install the second one.

Time to install the spaghetti.

The ignition switch and handlebar leads go into the body and you need to get arm pit deep into the frame to fish it to the front.

Work the switch into place out the left and pull handlebar leads out the hole on the right.
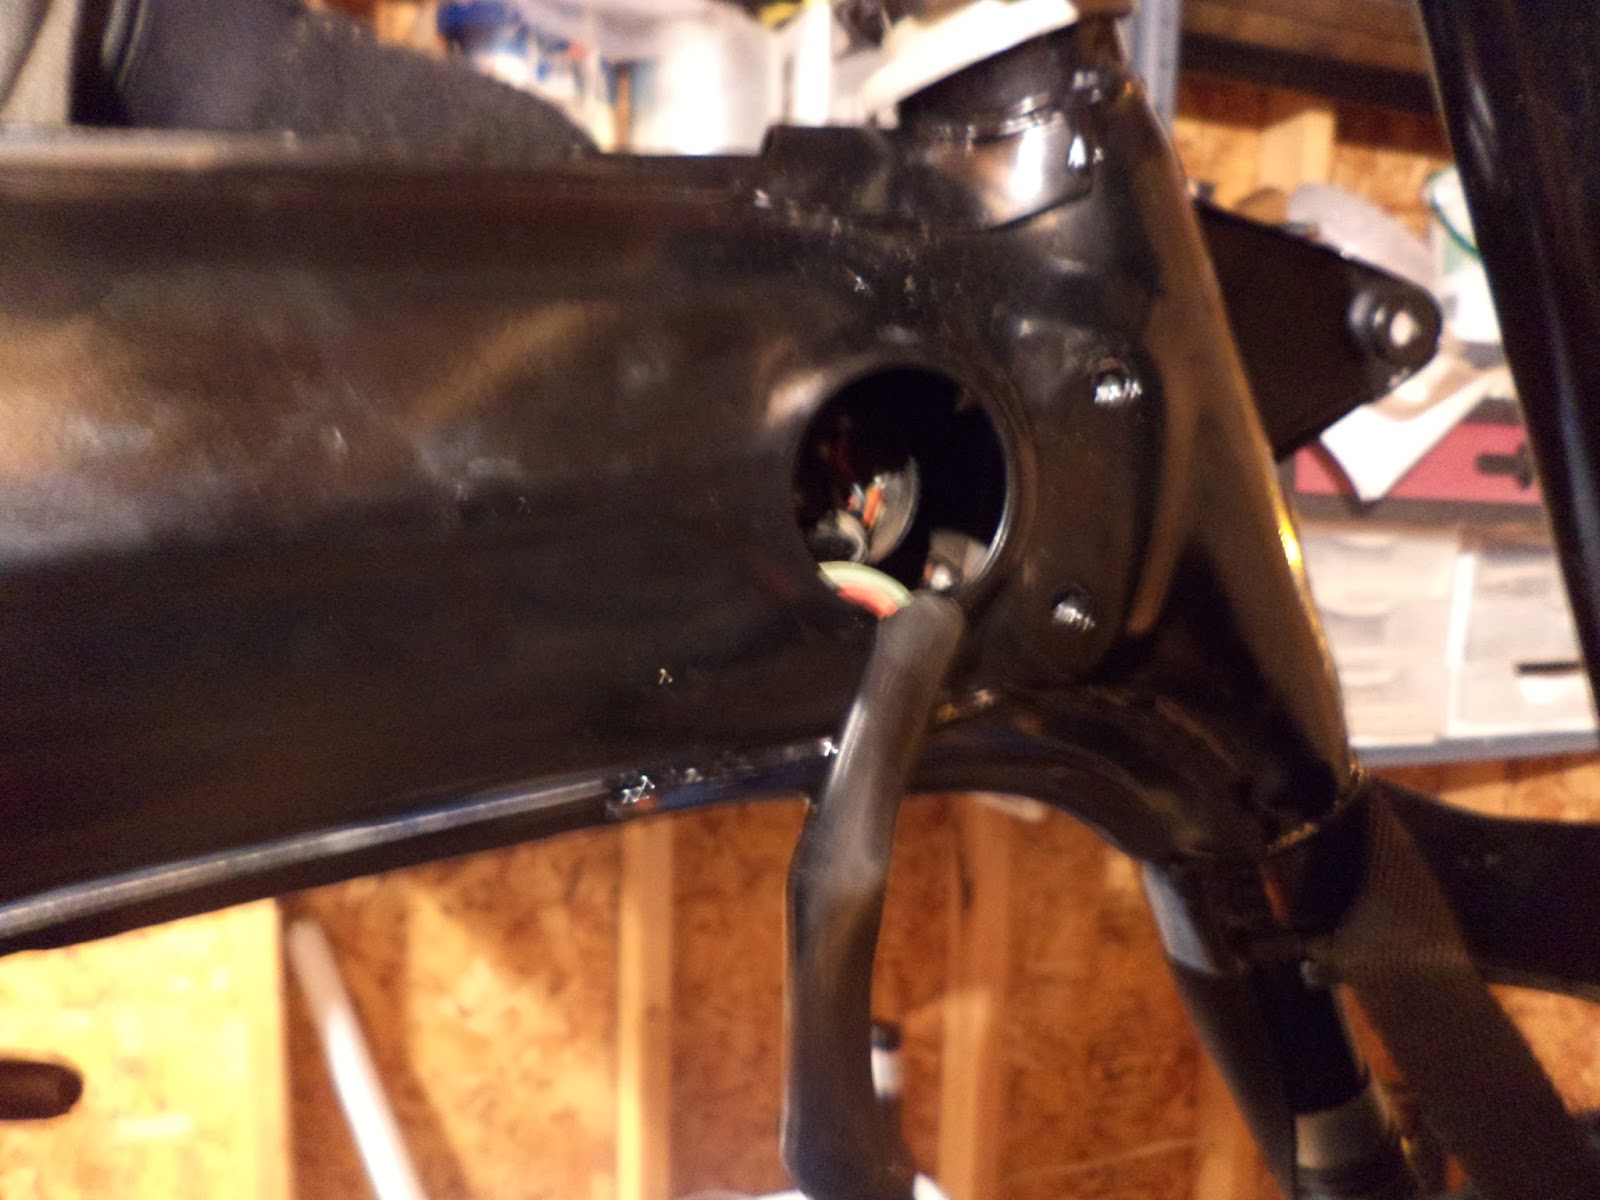
The switch has a knotch that aligns with a tab in the hole.

Another special nut.
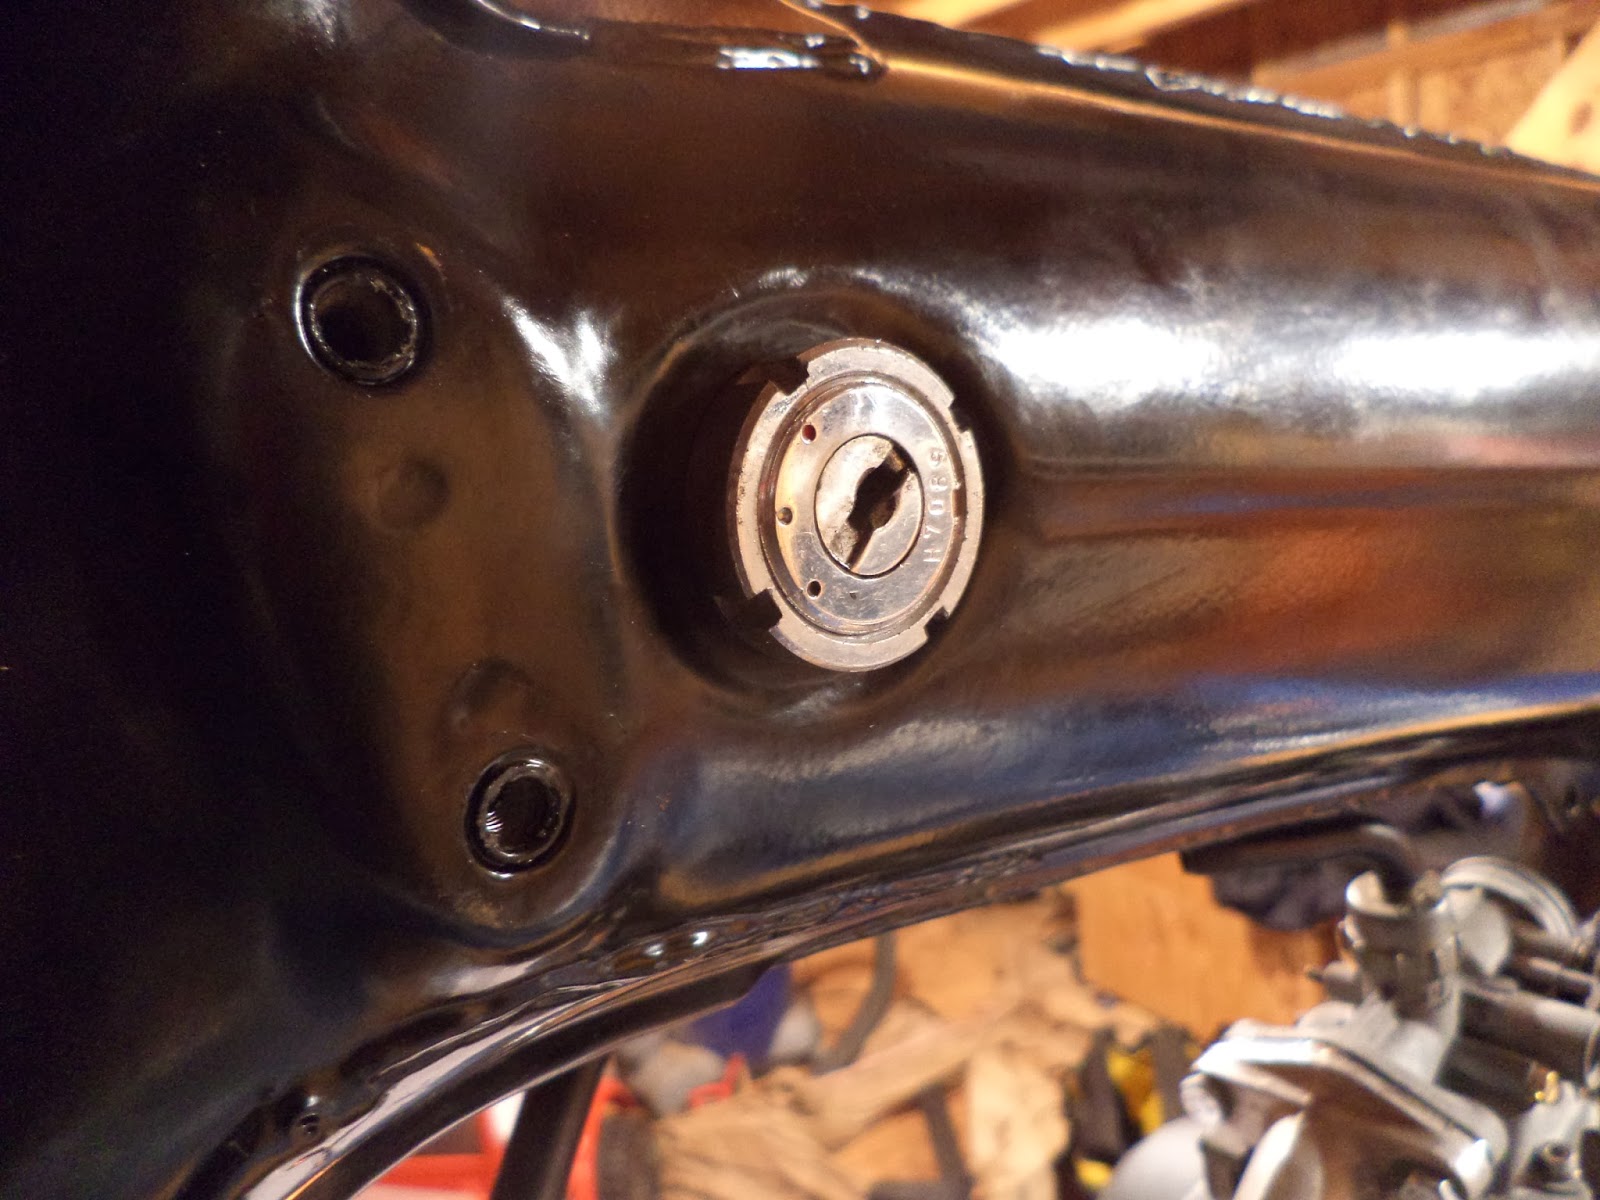
Another special driver.

Looks good, but the weird thing on a K0 Trail 70 is that the battery ground is not permenant to the chassis, but it goes through the switch housing. Given the powdercoat, I should check to make sure I have a good ground, but I don't have an ohm meter in my work shed and I don't want to walk to my garage in the snow and cold to get one. I will do that later.

The generator/points connect to the main harness with this plug, inside the body of course.

I didn't verify this one, but black wire from the coil to the black wire of the main harness.

Not much to see at the end of the day, but getting thing together, one bit at a time.

No comments:
Post a Comment