
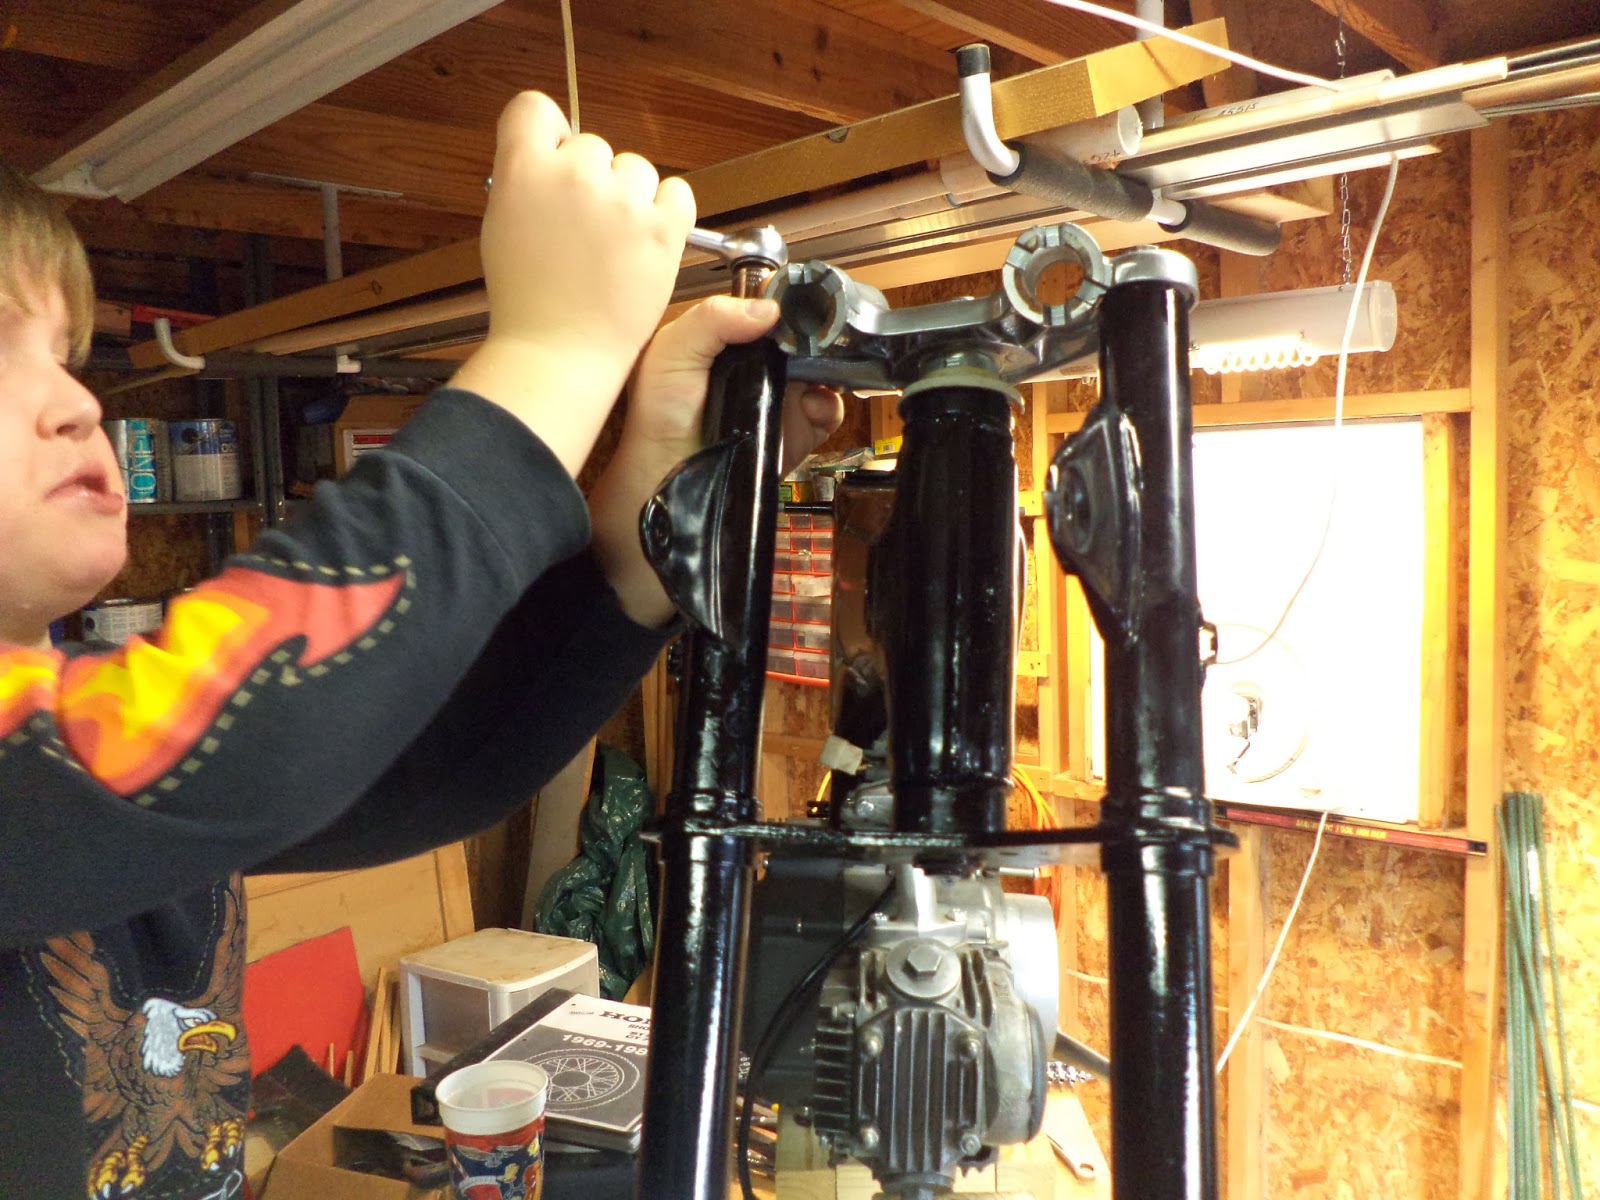
The frame is still mostly wrapped up from the powdercoater so I let big boy tear into it.

Tough to get a good picture, but the tab with two holes holds the coil. The coil needs to ground through the frame so I'll need to get the powdercoat off that area to be sure I have a good ground.

I used a dremel with a right angle attachment and a steel wool looking wheel brush and it worked okay. It was a tough fit and the wheel was done by the time I was finished.

The coil sits on the shelf and two nuts hold it in place. Getting the nuts started and tightened was again big boy's job.


With the coil installed the frame can be placed onto the engine on the workstand.

Back engine mount bolt goes here.

Front engine mount bolt goes here.


I couldn't find a torque spec in any books for these bolts. So I went with the basic torque spec for an 8mm thread at 20 ft*lb. That seemed real tight and nothing broke so that should be fine.


The top tree goes on. Kind of looks like Johnny 5, now.

Okay, now I need to back up a bit. The inside of the these tubes were nasty and gritty. I'm not sure how much was old grease and dirt and how much was media from the powdercoat blasting. I should have cleaned these in solvent tank before the neck bearings were done.

So here's how I handled it. Just like cleaning a gun barrell. Soak a rag in WD-40(instead of Hoppe #9) and use a dowel rod to shove it in from the bottom and out from the top, until I got clean rags.

Nut and washer go here.
Just loose at this point.

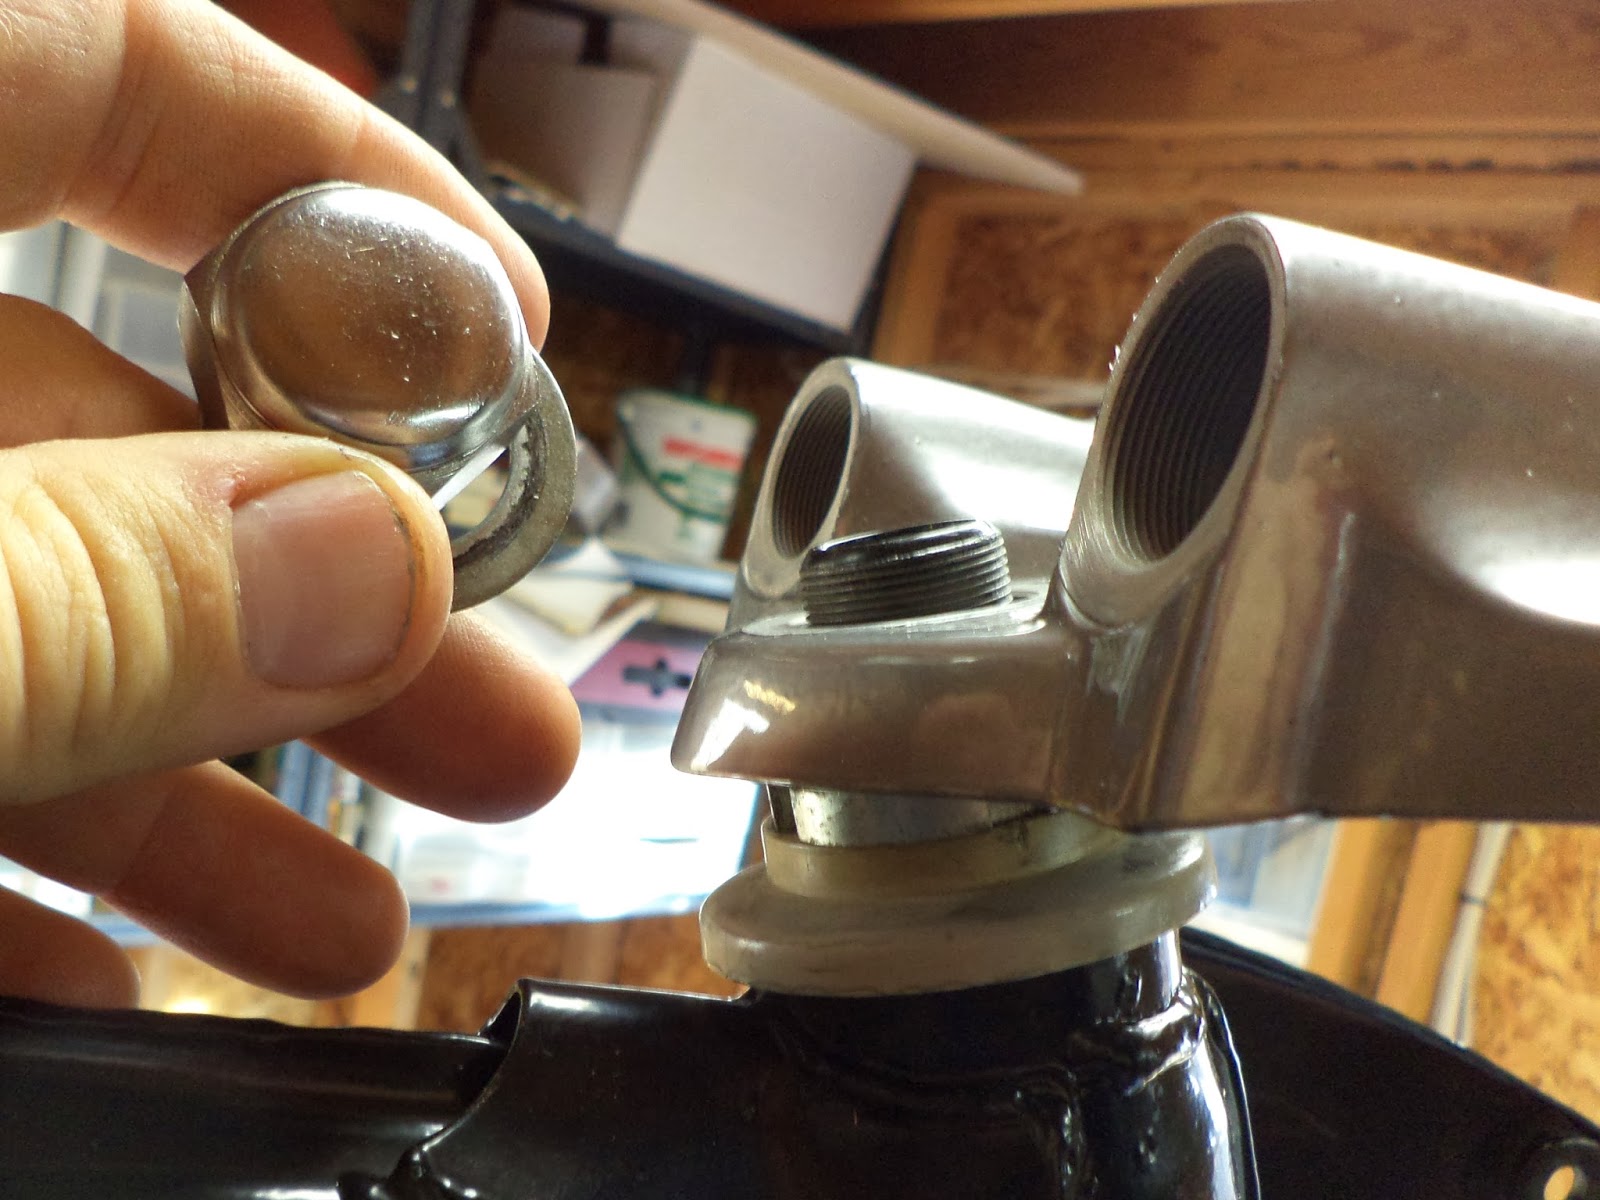
Get the top bolt cleaned and ready.

Find the fork legs. The brake stop goes on the left.

Grease the dickens out of all the internal parts of the legs. Then slide them into place. Make sure the stops on the top keepers find their home. Install top bolts.
Tightened these caps.

Looking good. I still need to torque the top nut and bolts, but I was tired and cleaning the tubes had taken much more time and effort than expected.

Shaping up into a motorcycle again. Hopefully the next time I work on it I can get the wheels under it and then get it off the engine cradle.

Great post on the rebuild. I have been learning a great deal from this!
ReplyDelete